Collage with alcohol ink
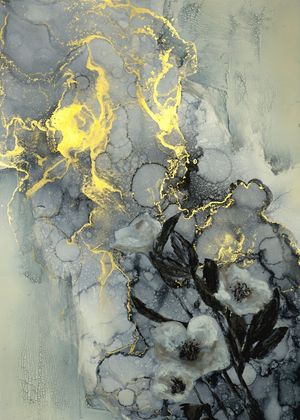
The following tutorial was created in the course of our calendar project with the linked artist. In addition to this tutorial, there are eleven other techniques around the various applications for alcohol inks. The individual materials, steps and tips were written by the respective artist and summarized by us for the calendar. We hope you have fun trying them out!
Materials used:
- Paper (e.g. AMI or Lanavanguard)
- Isopropanol
- Hair dryer
- glue stick
- Pencil
- Paintbrush
- Spray bottle
- Wax crayons
- Wooden sticks
- Spray paint (white)
- Facet varnish
- UV varnish
Colors used:
Artist:@atelierhayn (link to instagram post)
Collage mit Alkoholtinte
Step 1: "Accents with facet varnish"
As a first step, find the photograph of a flower on the Internet and print it on ordinary paper. As usual, prepare the workplace and put on protective clothing. On the canvas, set accents with facet varnish by applying the facet varnish thinly with a wooden stick at the corners of the image carrier. The facet varnish should now dry for a few hours. It goes faster in the sun, but with thin layers it can also be dried with a hair dryer.
Step 2: "Color comes into play"
To support the flow properties of the alcohol ink, the canvas should be pre-primed. The best way to do this is to use a simple spray paint in the color white. Let the painting base dry well as well. Then pour isopropanol and a few drops of Alcohol Ink in the color "Midnight" onto the canvas and use a hair dryer to move the alcohol ink mixture back and forth on the canvas. This shifting creates the edges and structures typical of alcohol ink. Interesting dripping effects can also be created by isopropanol, which is sprayed over the picture with a spray bottle at the end.
Step 3: "The certain touch"
Accents can now be set with golden alcohol ink "Gold Rush". To do this, also distribute isopropanol and a few drops of the metallic ink with a hair dryer. Then the photography comes into play. First cut out the flower. Then the flower can be reworked on paper with a brush with alcohol ink on it, with pencils, or wax crayons as desired. Using simple glue stick, attach the flower to the desired location as you would a collage.
Step 4: "Sealing"
Finally, the whole picture is sprayed with a layer of alcohol-free UV varnish. This saturates the colors and protects the artwork from dust and light exposure.
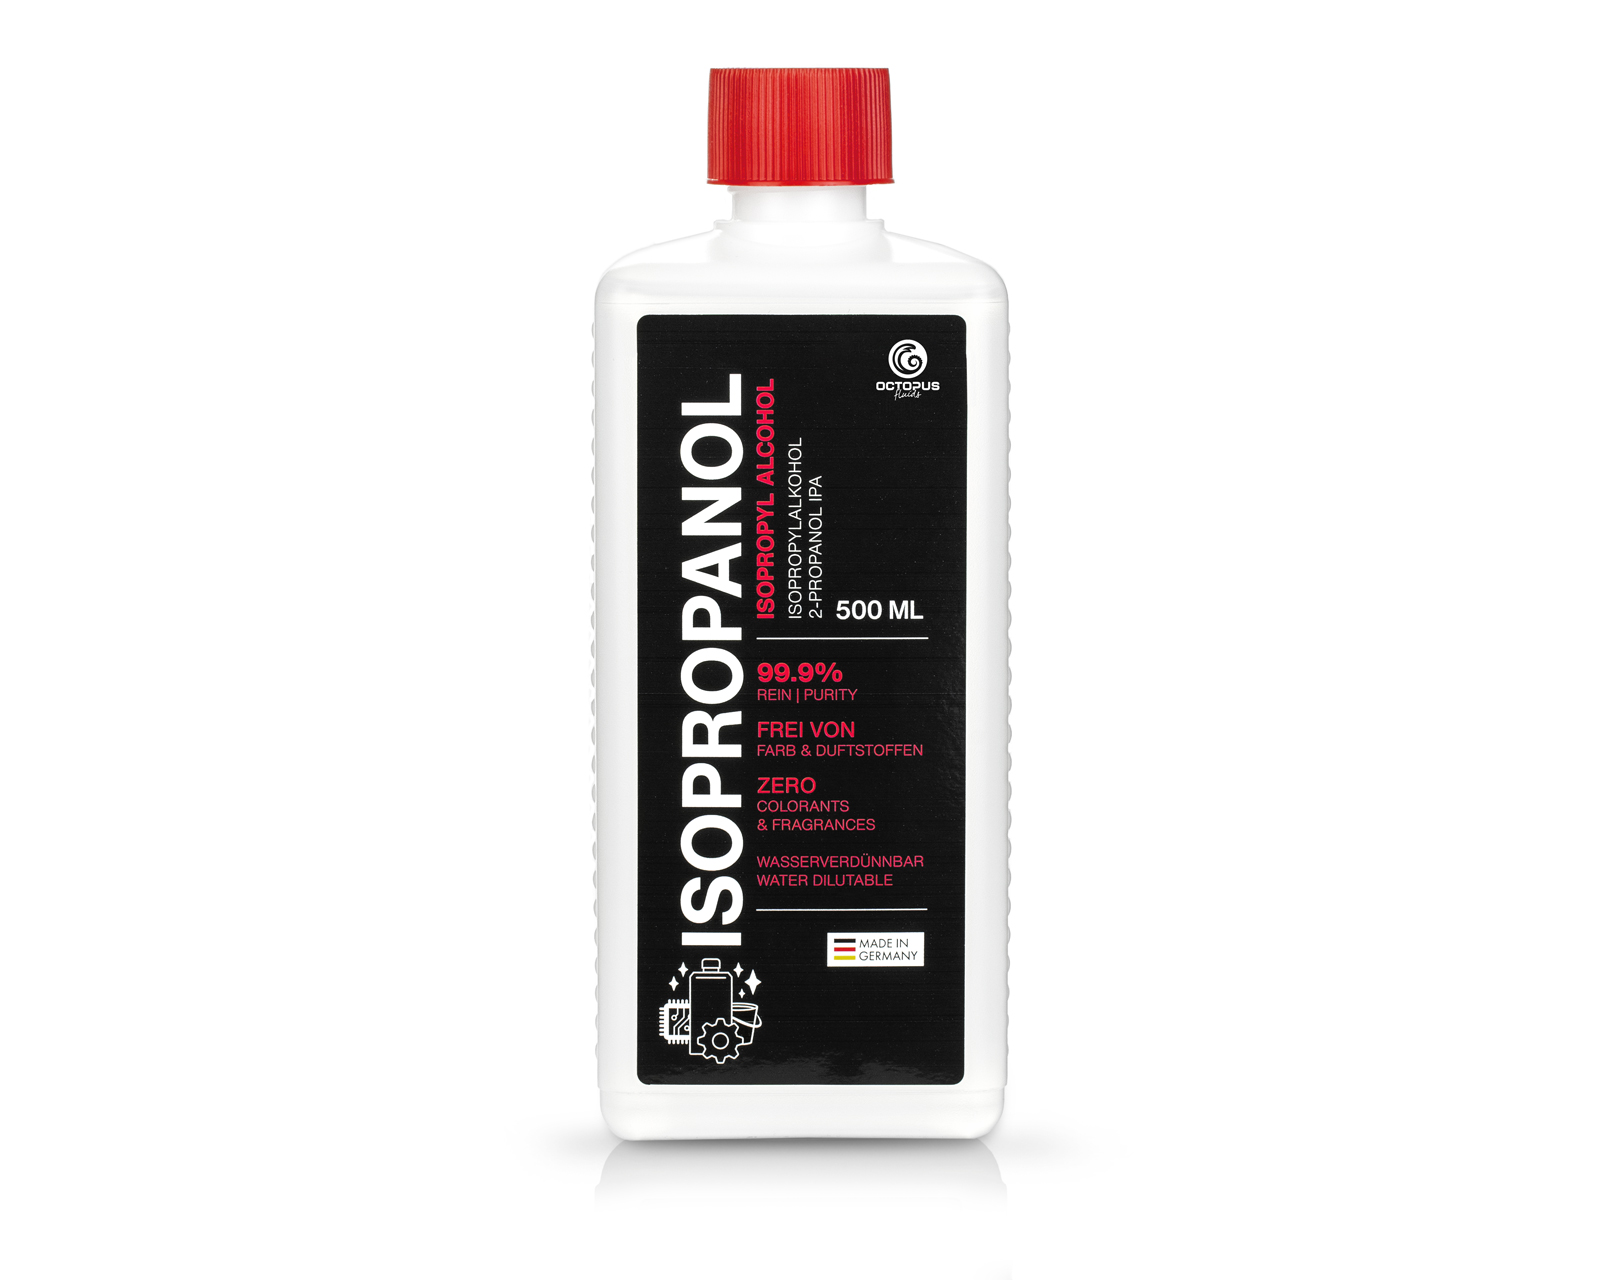 Isopropanol 99.9%, isopropyl alcohol 2-propanol IPA
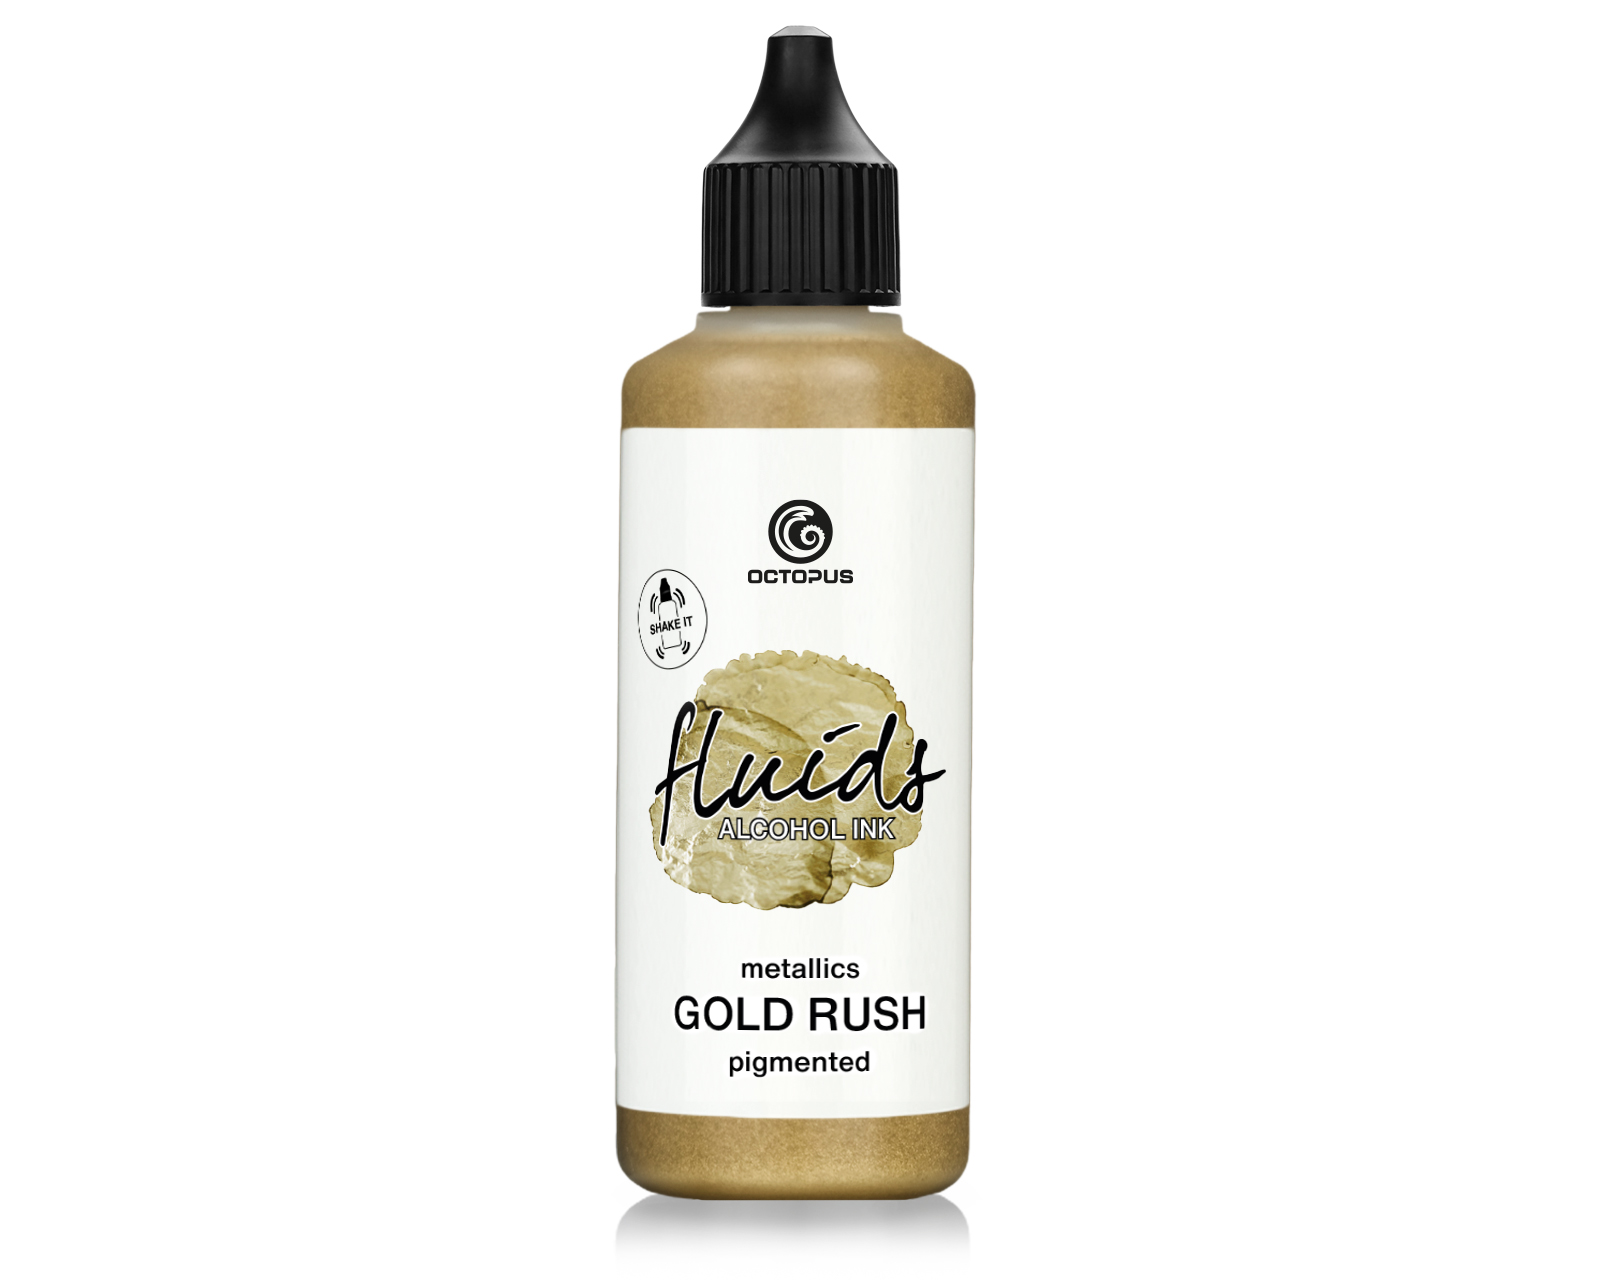 100 ml Octopus Fluids Alcohol ink GOLD RUSH for fluid art and resin, metallic gold
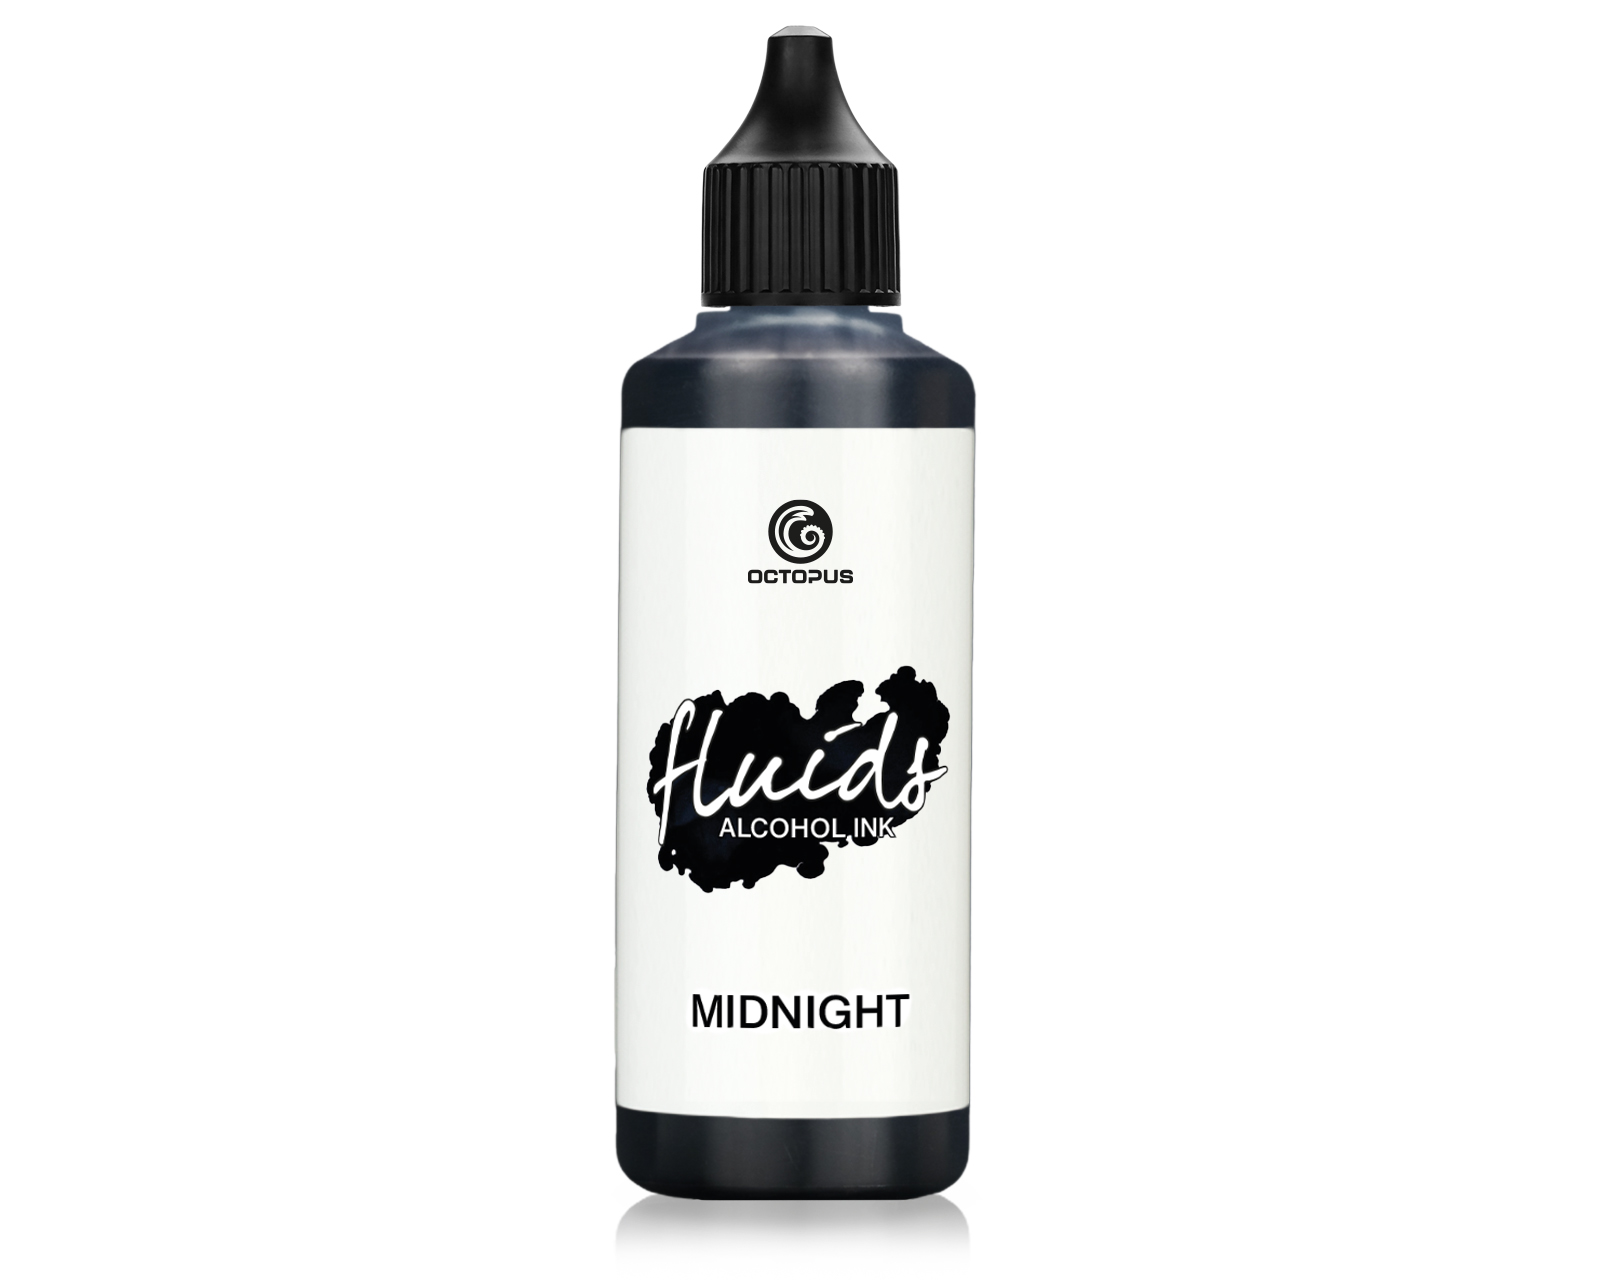 100 ml Octopus Fluids Alcohol Ink MIDNIGHT for fluid art and resin, black
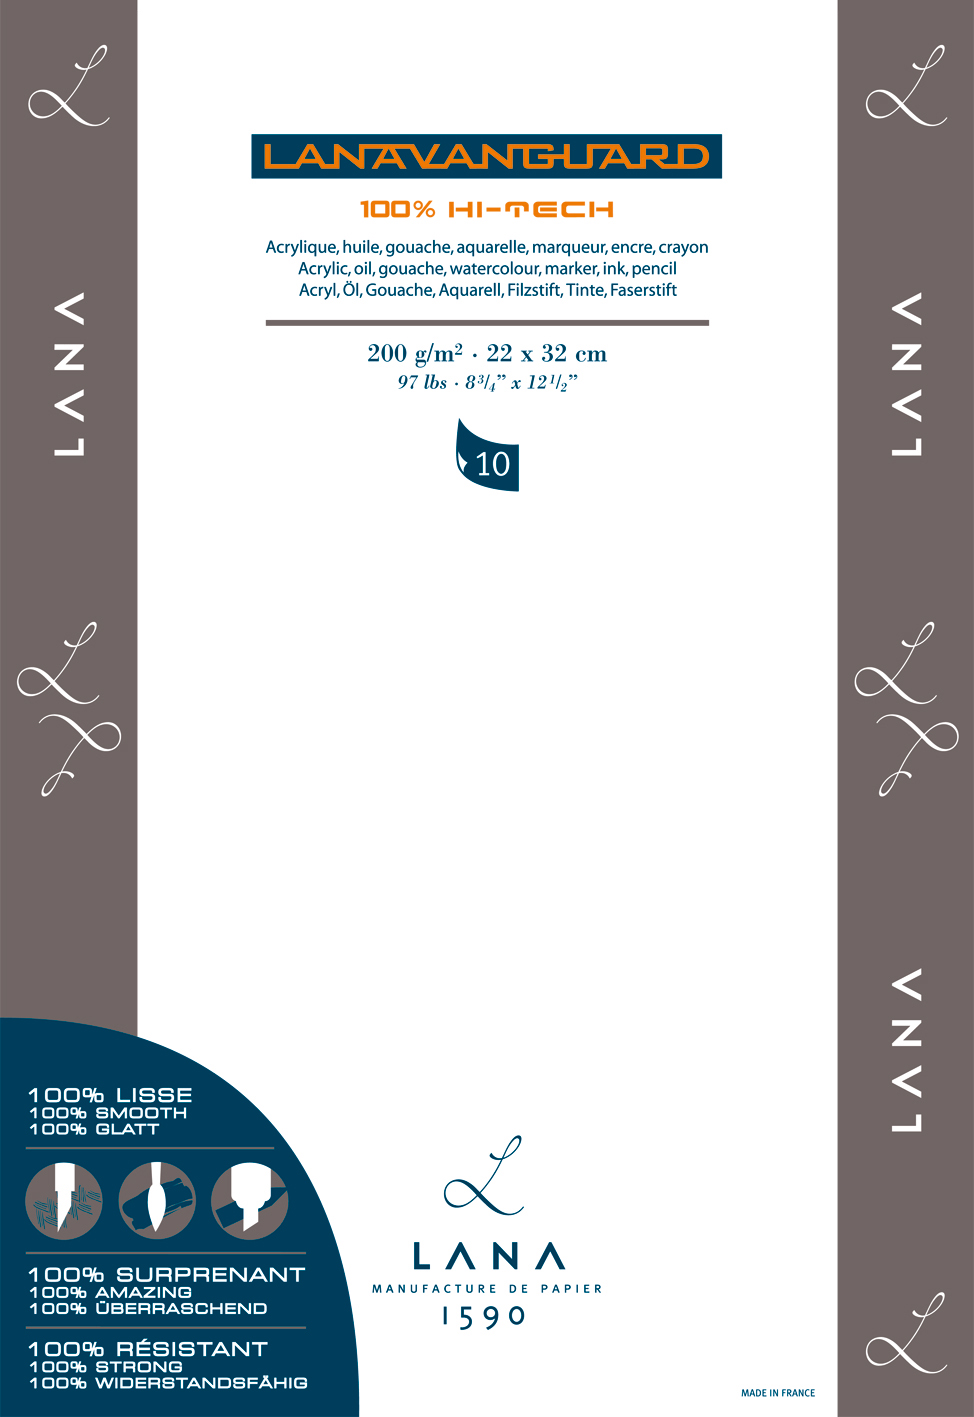 Lanavanguard Alcohol Ink Papier, Yupo, A4/A3, 200 g/m2, 10 Blatt
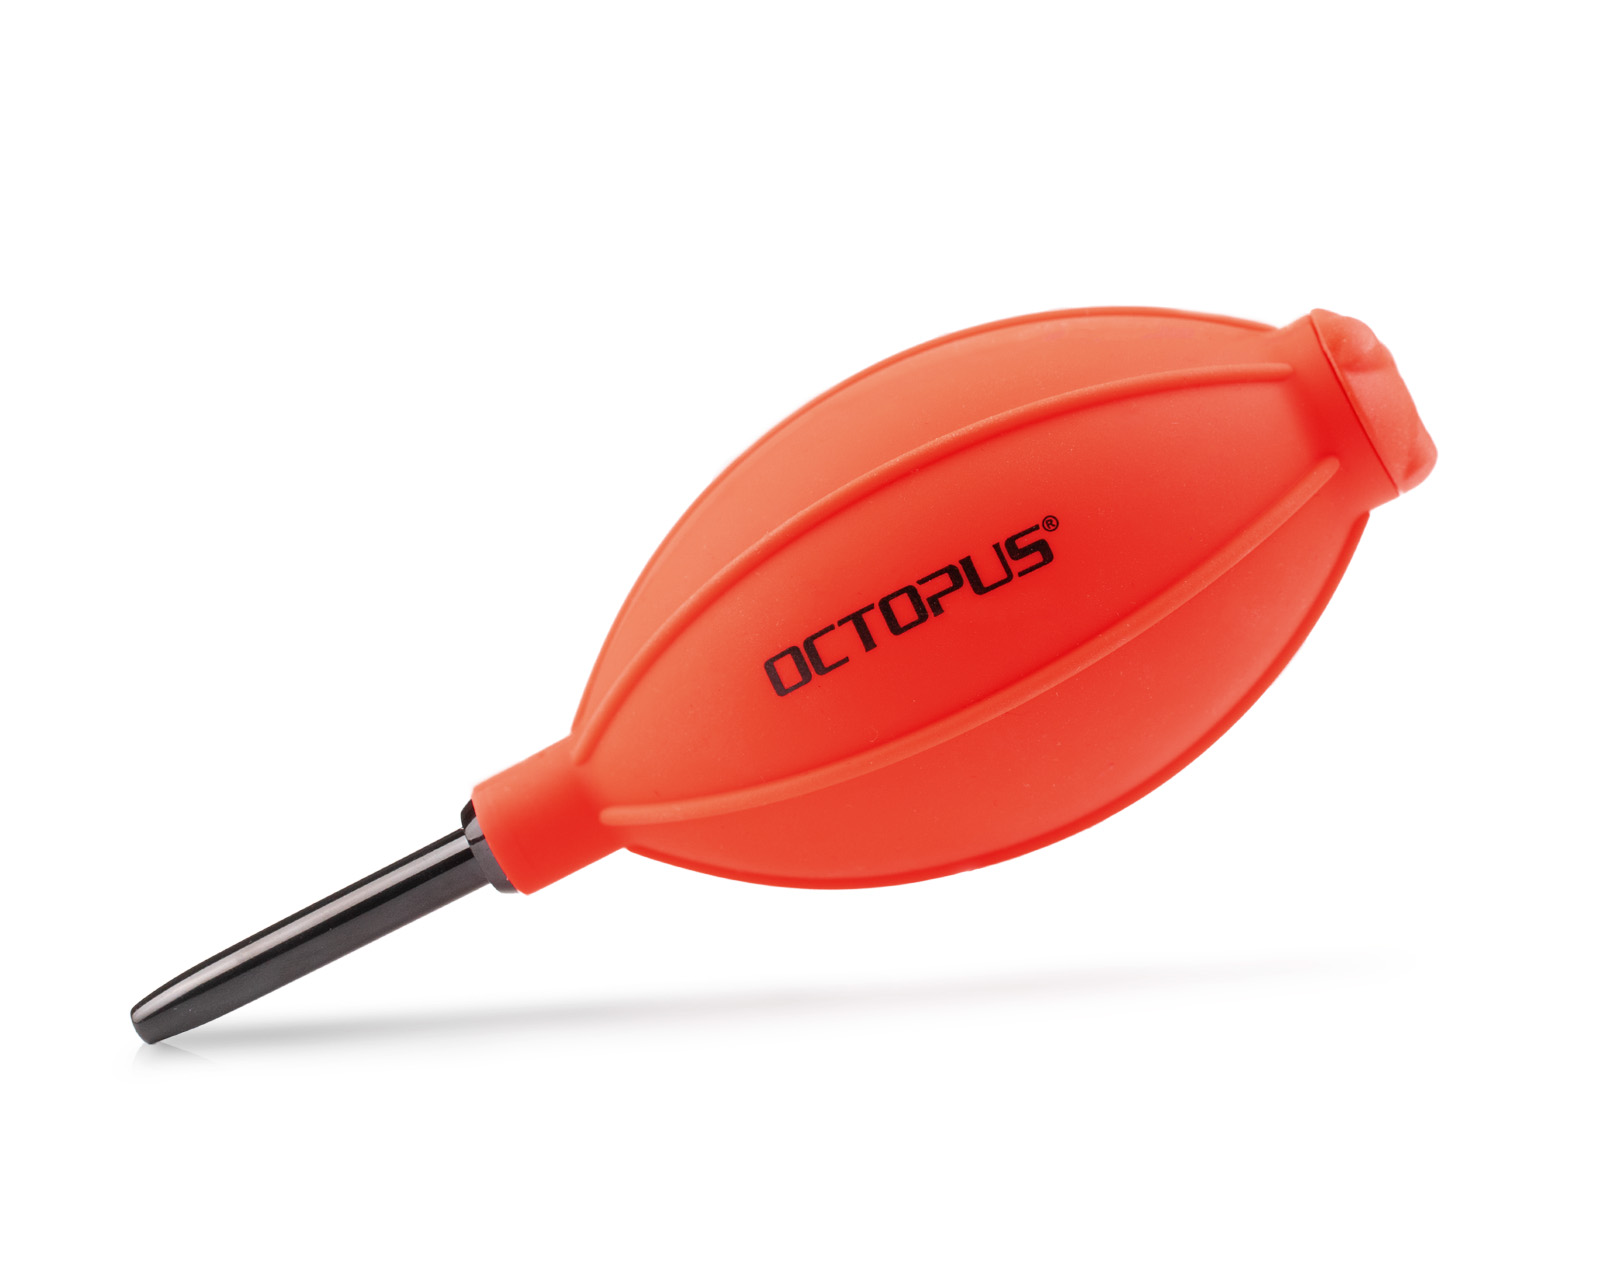 Octopus Bellow for camera cleaning - Air blower for Alcohol Ink


