Colorful ripples technique
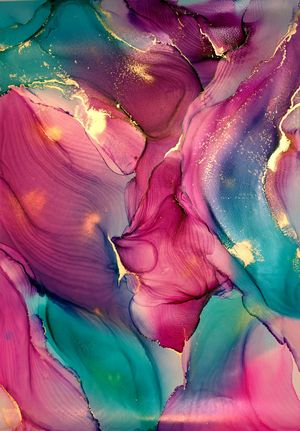
The following tutorial was created in the course of our calendar project with the linked artist. In addition to this tutorial, there are eleven other techniques around the various applications for alcohol inks. The individual materials, steps and tips were written by the respective artist and summarized by us for the calendar. We hope you have fun trying them out!
Materials used:
- Paper (e.g. AMI or Lanavanguard)
- Isopropanol
- Airbrush
- Hair dryer
- Brush
- Protective clothing
- UV varnish
Colors used:
Artist: @parisaartdesign (link to instagram page)
Colourful Ripples
Step 1: "Spring Colors"
The "Ripples" technique involves creating wavy ink lines using a blowing tool such as a heat gun, hair dryer or airbrush gun. Provide all Alcohol Inks, Metallic Inks and isopropanol for this purpose. For spring-like motifs, bold and bright shades with great color contrasts are suitable. Prepare the workplace by fixing the paper to the base and put on protective clothing.
Step 2: "Paint away"
The Alcohol Inks "Hot Pink", "Berry Juice" and "Ocean", as well as the Metallic Ink "Gold Rush" for noble effects, are dripped onto the paper and then dissolved with isopropanol in the area where you want to work with them. The blowing tool is then used; an airbrush gun is particularly suitable for this technique.
Step 3: "Patience required"
The trick behind the technique is to repeatedly turn off the airbrush gun every few seconds and let the paint drops dry briefly. This creates the pretty wavy lines when paused several times. For the striking golden areas, the contours created can be worked out in between or afterwards in particularly dynamic places with a brush and the Metallic Ink.
Step 4: "Consolidate colors"
Your artwork must be protected by the high light sensitivity of the alcohol inks. Therefore, cover the finished image with a layer of UV varnish. Make sure that the varnish is not alcohol-based, so that your image does not run when applied.
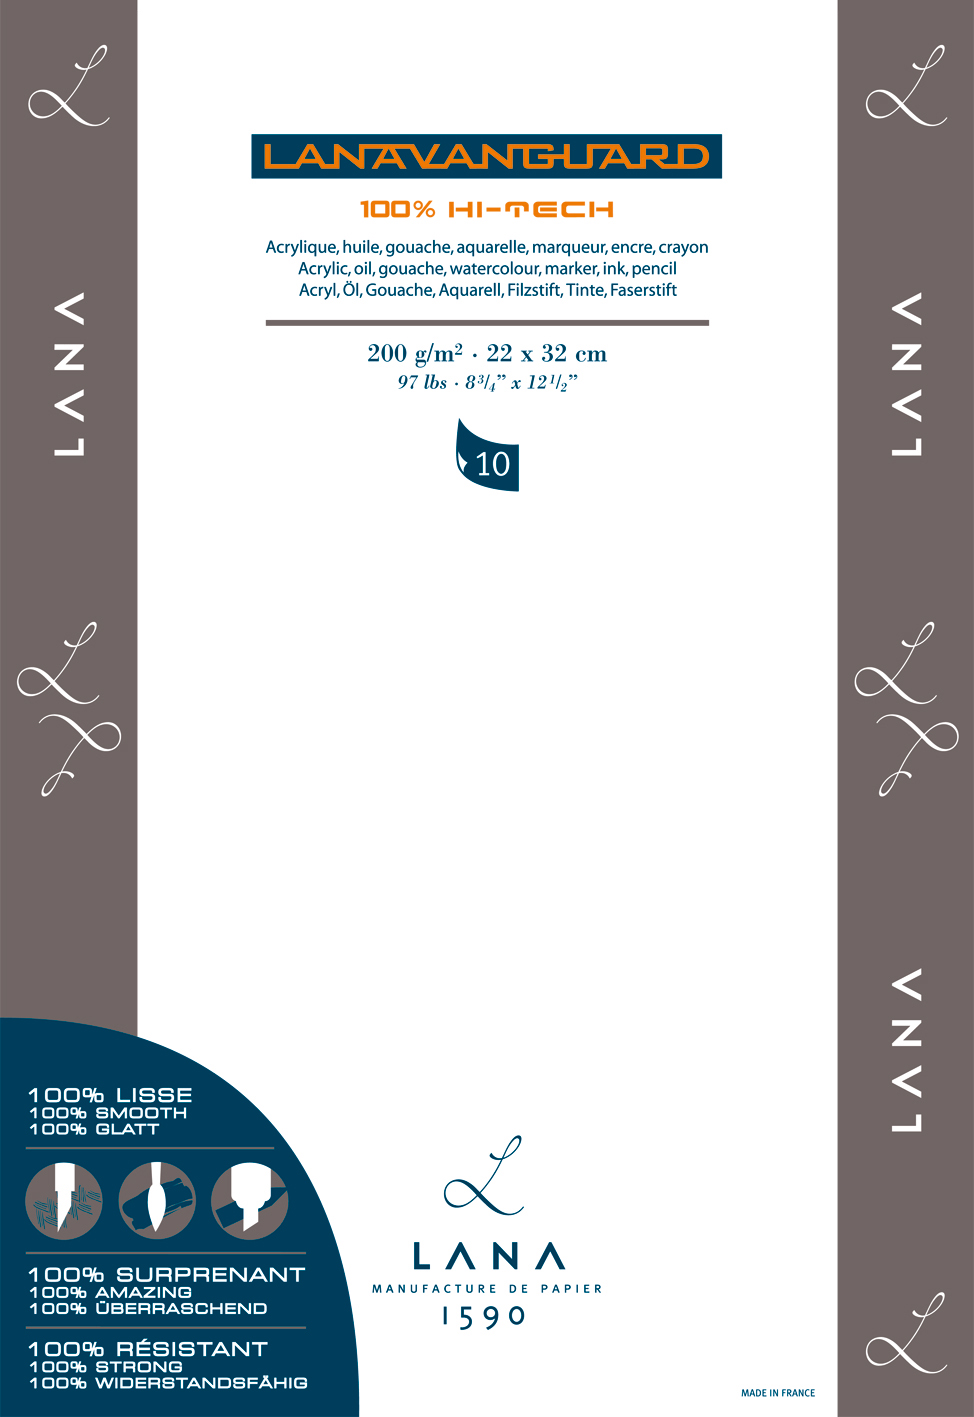 Lanavanguard Alcohol Ink Papier, Yupo, A4/A3, 200 g/m2, 10 Blatt
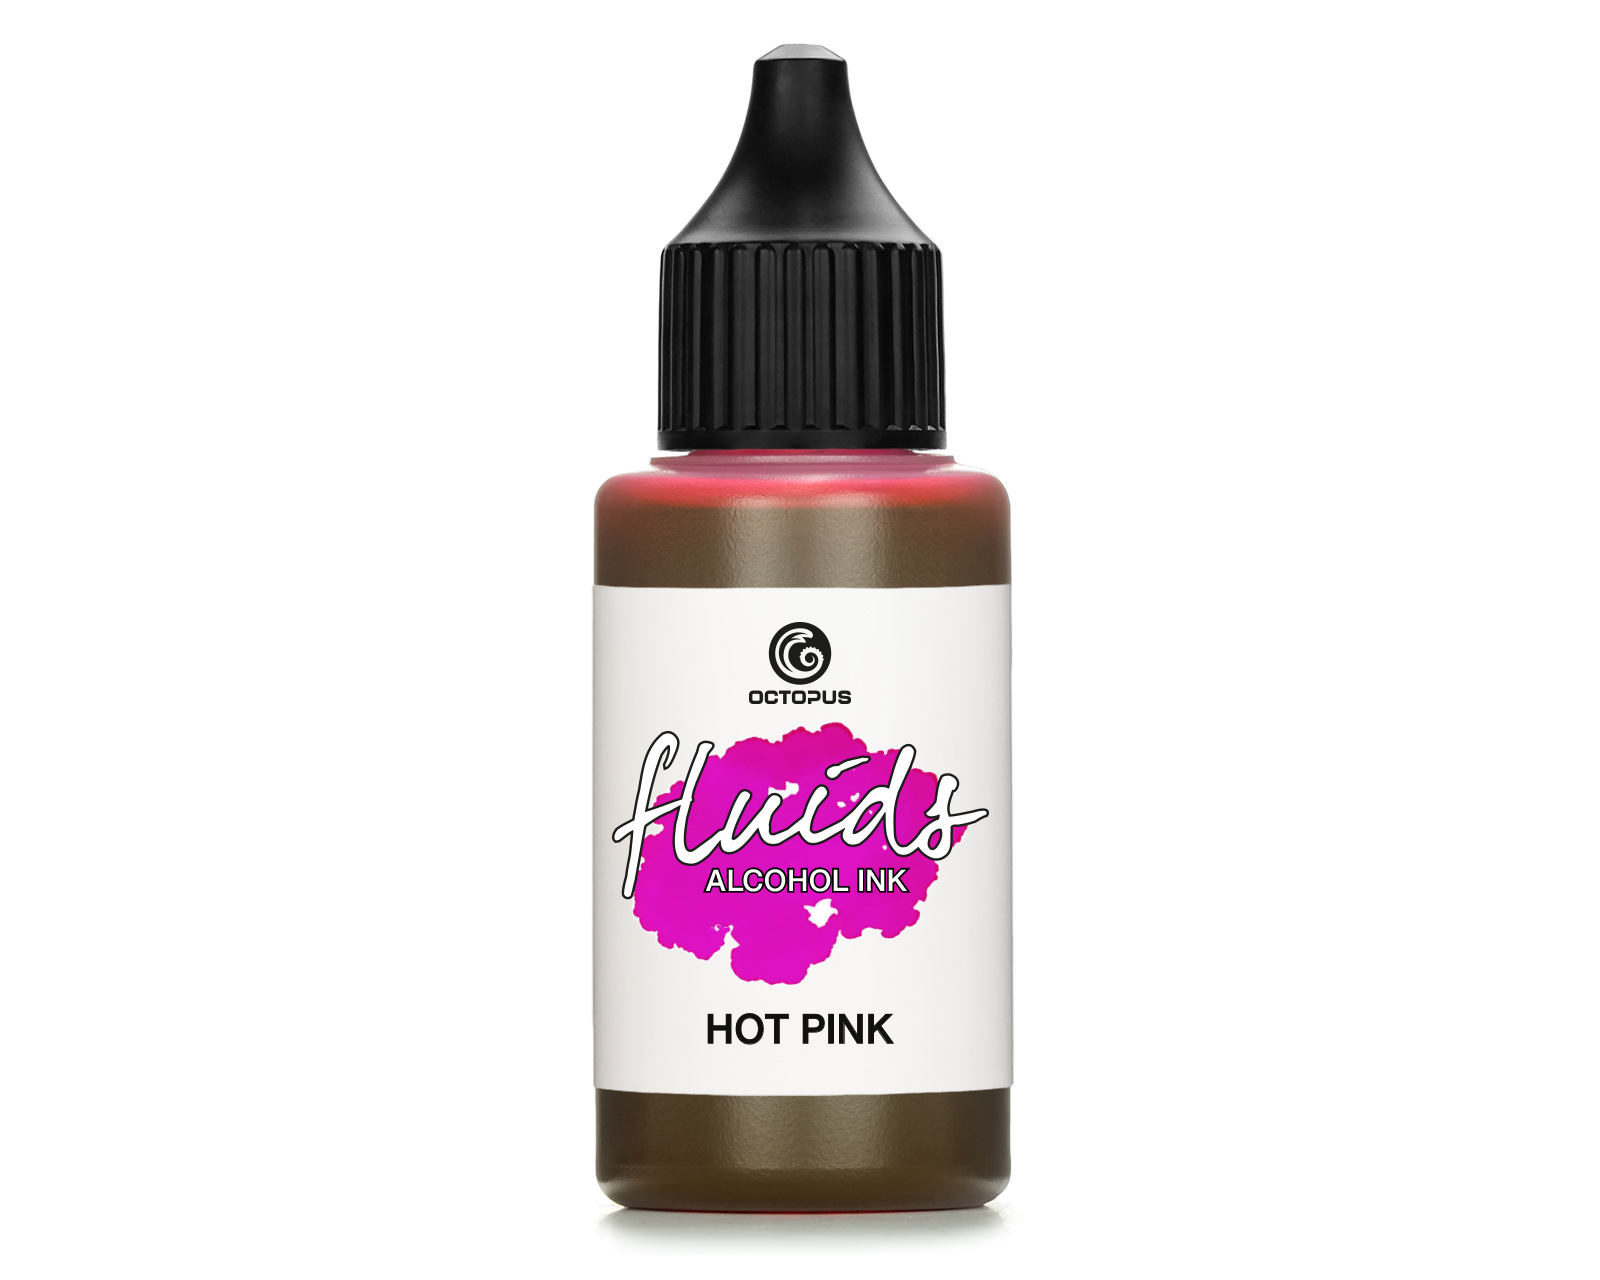 Octopus Fluids Alcohol Ink HOT PINK for fluid art and resin, pink
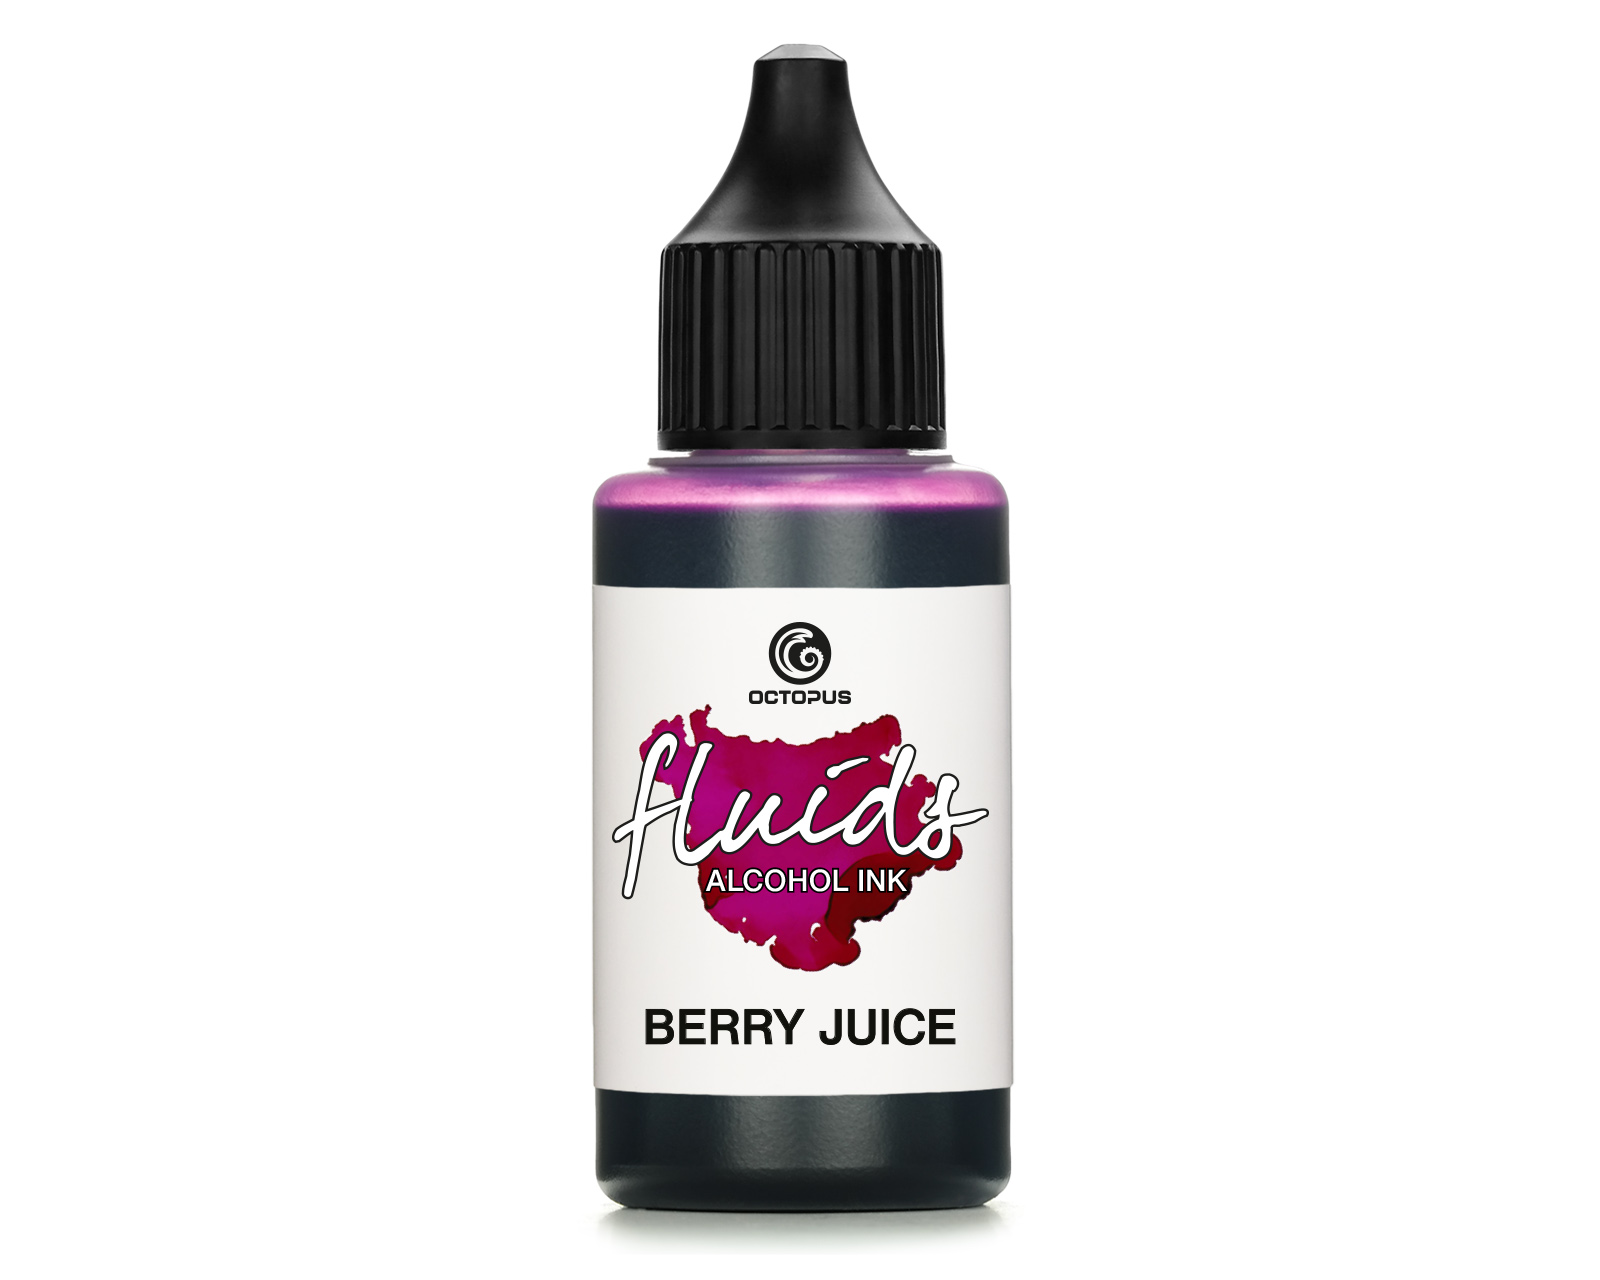 Octopus Fluids Alcohol Ink BERRY JUICE for fluid art and resin, violett
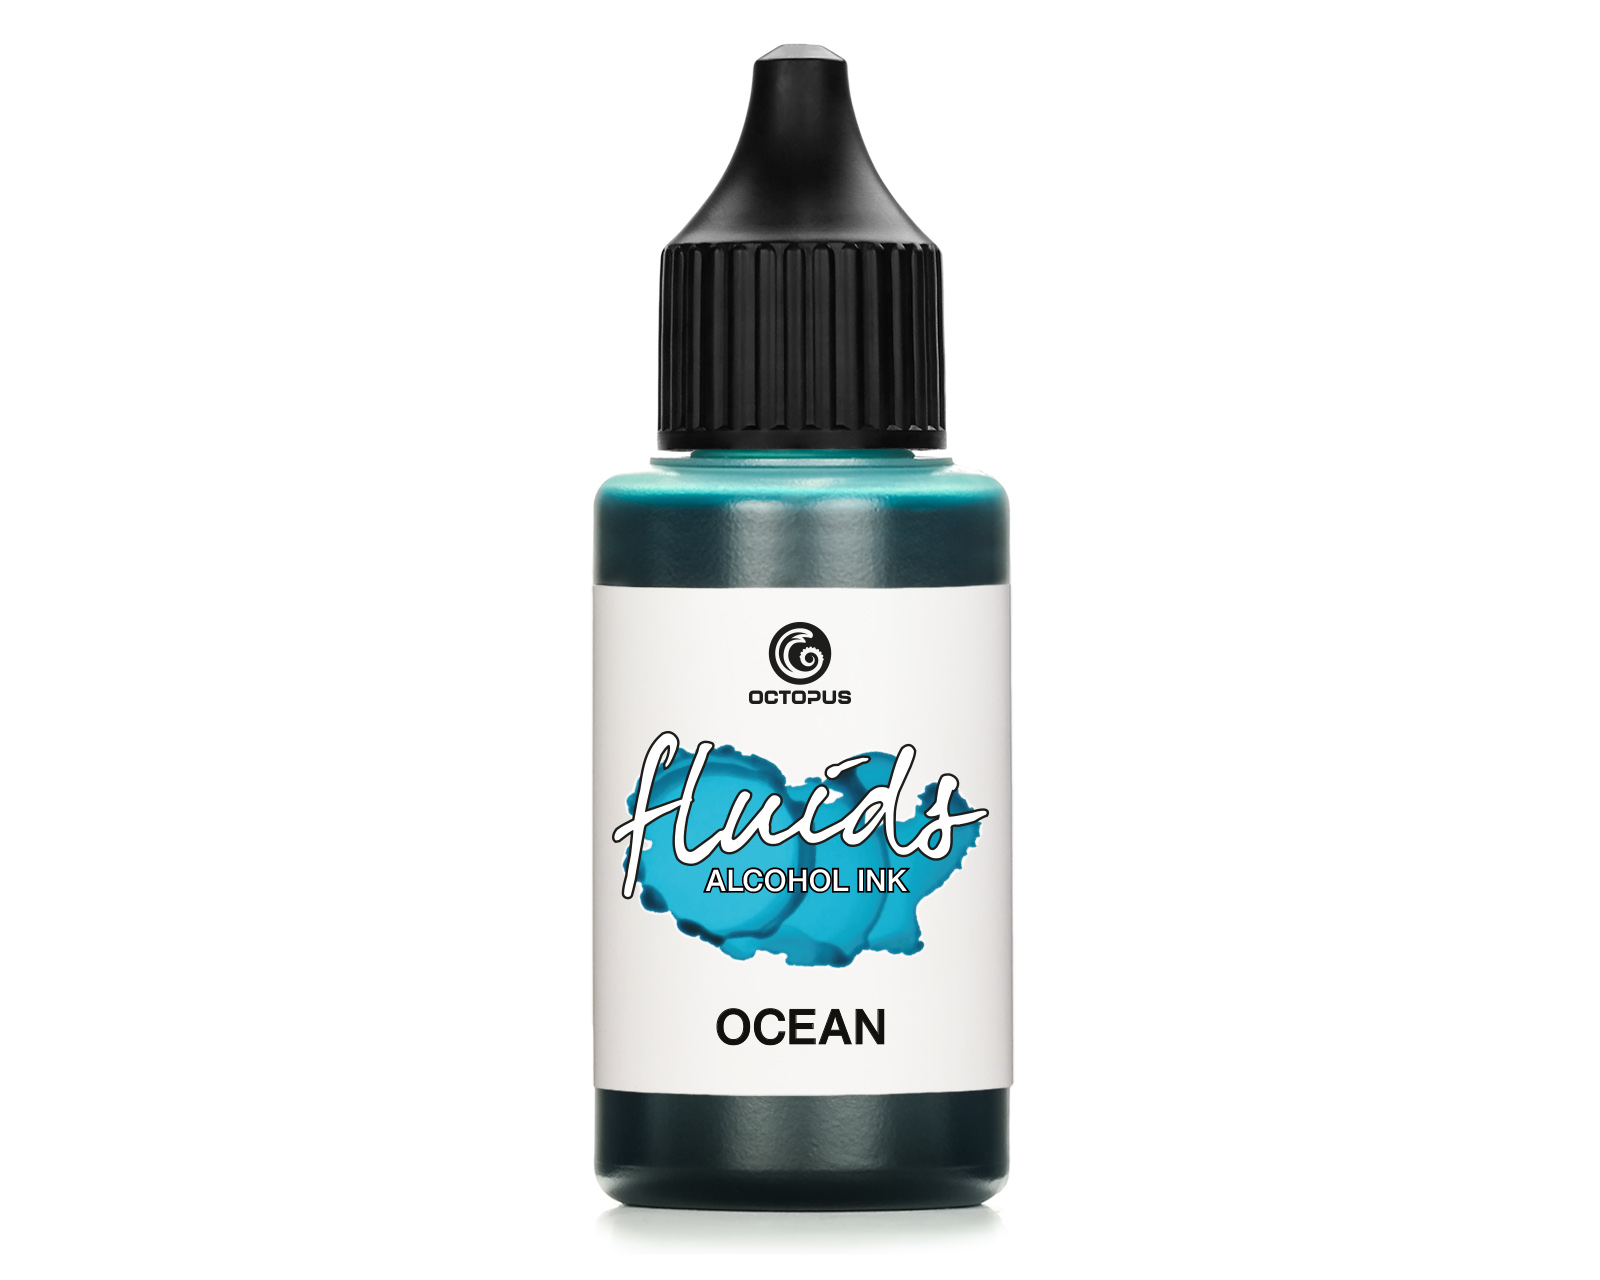 Octopus Fluids Alcohol Ink BLUE OCEAN for fluid art and resin, blue
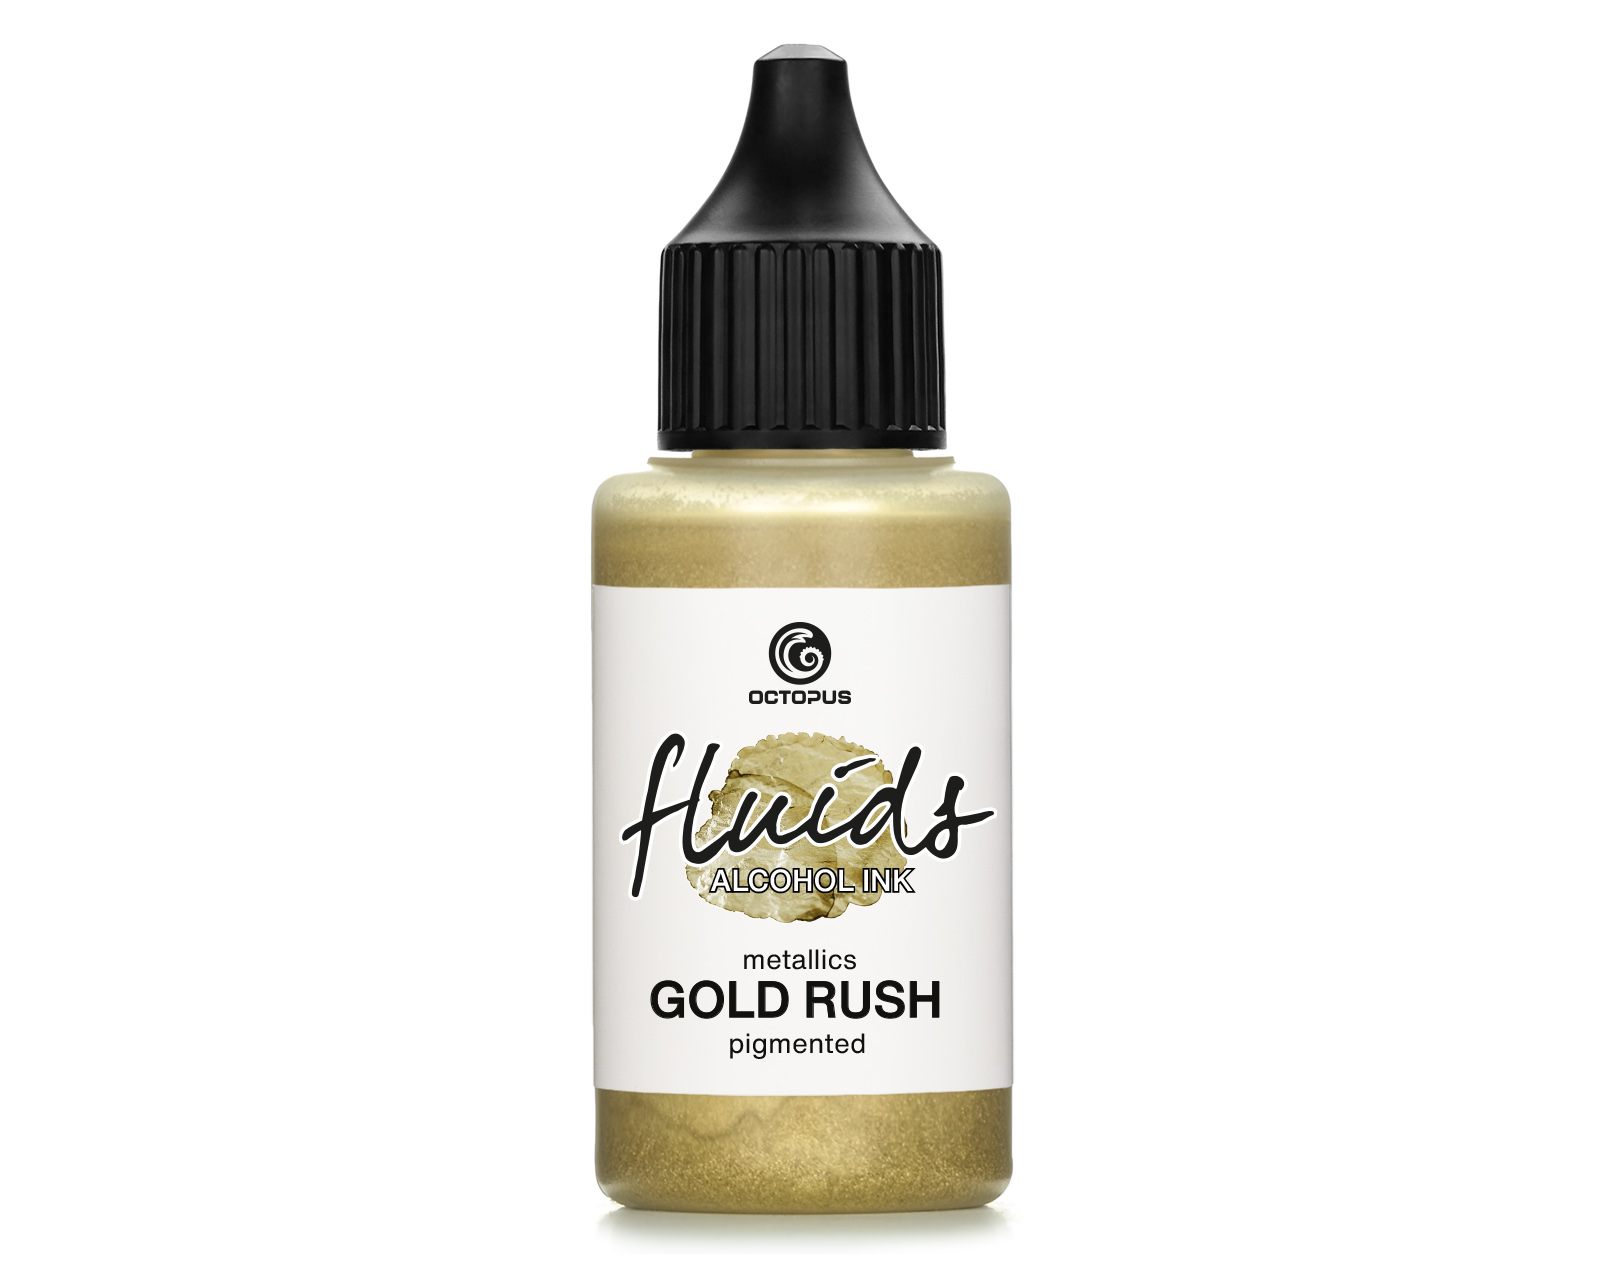 Octopus Fluids Alcohol Ink GOLD RUSH for fluid art and resin, metallic gold


