Detaillierte Ink Wash Technik
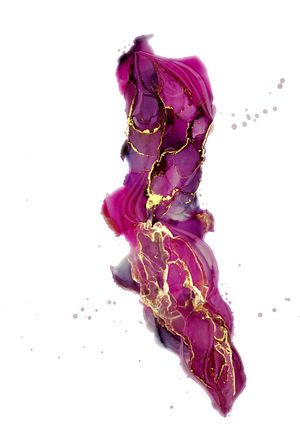
The following tutorial was created in the course of our calendar project with the linked artist. In addition to this tutorial, there are eleven other techniques around the various applications for alcohol inks. The individual materials, steps and tips were written by the respective artist and summarized by us for the calendar. We hope you have fun trying them out!
Materials used:
- Paper (e.g. AMI or Lanavanguard)
- Isopropanol
- Hair dryer or Air Blower
- Brush
- small bowl
- UV varnish
Colors used:
Artist:@unacreativista (link to instagram page)
Detailed Ink Wash
Step 1: "Preparation"
The workplace is prepared, the protective clothing is put on and the Alcohol Inks are opened. For the first attempts, the sheet should be fixed to the substrate. If you are working with a brush, you should also have a small bowl of isopropanol ready.
Step 2: "Blown away by the hair dryer"
Drop the Alcohol Inks "Plum", "Berry Juice" and "Shadow" into the center of the leaf and spread isopropanol around the colored drops. Then blow lightly into the colors so that everything is well distributed. As a supportive measure, the hair dryer can also be used after the first blowing to dry the colored areas first.
Step 3: "A little gold never hurts!"
If the shape and color of the image looks good, take the Metallic Ink to hand. This should always be used sparingly, otherwise too large metallic glittering areas will be created. To do this, place one or two drops of "Inka Gold" and a few drops of isopropanol in the center of the image, work from the center outward with the hair dryer, and carefully distribute the dissolved inks. By repeatedly adding a few drops of isopropanol to the freshly dried area after one or two centimeters and moving it back and forth using the air current, you will eventually get numerous lines and details.
Step 4: "The final touch"
Satisfied with the overall composition? Then all that's left is the finish. You can use a brush to change the areas that you don't like so much. It's especially fancy if you use the brush to paint lines or shapes that enhance the dynamics of the image. Finally, dip the brush into the already colored isopropanol from the bowl and use it to deliberately or accidentally add a few droplets as highlights. Finally, seal the artwork with a layer of alcohol-free UV varnish to protect it from the effects of light and abrasion.
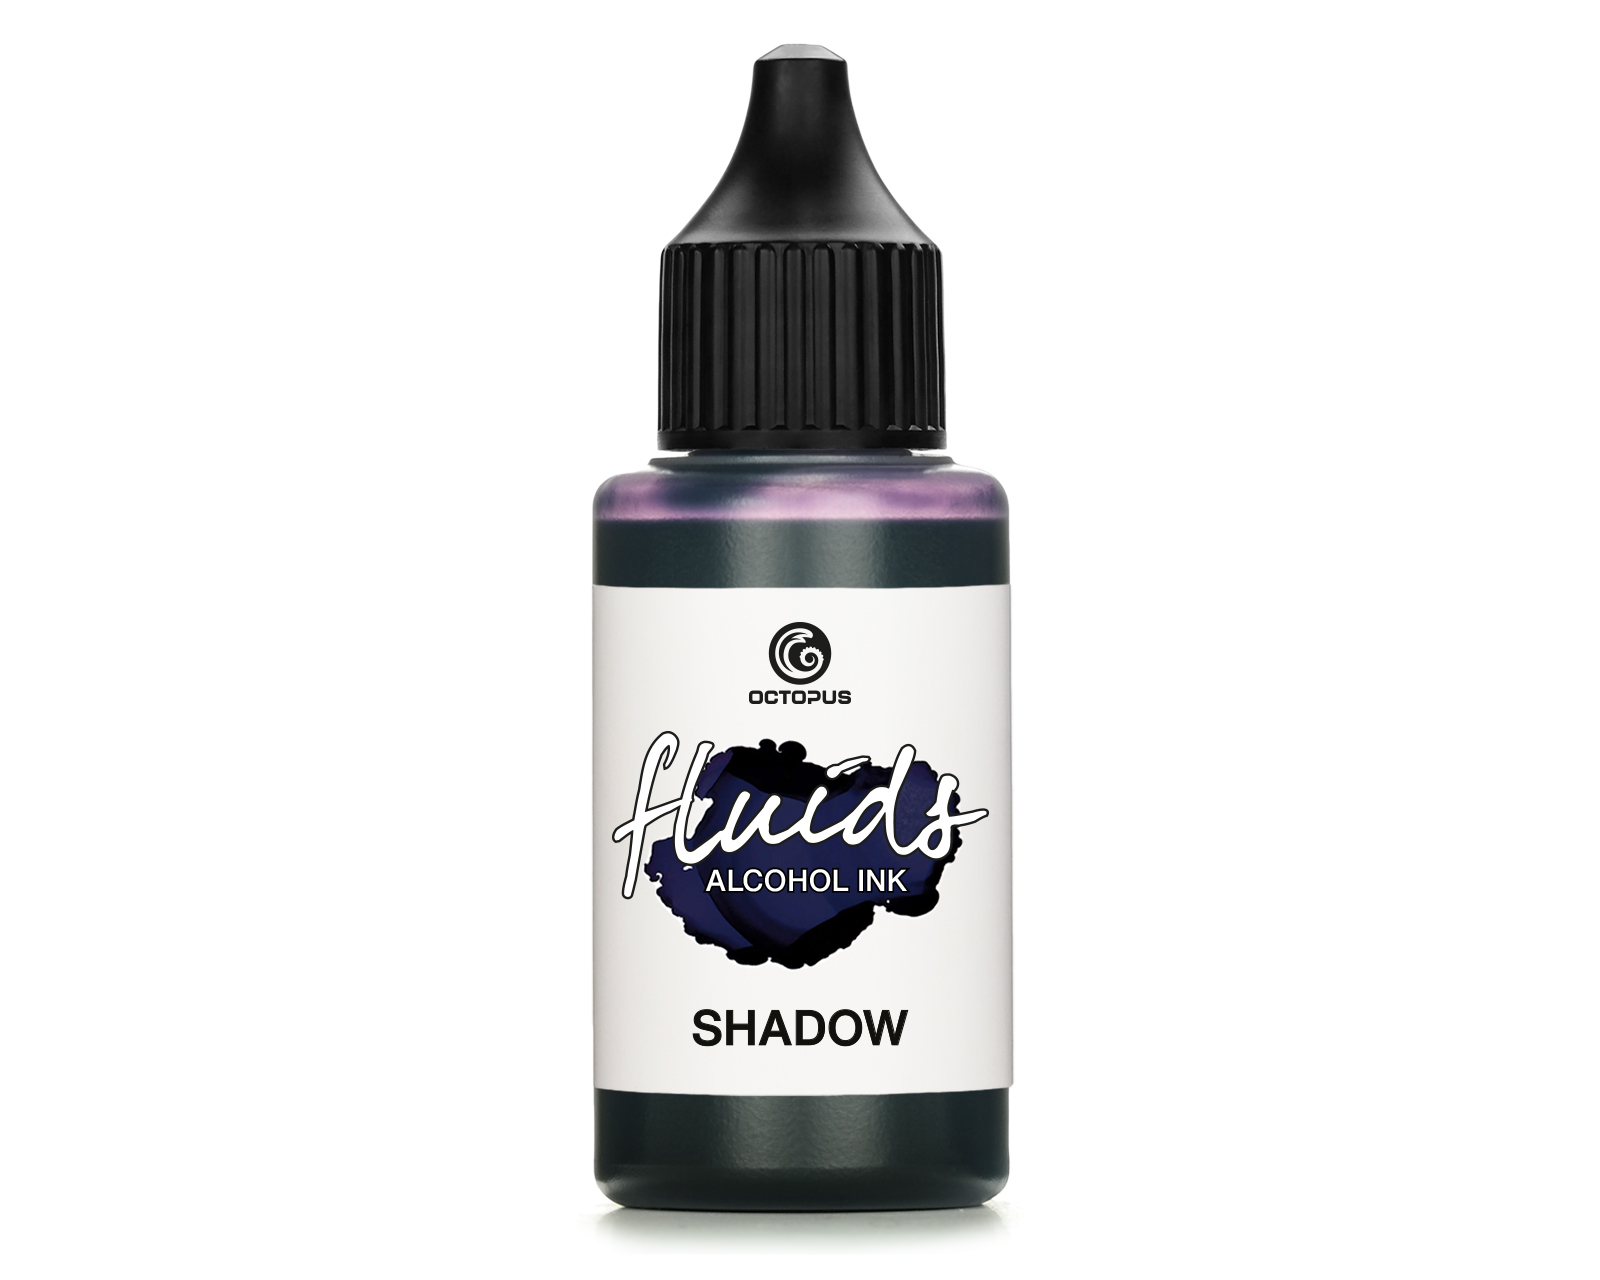 Octopus Fluids Alcohol Ink SHADOW for Alcohol Ink Art, grey-blue
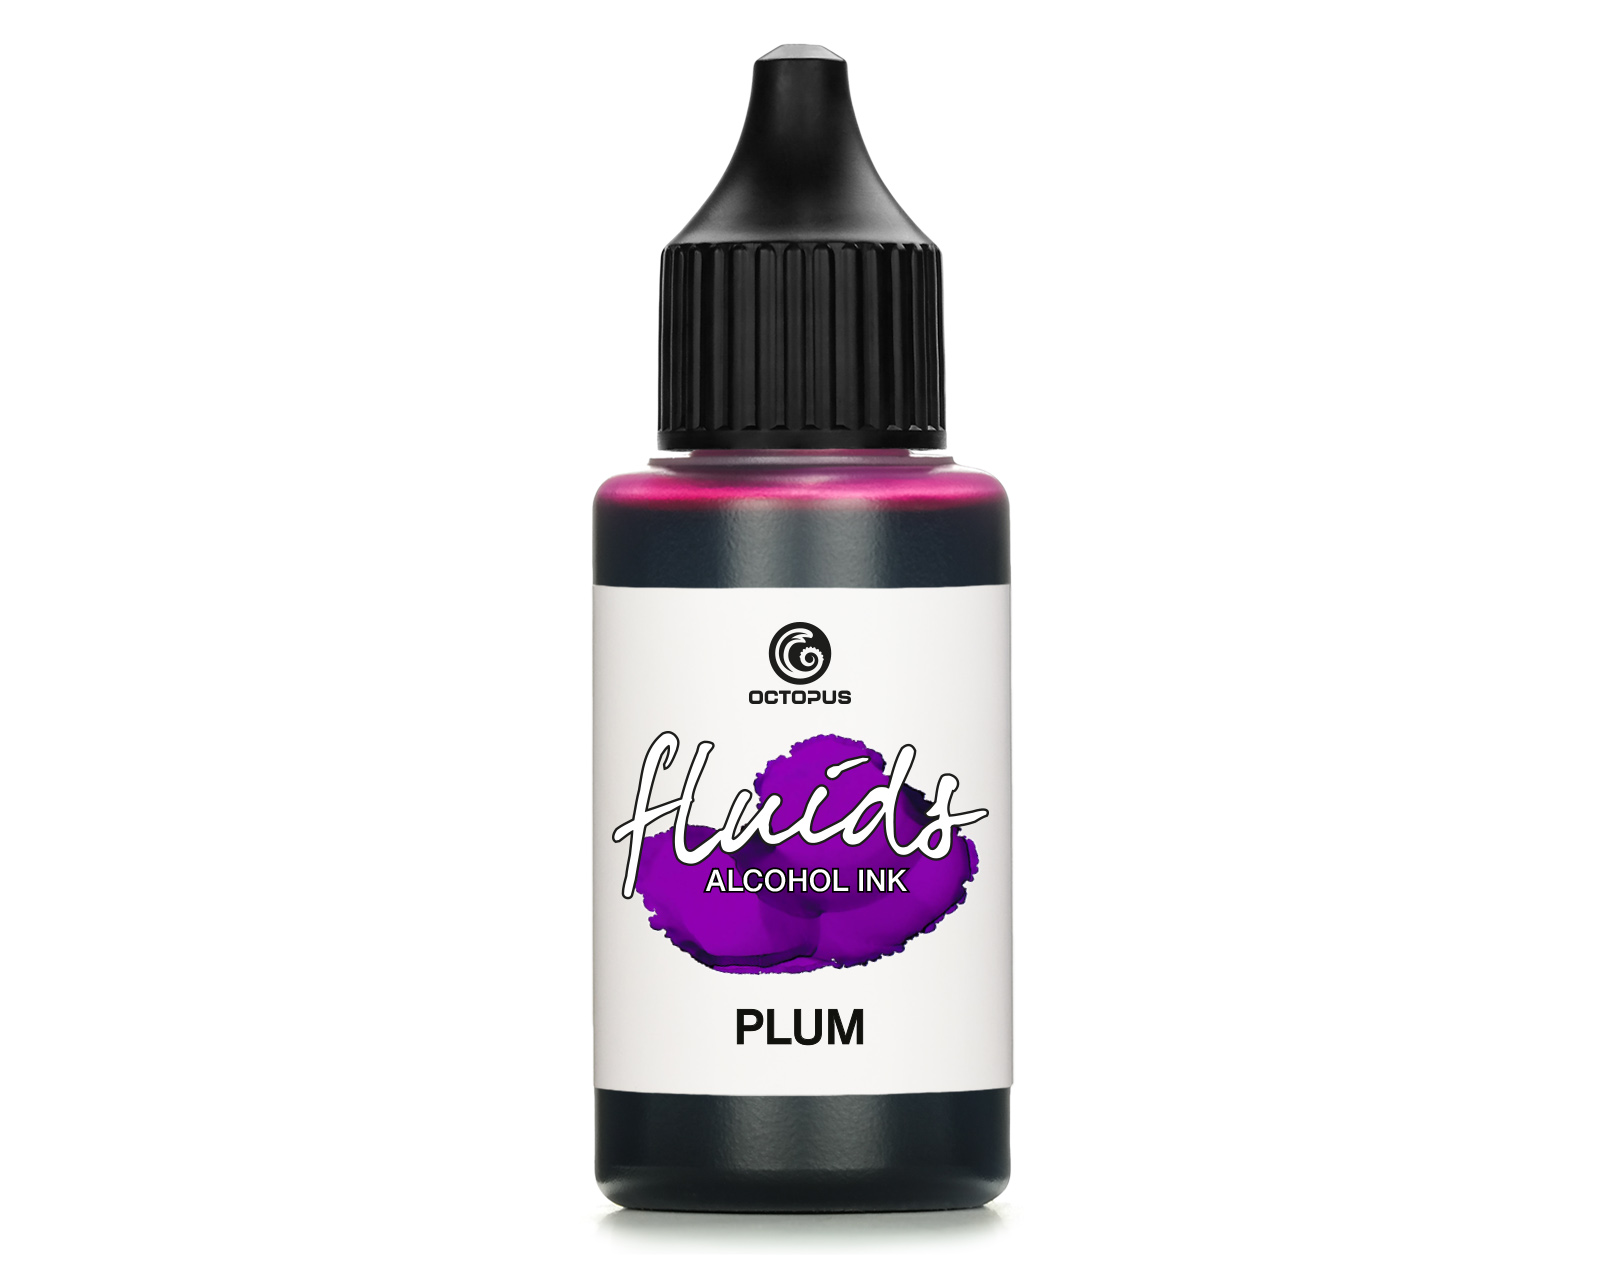 Octopus Fluids Alcohol Ink PLUM for fluid art and resin, violett
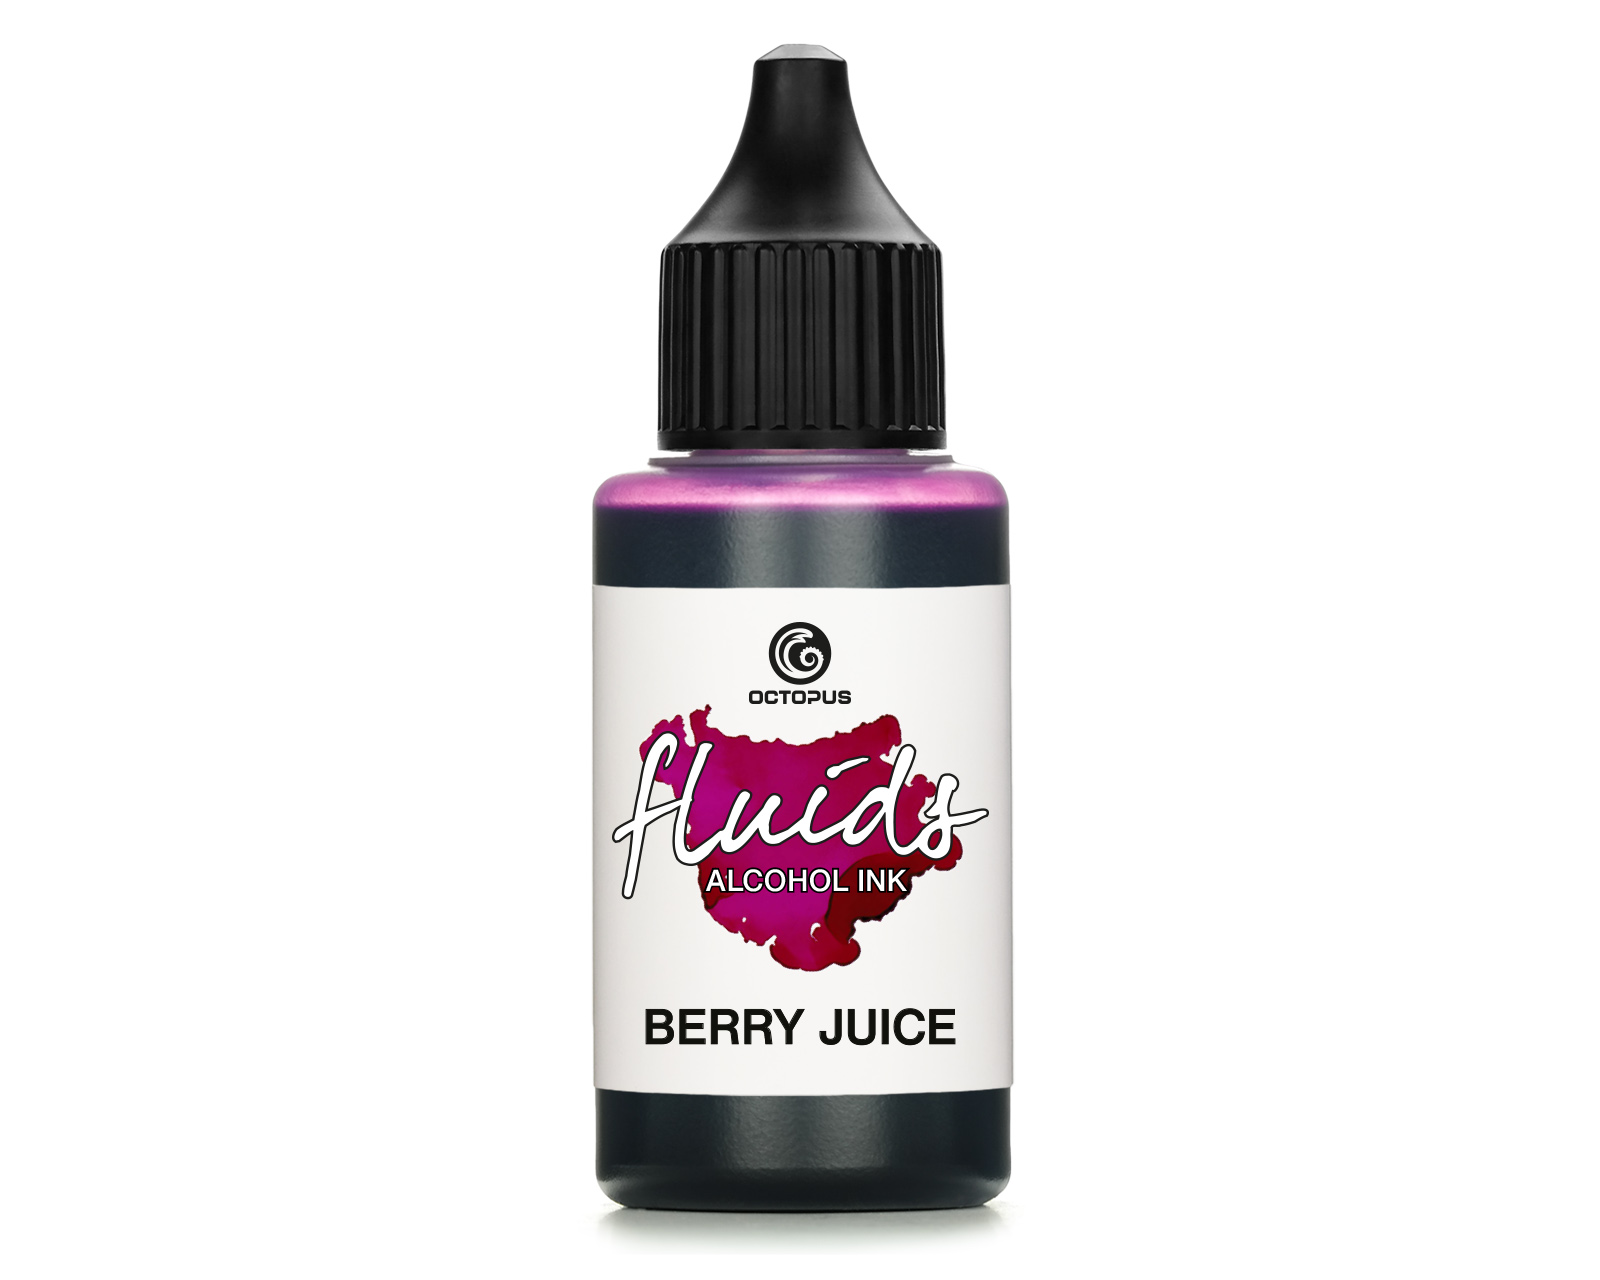 Octopus Fluids Alcohol Ink BERRY JUICE for fluid art and resin, violett
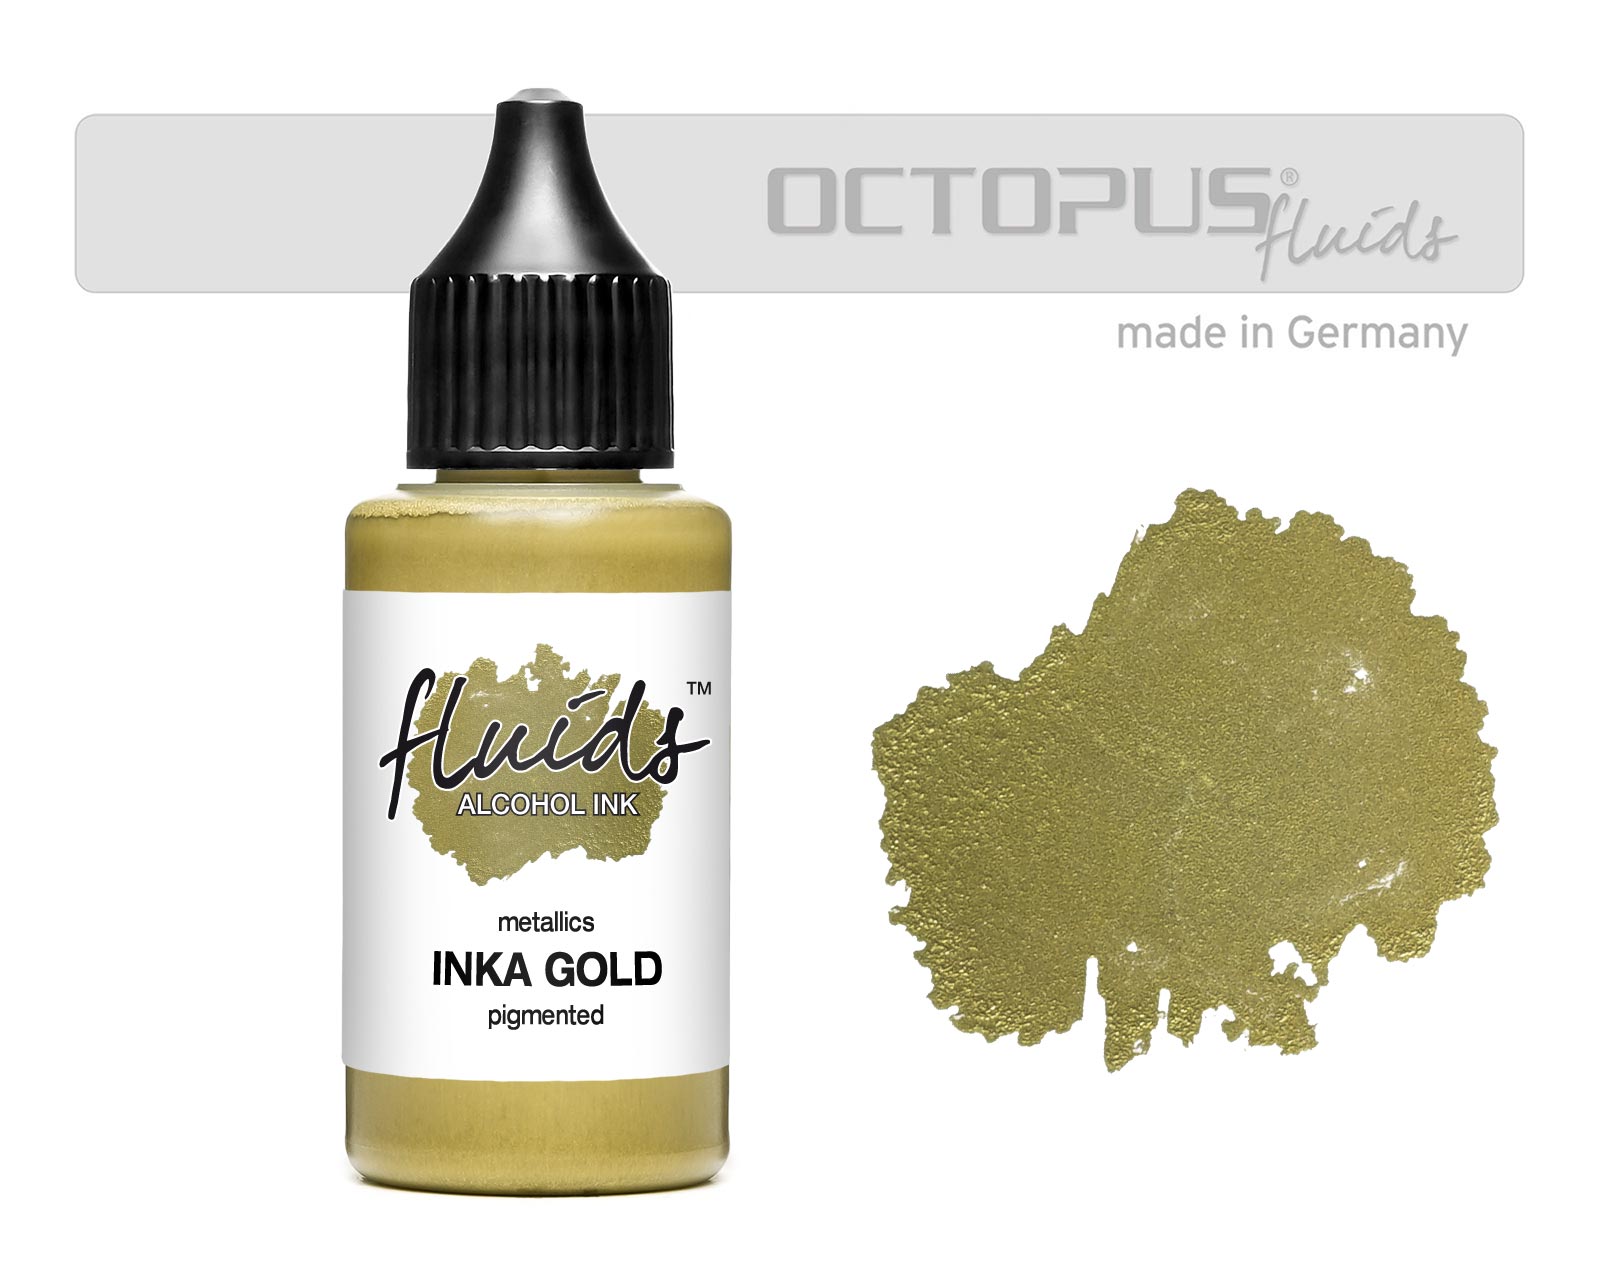 Octopus Fluids Alcohol Ink Inka Gold for fluid art and resin, metallic gold


