Mixed media with airbrush gun
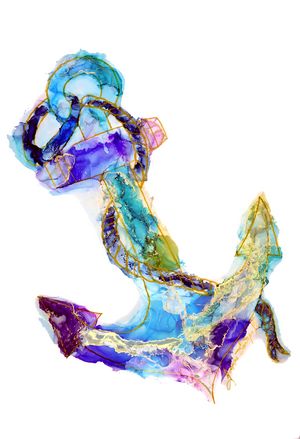
The following tutorial was created in the course of our calendar project with the linked artist. In addition to this tutorial, there are eleven other techniques around the various applications for alcohol inks. The individual materials, steps and tips were written by the respective artist and summarized by us for the calendar. We hope you have fun trying them out!
Materials used:
- Paper (e.g. AMI or Lanavanguard)
- Isopropanol
- Pipettes
- Cup
- Airbrush gun/hair dryer
- Protective clothing
- UV varnish
Colors used:
Artist: @yvonnezawinell.art (link to instagram post)
Mixed Media & Airbrush
Step 1: "We set sail!"
For this maritime motif, first draw an anchor on the Alcohol Ink paper. To do this, you can either trace the anchor using a template or draw it freestyle. It is important that the motif is then traced with a permanent marker, which adheres to the paper. A metallic color such as gold can also be used. Then the workplace is prepared, protective clothing is put on and, of course, the Alcohol Inks are provided. First, all the colors are filled separately into small cups. For this, three drops of each of the Alcohol Inks "Lagoon", "Olive" and "Royal Blue" are mixed with three drops of isopropanol.
Step 2: "Colors Ahoy!"
The diluted ink is first applied to the upper ring of the anchor using the pipette. Dry immediately afterwards using a cold air dryer or airbrush gun. Through different movements of the airbrush gun and different distances to the paper, interesting shapes and patterns are created. Of course, painting over areas is allowed, this creates the desired wave forms. Nevertheless, you should roughly orient yourself to the contour of the anchor.
Step 3: "Across the sea of ink"
Now you can place the selected colors next to each other or let them run into each other. This is achieved by applying one color and placing the next color not next to it, but on the edge of the previous color, and using the air of the airbrush gun to now allow the colors to interplay. This creates numerous and wonderful transitions with their own contours, dots, waves and patterns. If the color areas appear too light or too transparent, you can add a few drops of pure isopropanol to the motif and drip a few drops of undiluted Alcohol Ink into it.
Step 4: "Land in sight!"
Metallic Ink is used as a highlight. Partly diluted with isopropanol or pure, it is the very special something in the motif! While the other colors have a very nice, but rather restrained, transparent sheen, "Gold Rush" stands out with its high pigmentation and thus creates interesting, golden highlights. Finally, trace the contours of the anchor and the dew more heavily to create a nice contrast between the sea colors and the maritime motif. Seal the artwork with a layer of alcohol-free UV varnish.
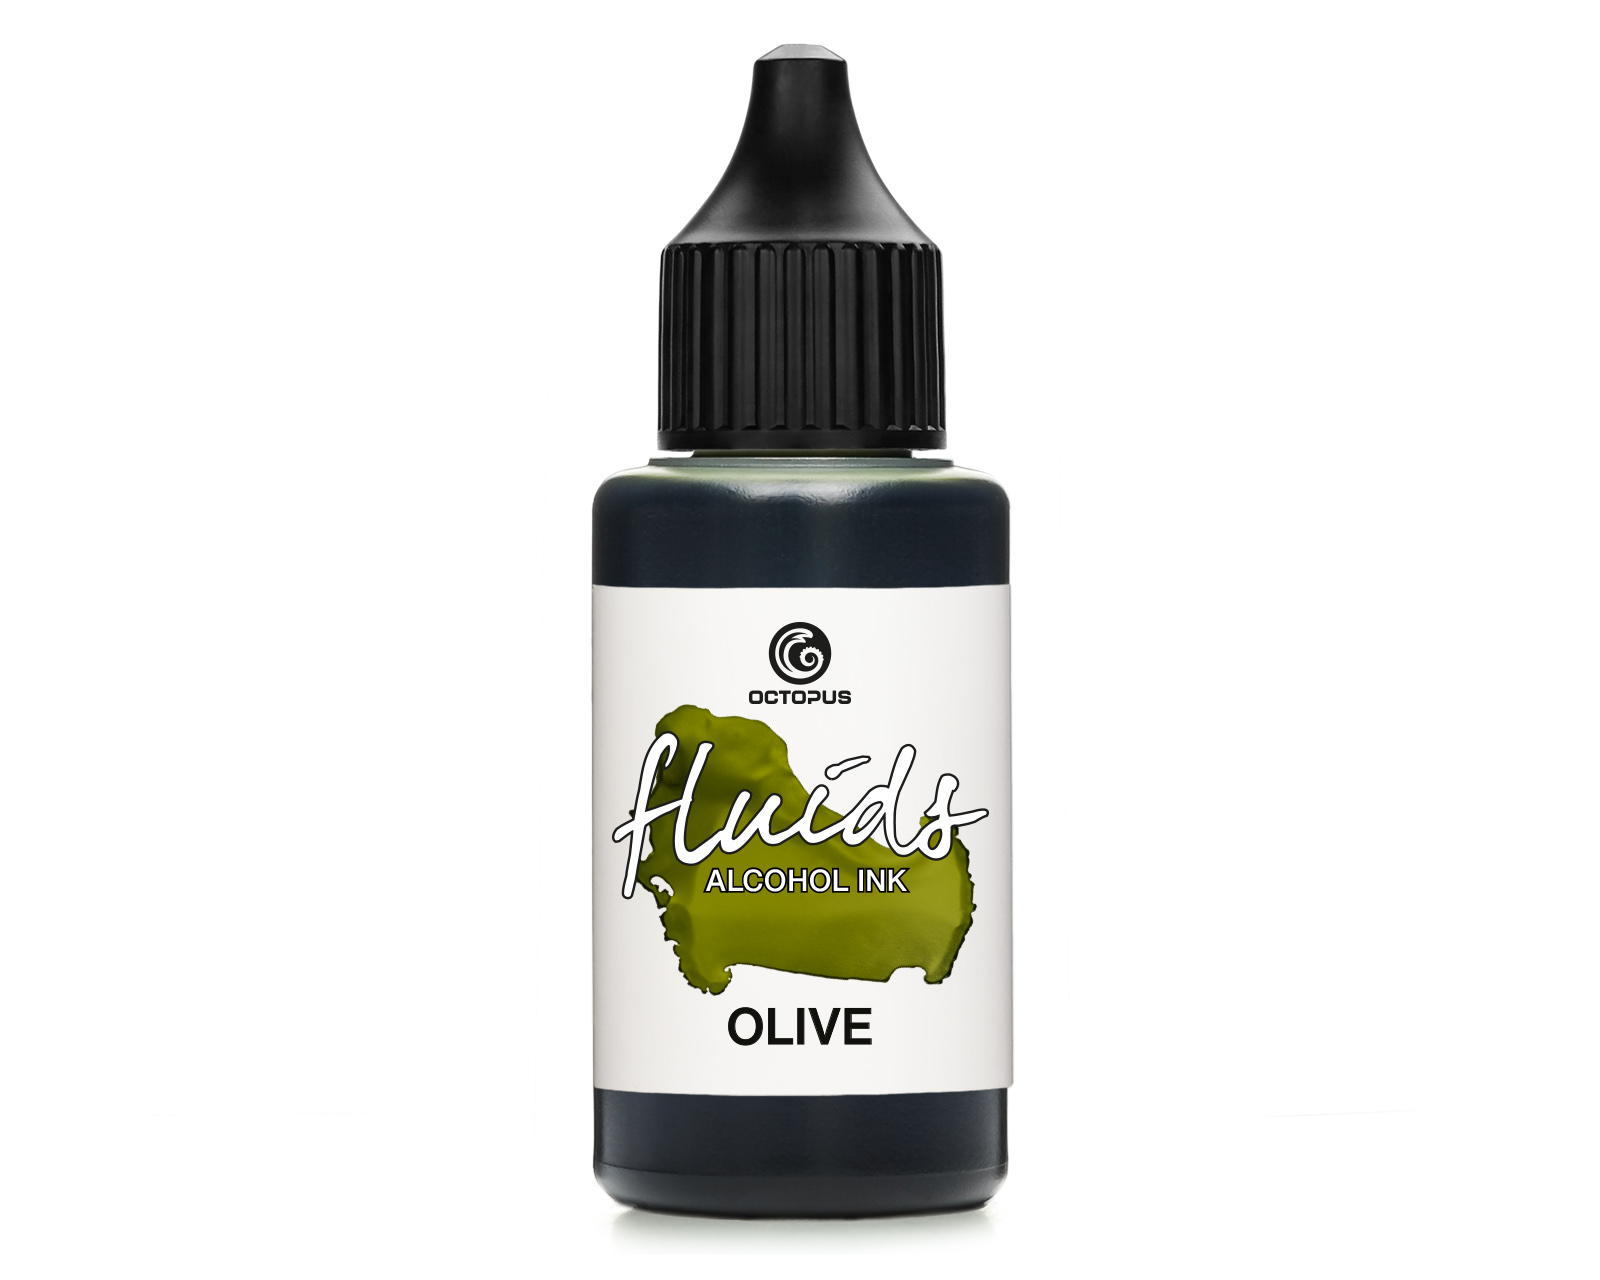 Octopus Fluids Alcohol Ink Olive for fluid art and resin, green
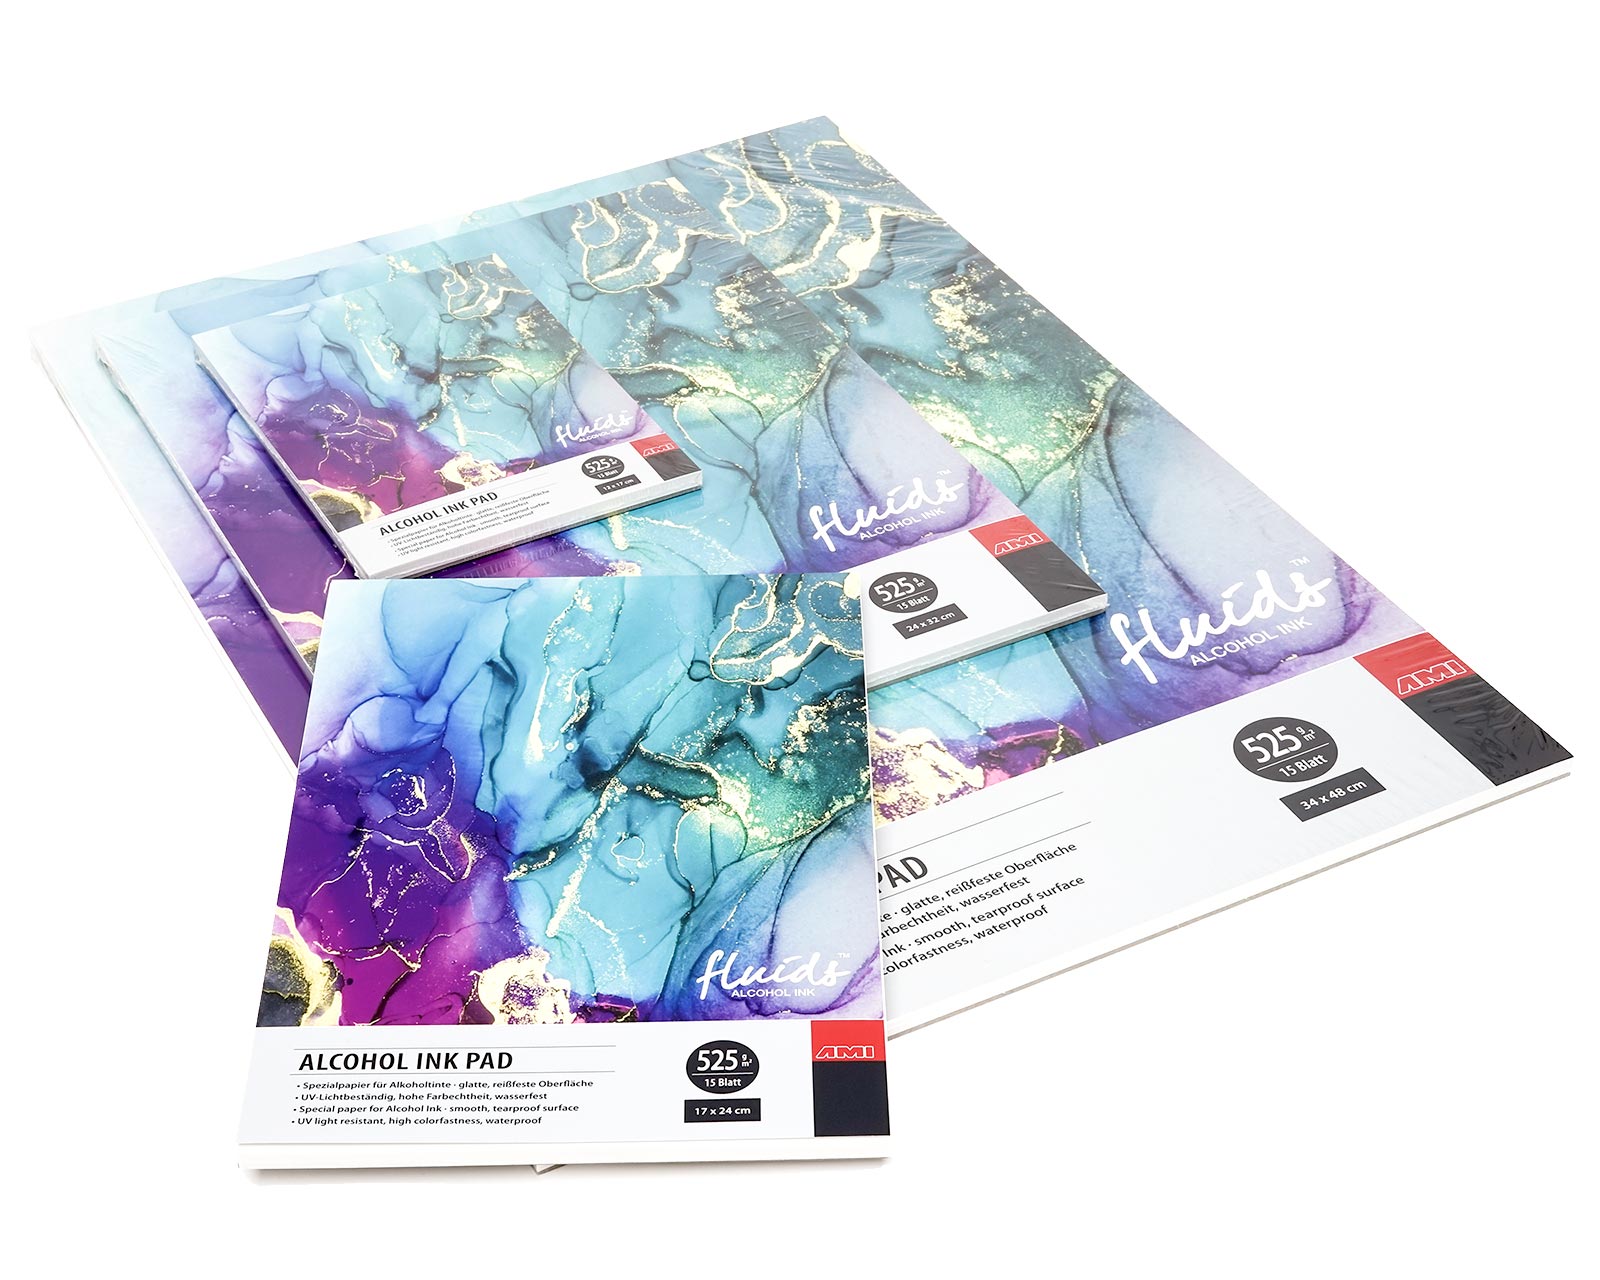 Alcohol Ink Paper Fluids Alcohol Ink Pad 15 sheets, 24 cm x 32 cm, bound
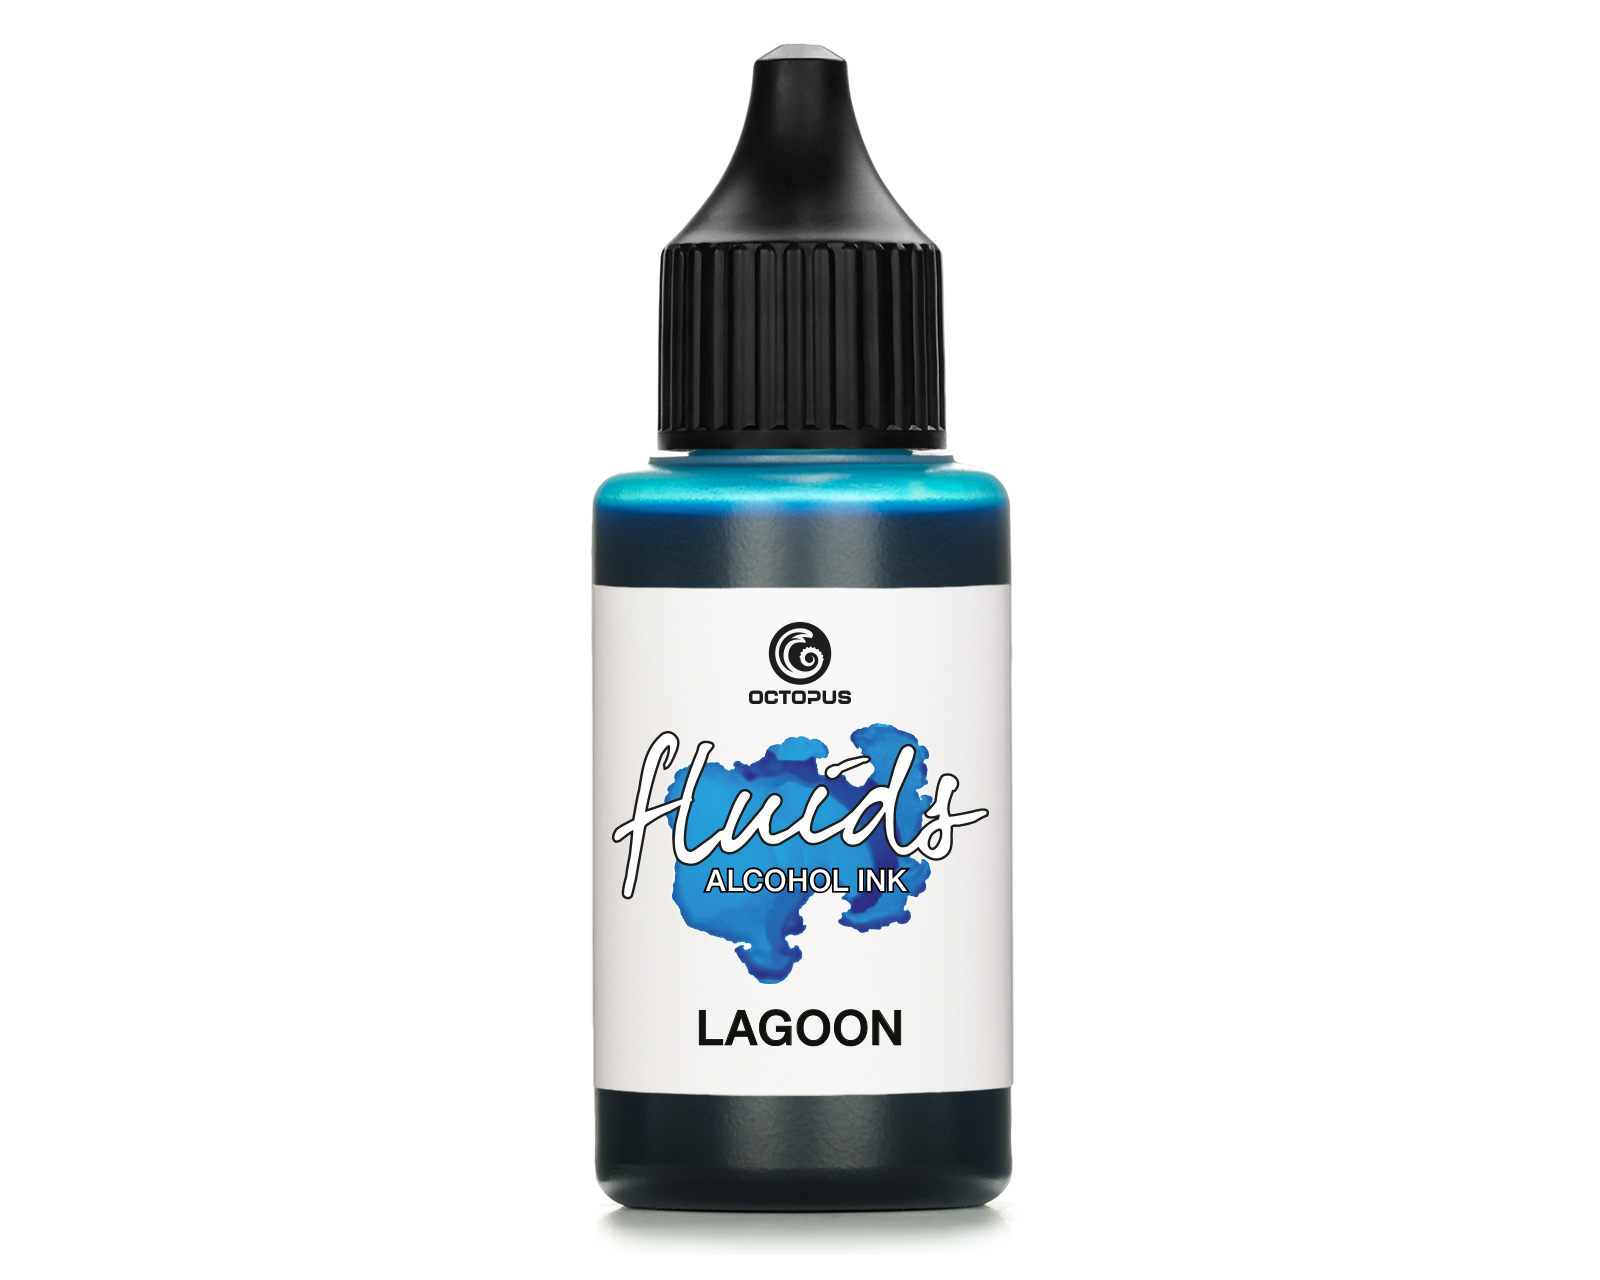 Octopus Fluids Alcohol Ink LAGOON for fluid art and resin, blue
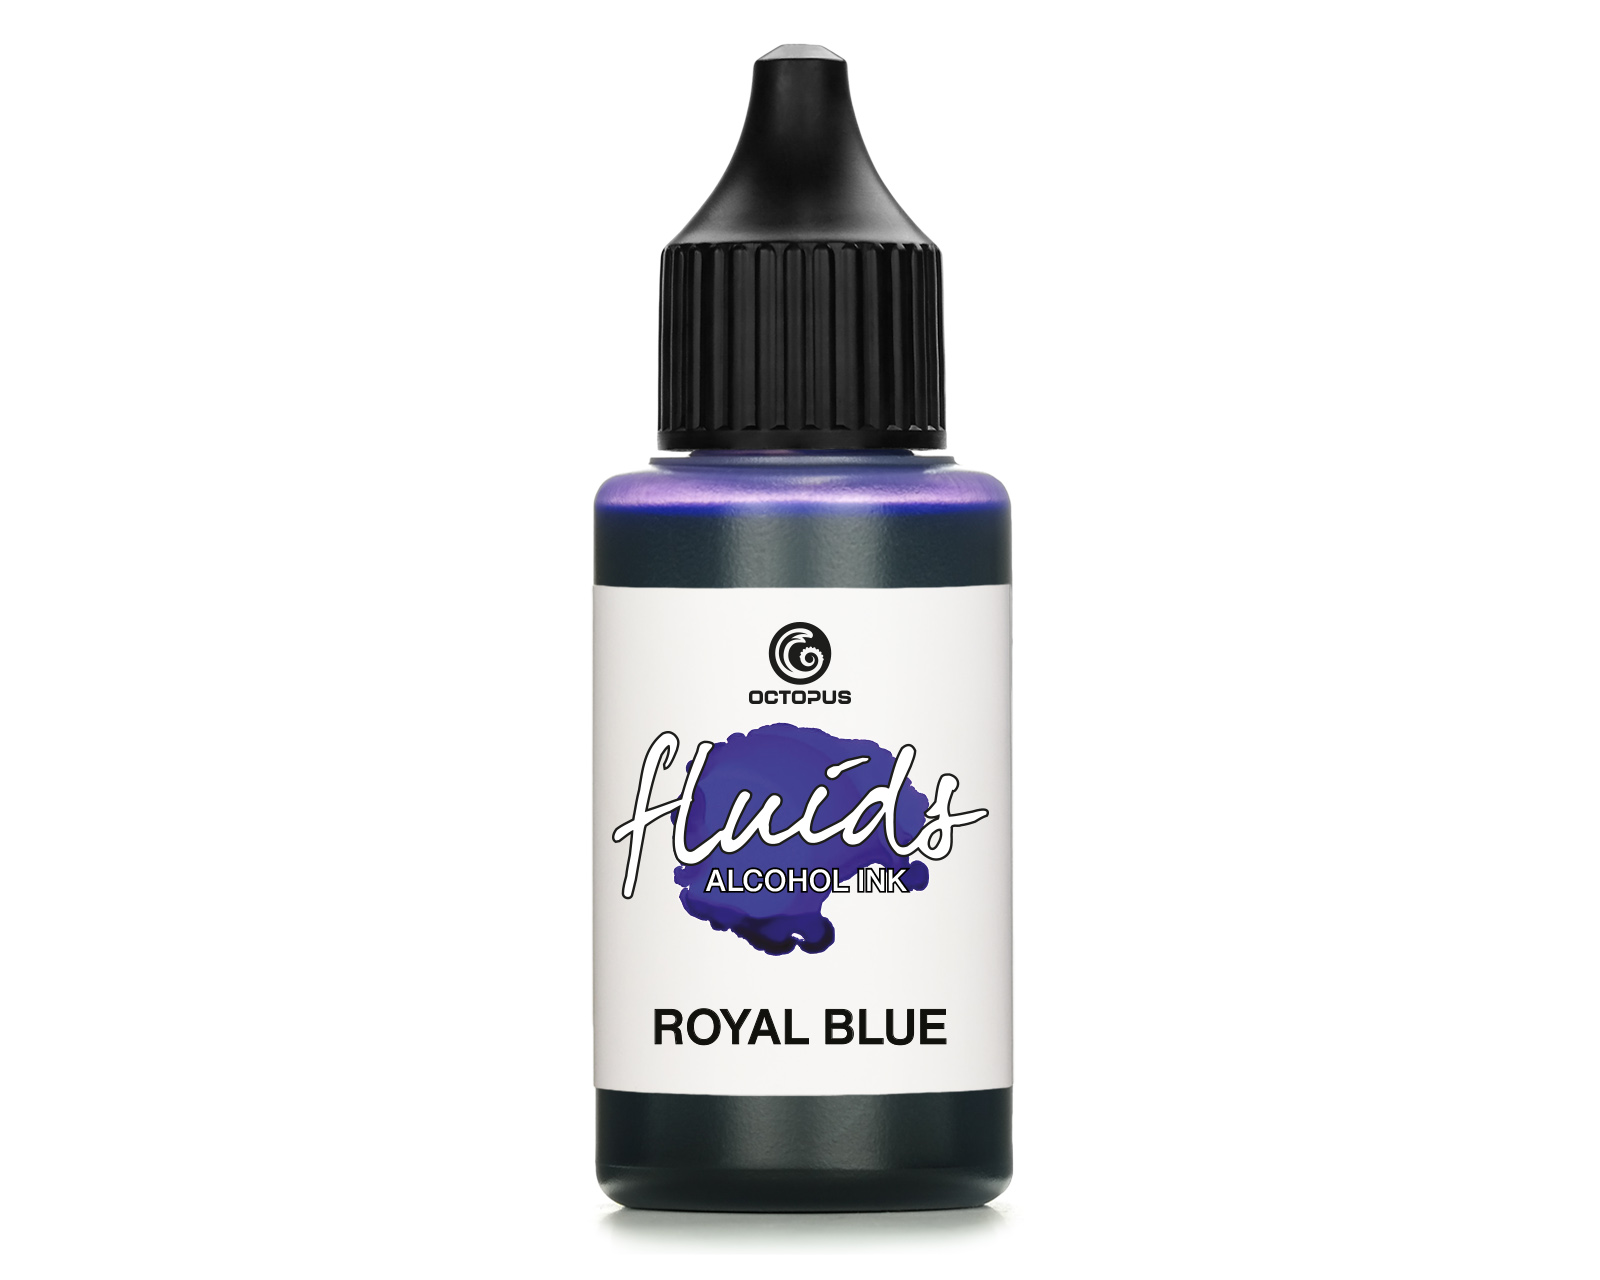 Octopus Fluids Alcohol Ink ROYAL BLUE for fluid art and resin, blue
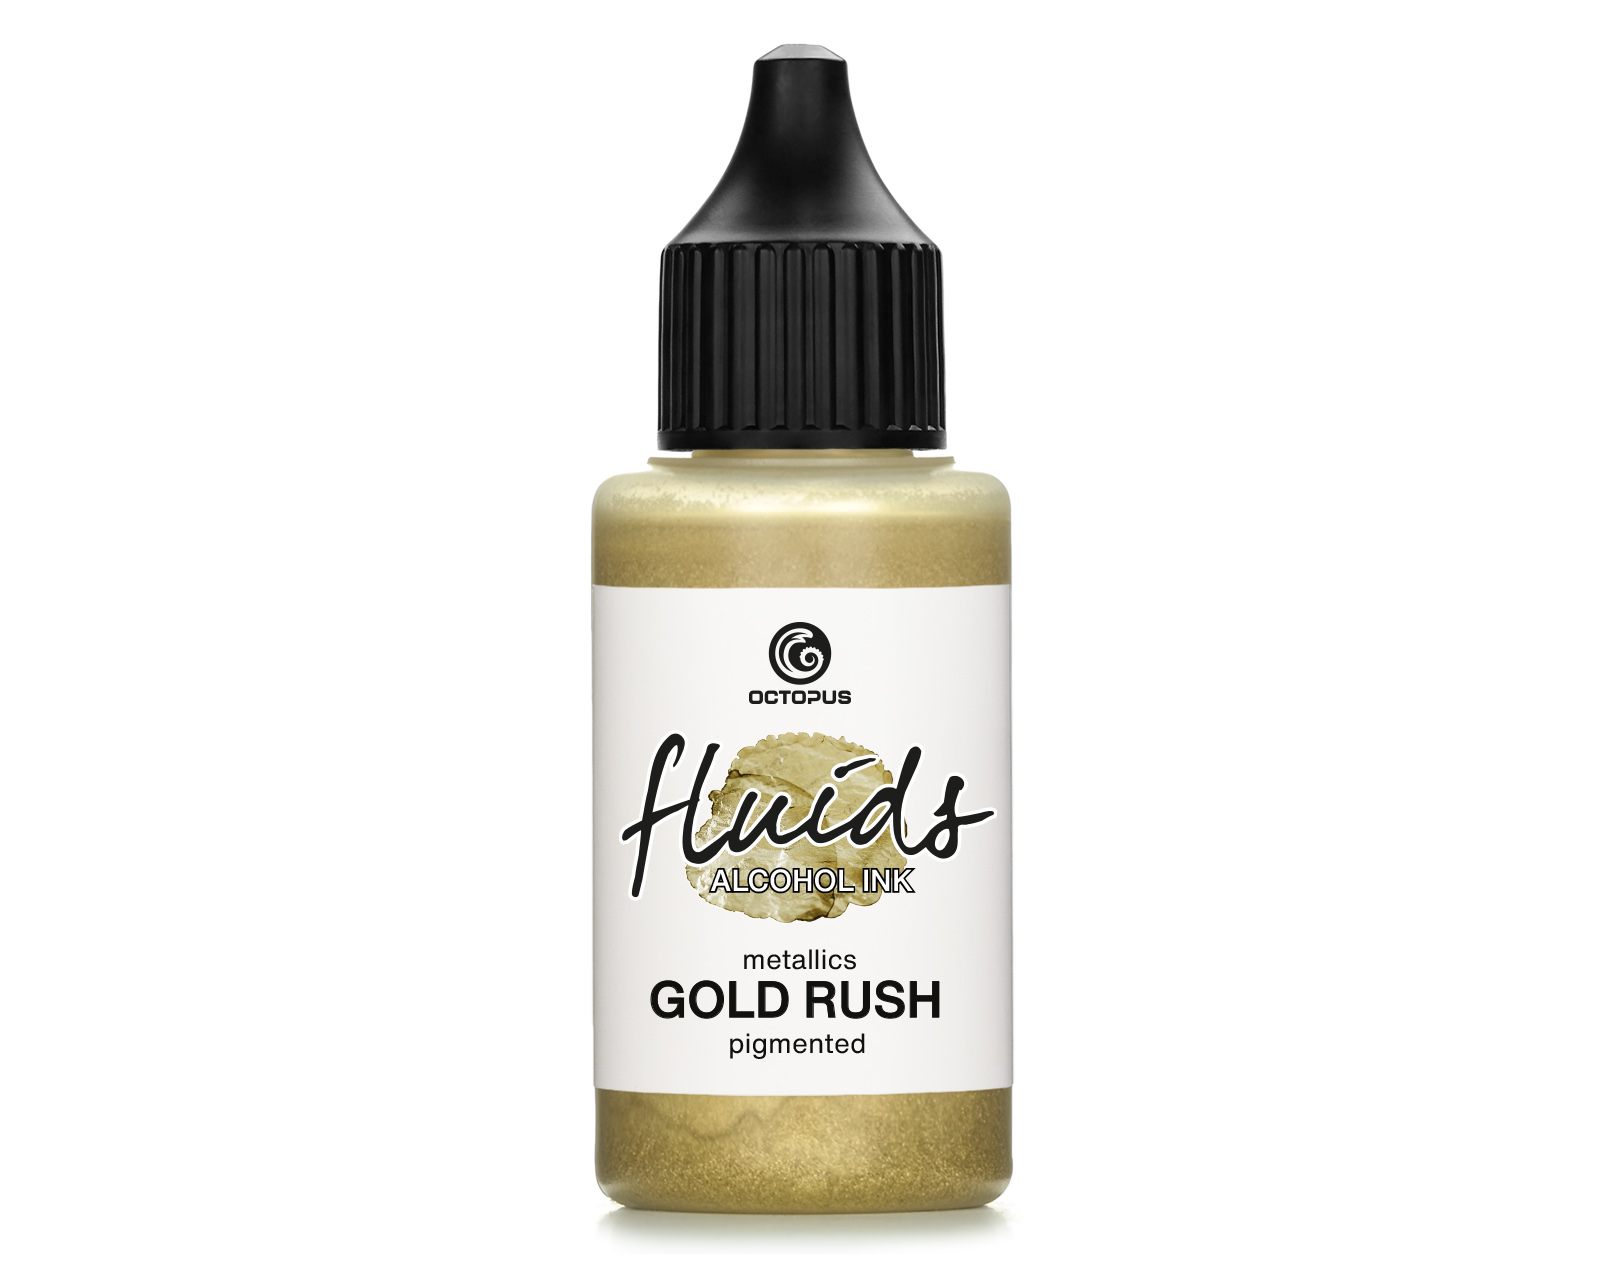 Octopus Fluids Alcohol Ink GOLD RUSH for fluid art and resin, metallic gold
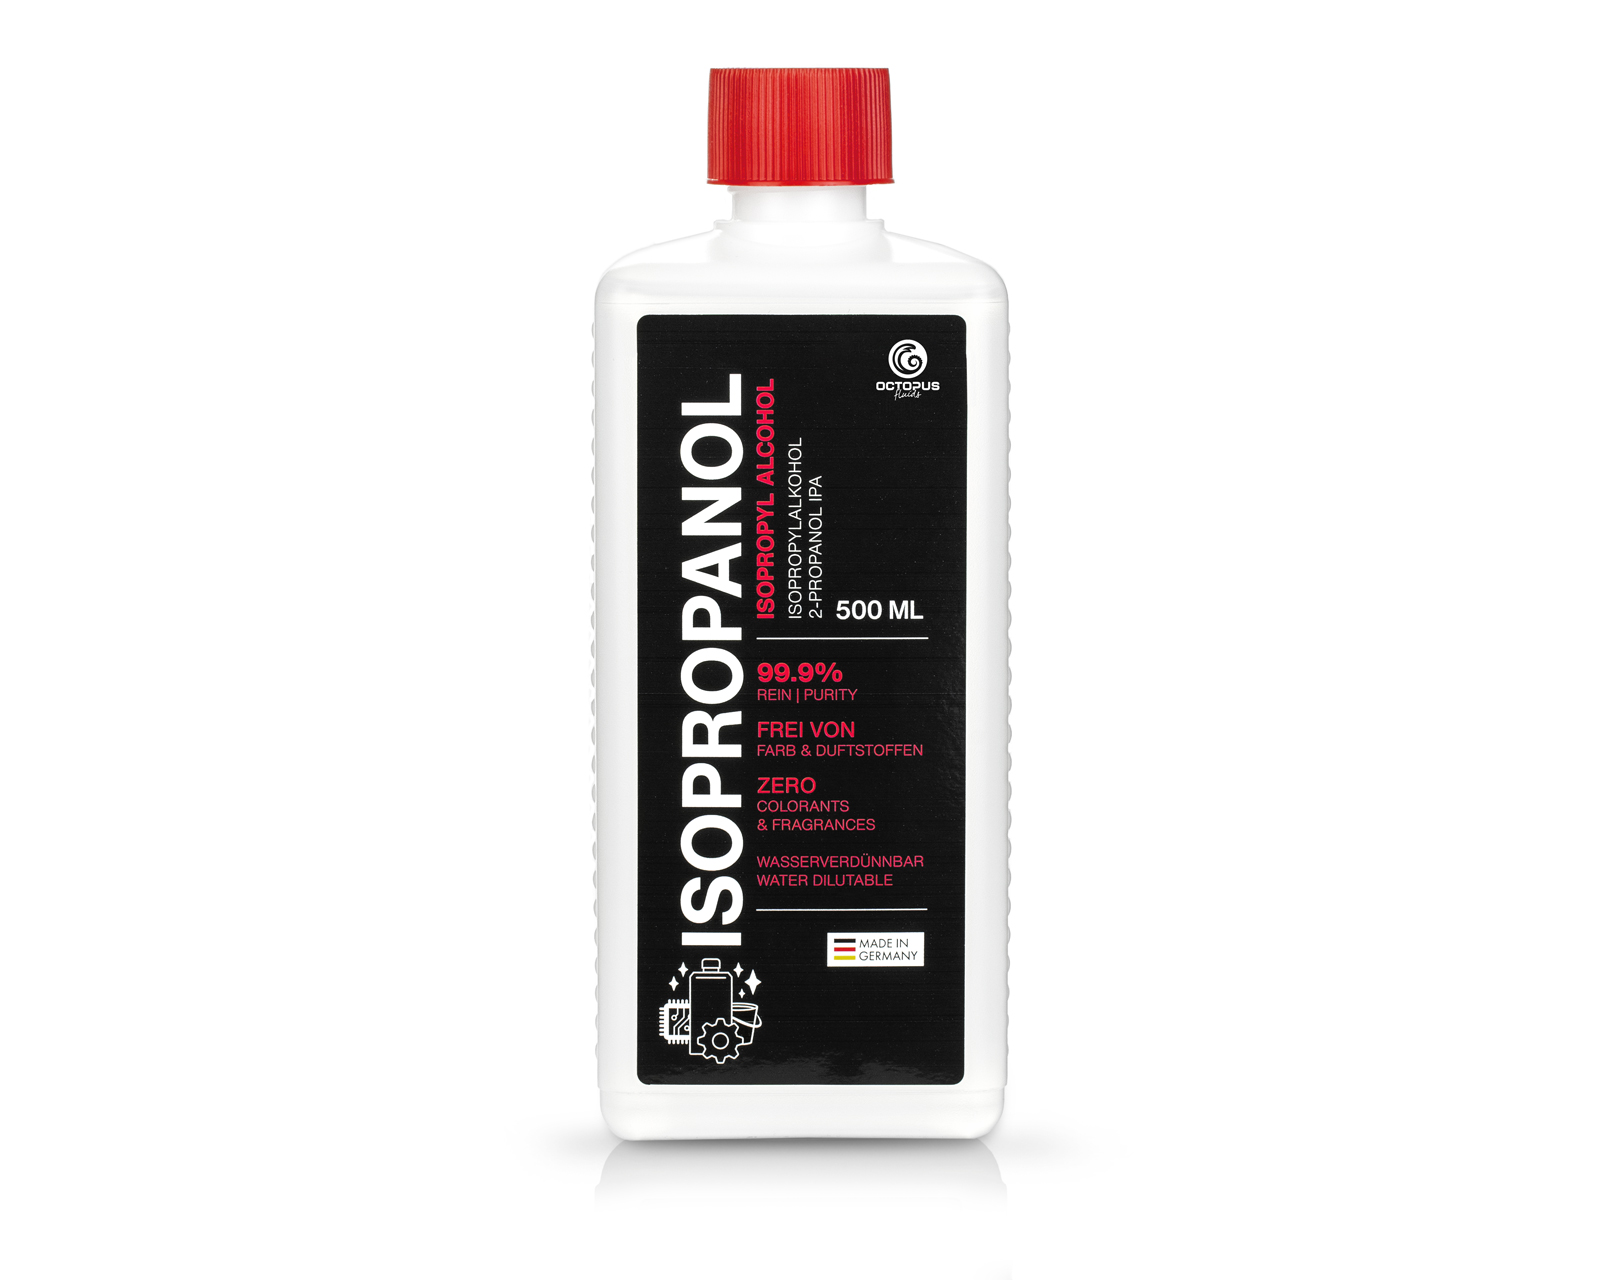 Isopropanol 99.9%, isopropyl alcohol 2-propanol IPA


