Monochrome variety technique
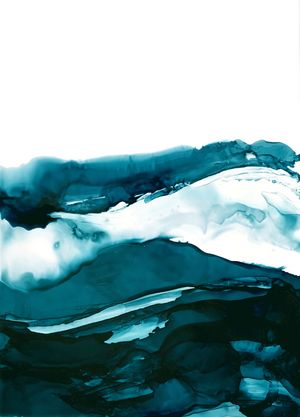
The following tutorial was created in the course of our calendar project with the linked artist. In addition to this tutorial, there are eleven other techniques around the various applications for alcohol inks. The individual materials, steps and tips were written by the respective artist and summarized by us for the calendar. We hope you have fun trying them out!
Materials used:
- Paper (e.g. AMI or Lanavanguard)
- Isopropanol
- Pipettes
- Small glass jar with lid
- Pencil
- Protective clothing
- UV varnish
Colors used:
Artist: @alina_esken (link to instagram post)
Monochrome variety
Step 1: "Preparation"
Before painting, the workplace is prepared. To do this, a sheet of paper is placed on a surface, the colors and a small glass for mixing the Alcohol Inks are provided. Also helpful are two to three plastic pipettes and a smear sheet to test the color shade. In addition, the isopropanol is still needed to get the ink moving on the paper. Don't forget the protective clothing!
Step 2: "Just before the start"
The handling of Alcohol Inks can be learned quickly, but it can never be planned one hundred percent! You should first make a small plan: Where should there be lighter areas and where darker ones? Are there areas that should remain completely white? A small pencil sketch helps here in advance.
Step 3: "We mix"
To mix the Alcohol Inks, put a few drops of each of the colors "Navy" and "Emerald" into the small beaker. Then mix them with the pointed side of the pipette and then test by putting a small blob of color on the test paper with the pipette. The desired shade can be adjusted by adding more drops. Sometimes two shades are not enough to achieve the desired color. In that case, simply add more Alcohol Ink colors from the Octopus Fluids range. If you take a lot of time to mix the colors and follow the color theory, you will achieve the best, individual results in the end.
Step 4: "Now really!"
The desired color shade has been mixed? Then you're ready to go! The desired paper is ready, as is the isopropanol. To be on the safe side, carefully stir the paint again with the pipette to a homogeneous shade. The motif is now worked out from the corners. Just as with other techniques, the isopropanol is used here to thin the inks on the paper and can be passed through an air stream. Although only one shade is used, you quickly see how versatile the material is. By alternating inks and isopropanol, you can shape the sheet to your own liking. Finally, seal the artwork with a layer of alcohol-free UV varnish to protect it from the effects of light and abrasion.
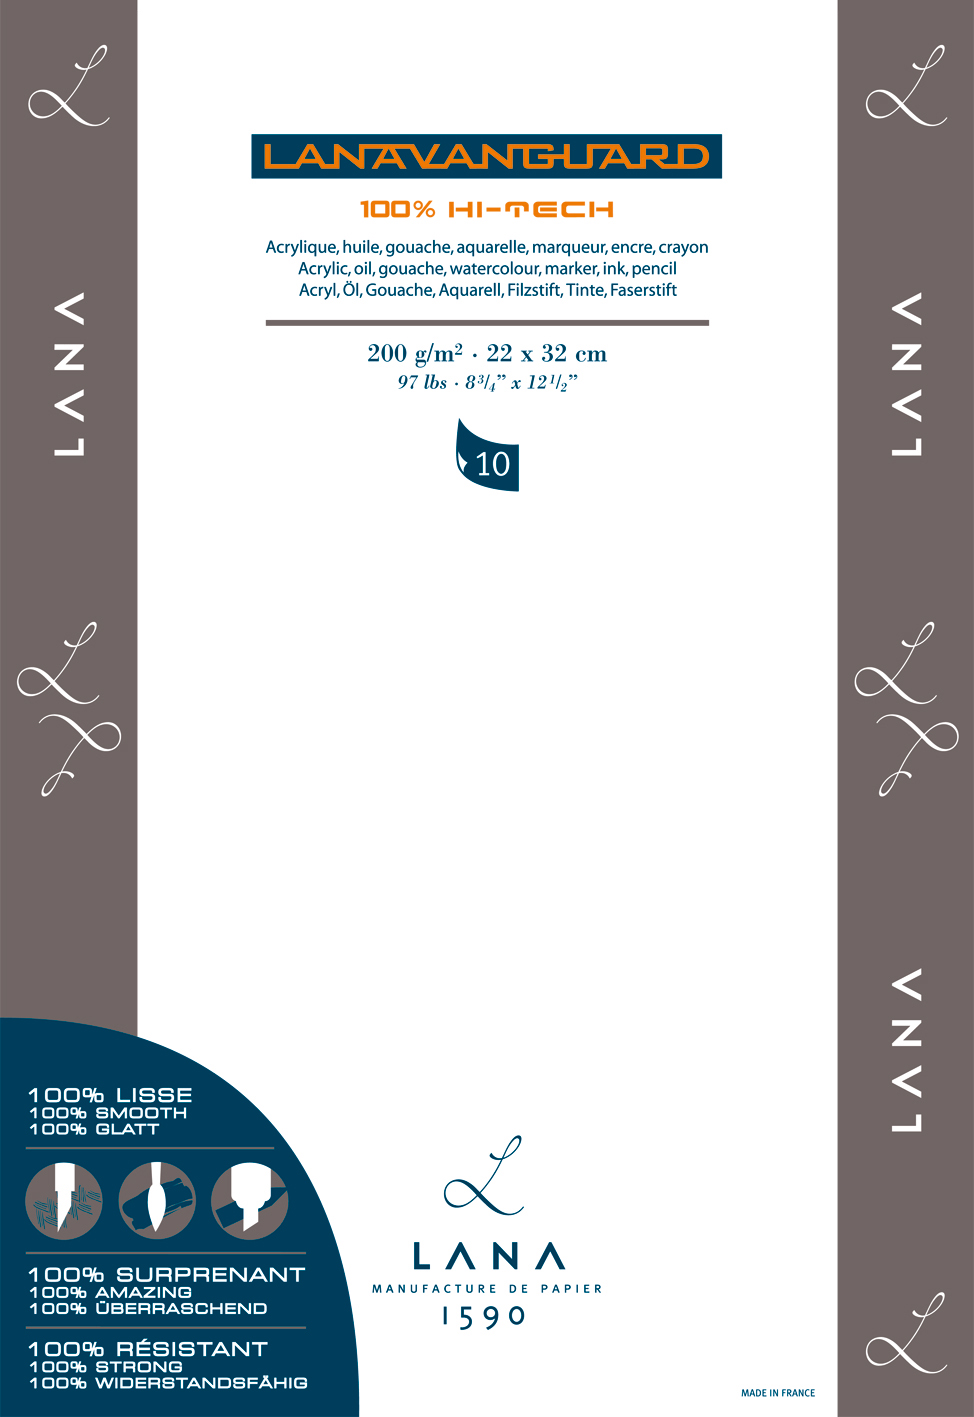 Lanavanguard Alcohol Ink Papier, Yupo, A4/A3, 200 g/m2, 10 Blatt
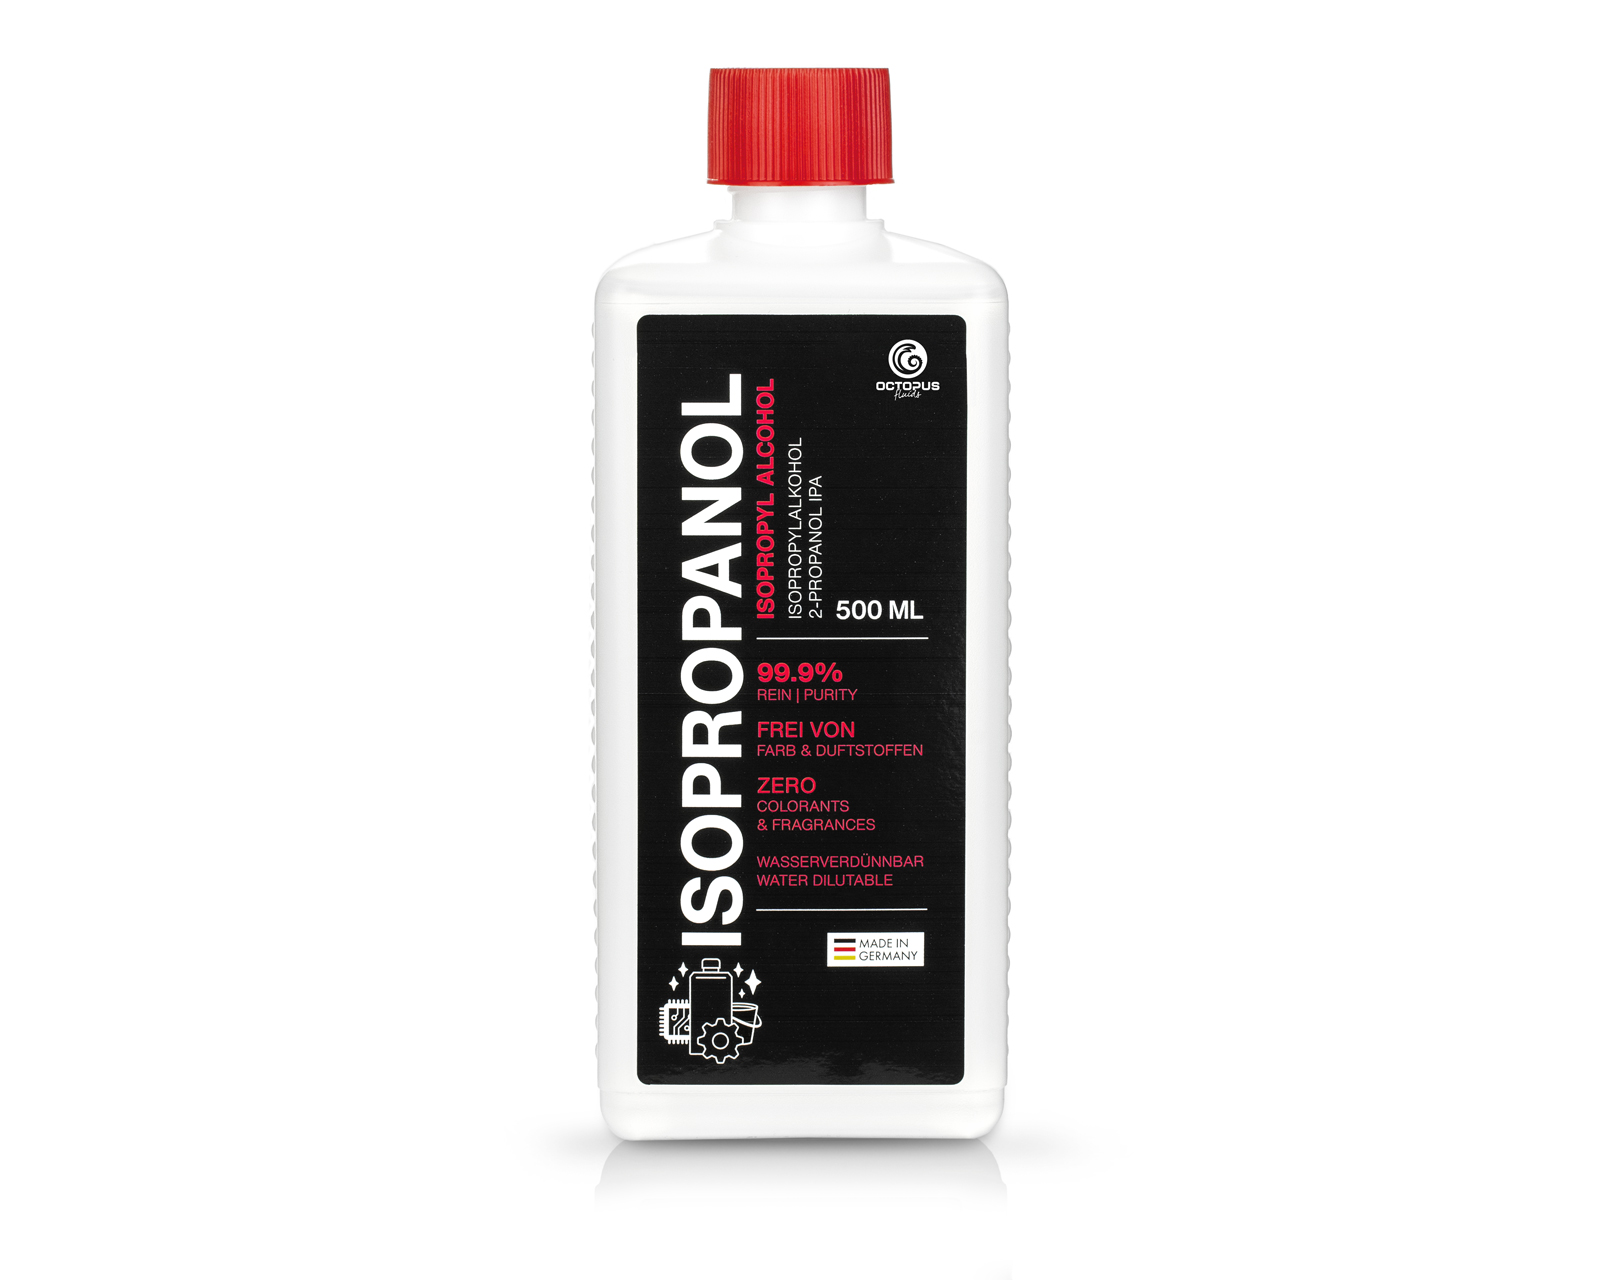 Isopropanol 99.9%, isopropyl alcohol 2-propanol IPA
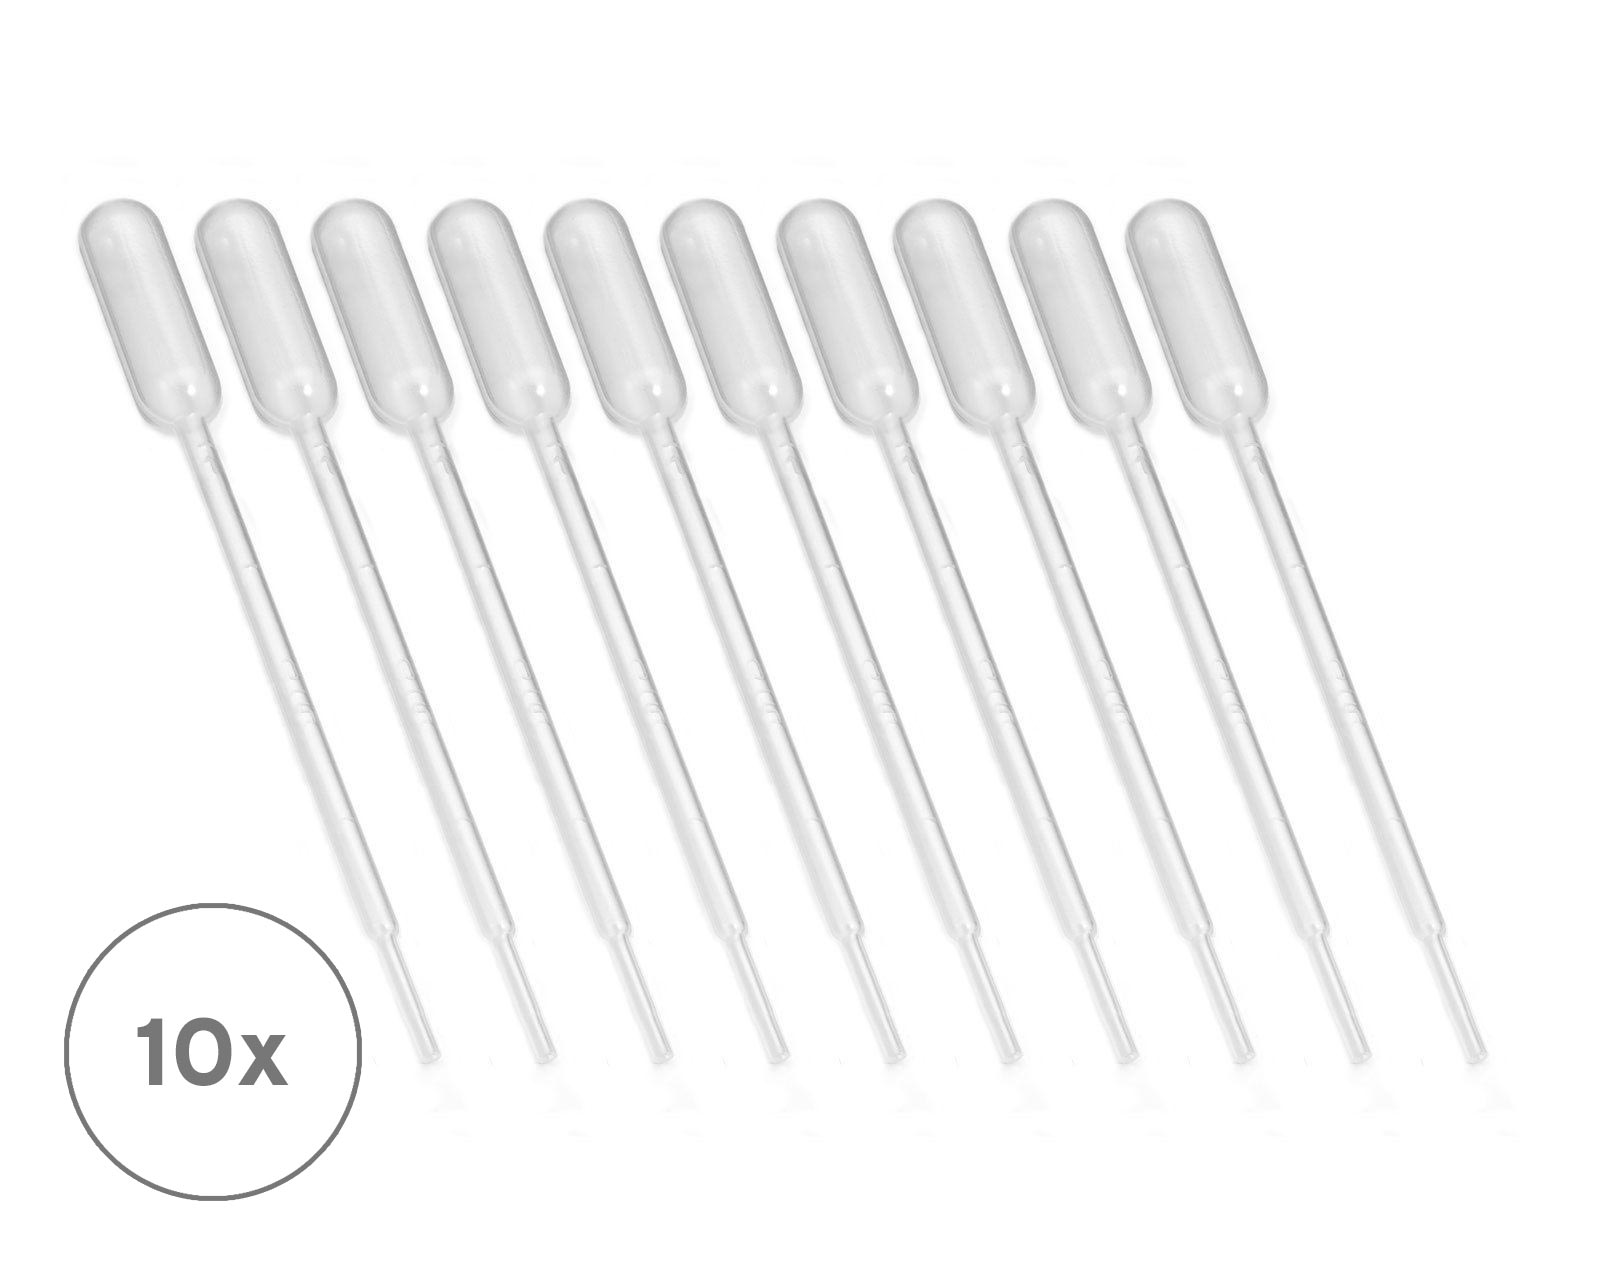 Transfer pipettes with dosage tip and plastic bulb, vol. 1 ml
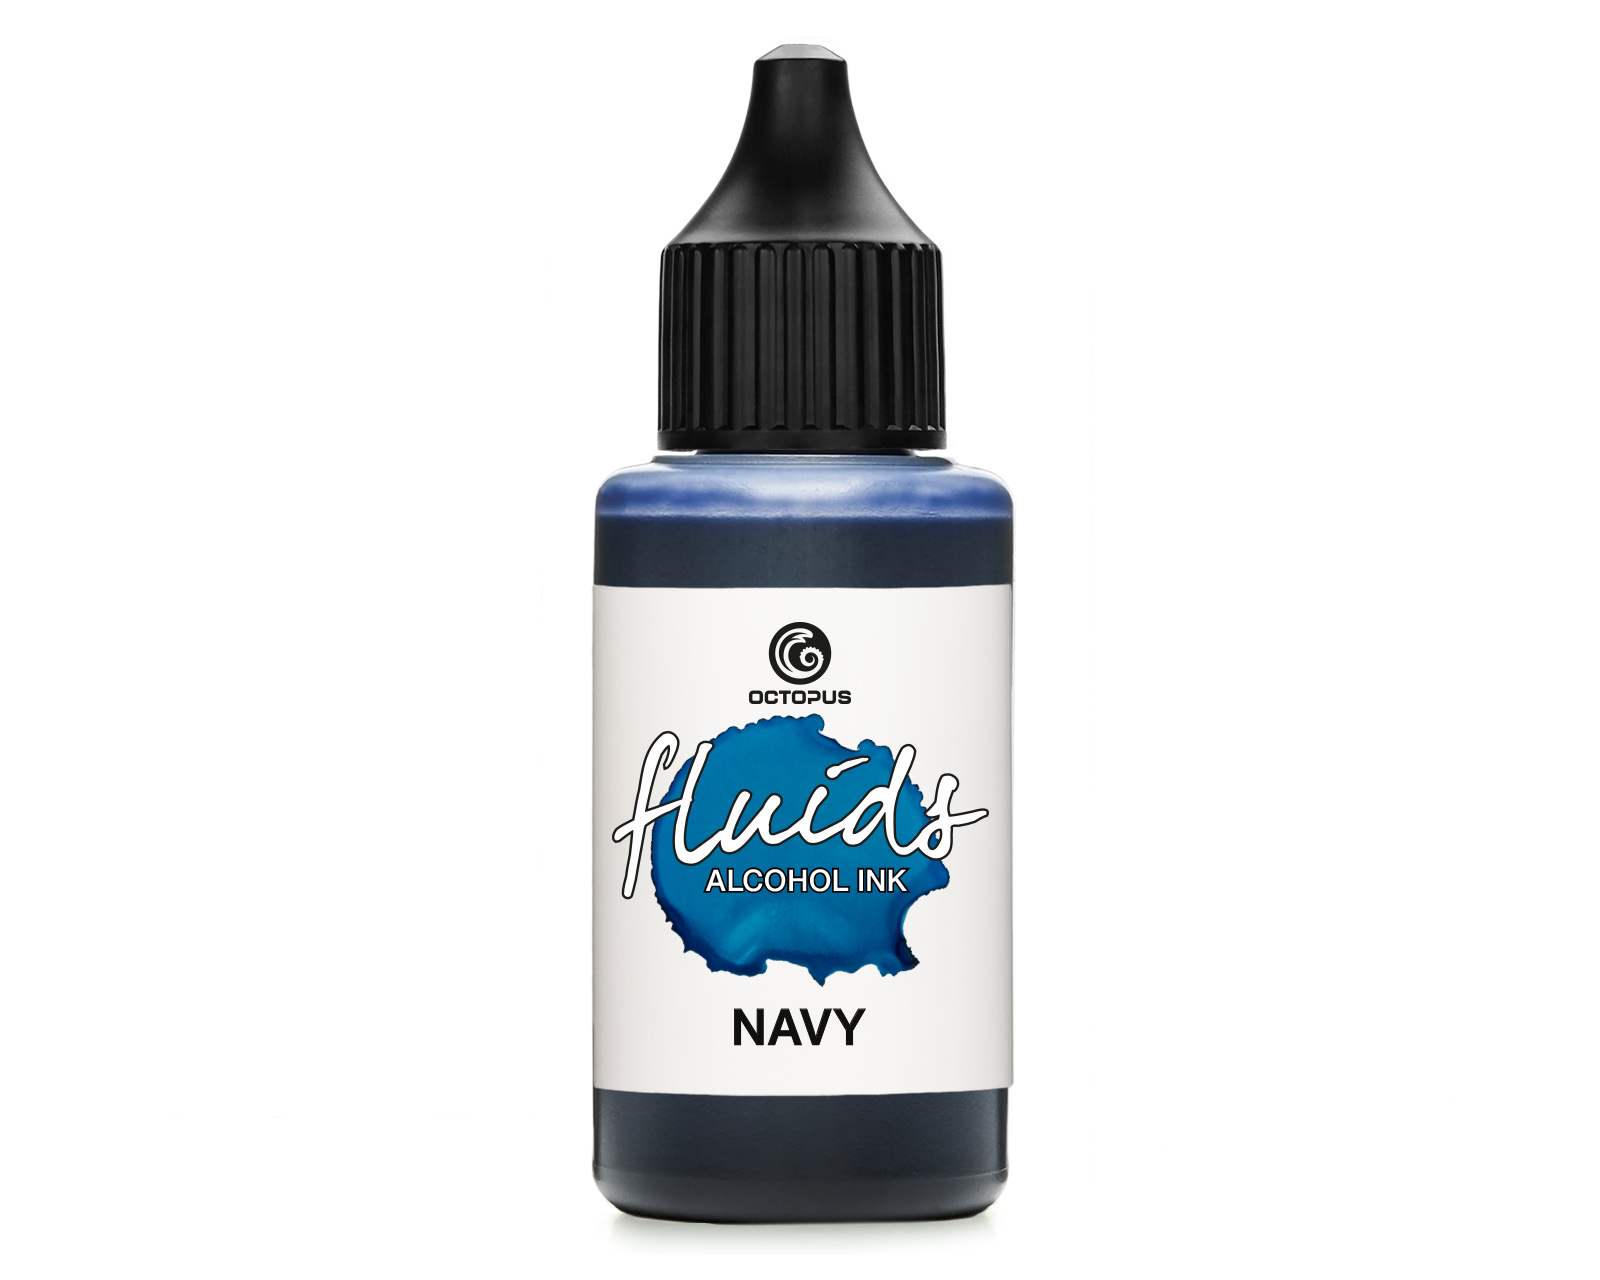 Octopus Fluids Alcohol Ink Navy for fluid art and resin, blue
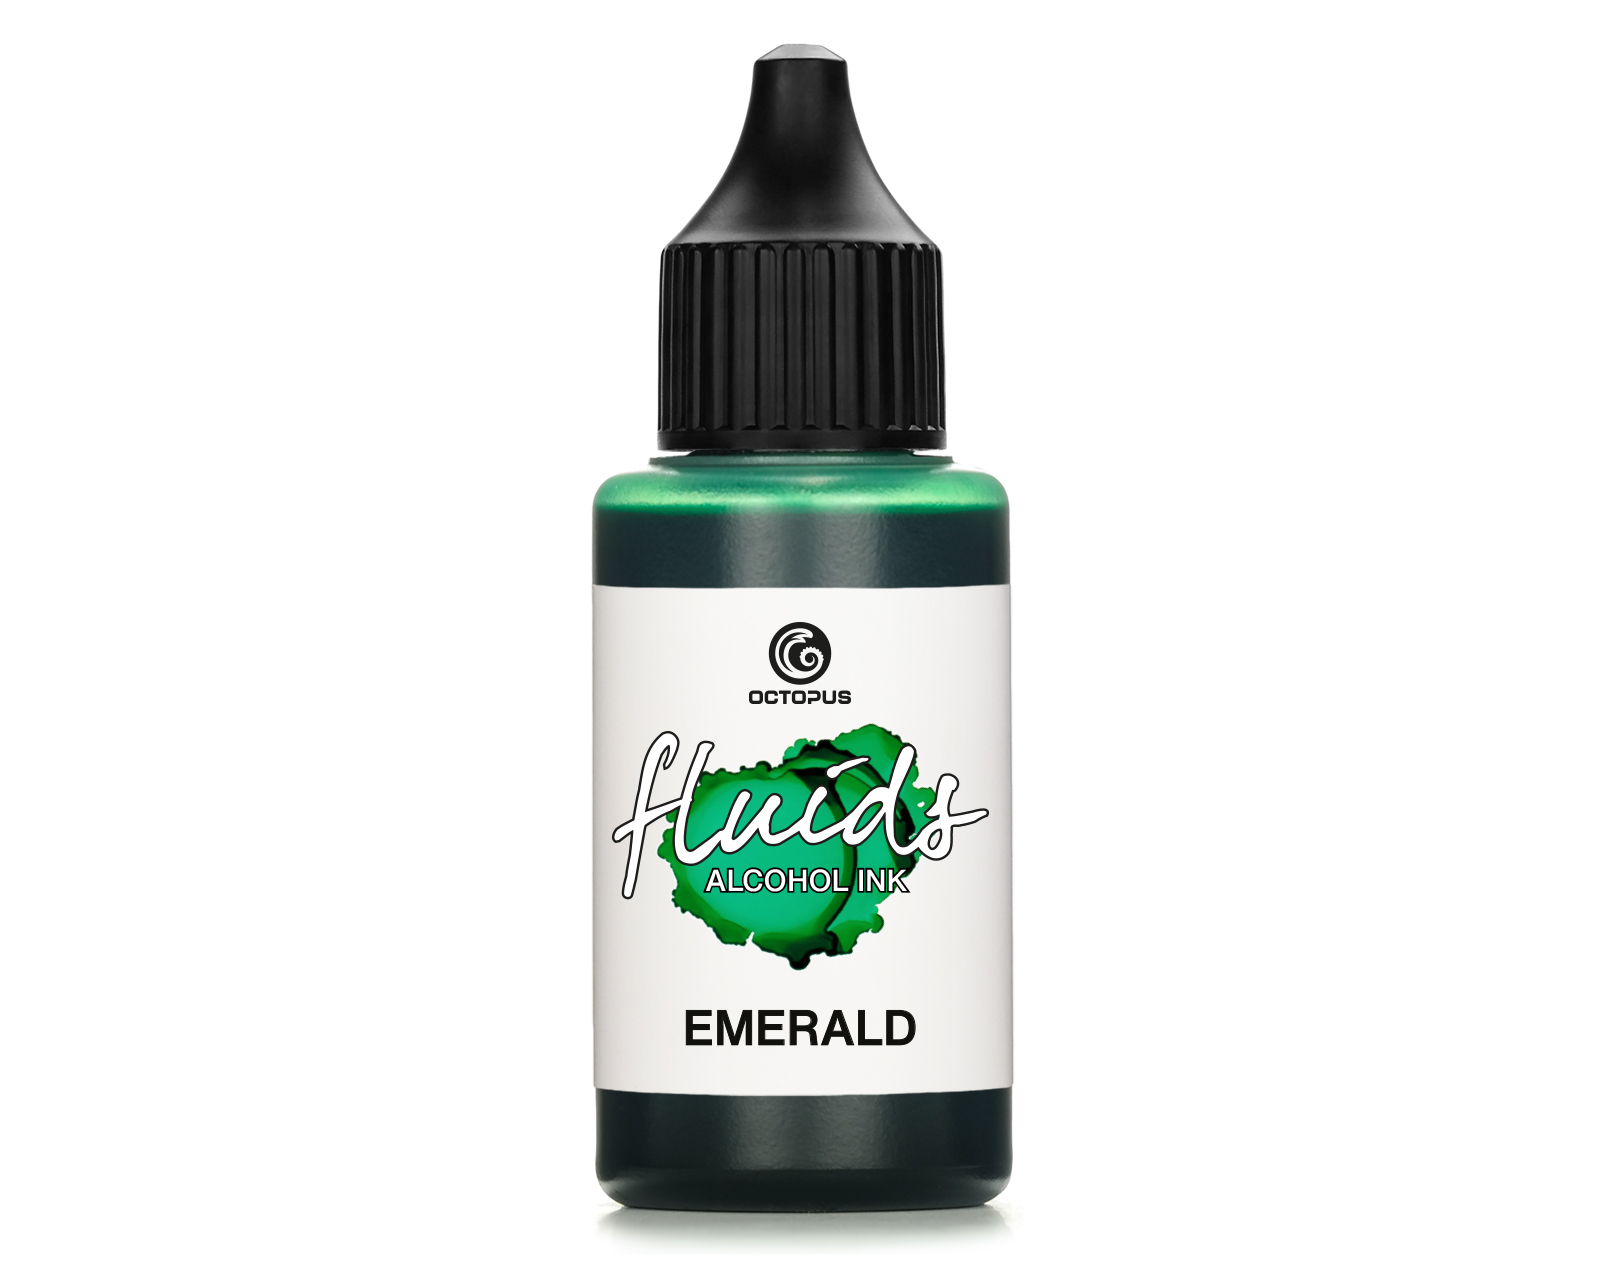 Octopus Fluids Alcohol Ink EMERALD for fluid art and resin, green


