Sea painting with brush technique
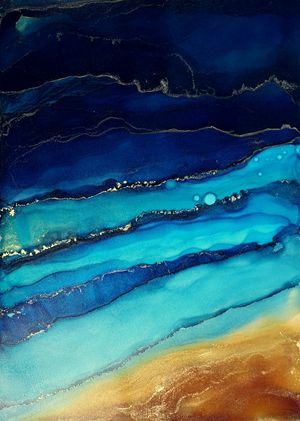
The following tutorial was created in the course of our calendar project with the linked artist. In addition to this tutorial, there are eleven other techniques around the various applications for alcohol inks. The individual materials, steps and tips were written by the respective artist and summarized by us for the calendar. We hope you have fun trying them out!
Materials used:
- Paper (e.g. AMI or Lanavanguard)
- Isopropanol
- Pipettes
- Brush
- Protective clothing
- UV varnish
Used colors:
Artist:@ilkaabbee (link to instagram post)
Sea painting with brush technique
Step 1: "Preparation"
First of all, the workplace is prepared. The pad and paper are placed on the work surface. All materials are placed on the table ready to hand, and the Alcohol Inks "Brownie", "Lagoon", "Deep Sea" and "Navy" are screwed on. To provide a nice contrast to the dark shades, gold Metallic Inks "Gold Rush" and "Inca Gold" are also used here to set accents. Then the protective clothing is put on.
Step 2: "Preparing the paper"
All the paper is soaked in isopropyl alcohol to help the Alcohol Inks flow. A few squirts of the isopropanol and moving the paper back and forth will wet the entire surface.
Step 3: "Applying the Paint"
Now comes the artistic part, which is of course the most exciting. A few splashes of each Alcohol Inks are applied to the part of the paper where they are to accumulate: in the lower part of the image, browns and golds to represent the sand, and above them, the various shades of blue and gold for the waves. The colors are spread over the sheet with brushes from left to right in a wave-like pattern, covering everything with color. This creates waves of different shades, which can be shaped by adding more Isopropanol, the pure Alcohol Inks and repeatedly spreading with brushes until you get the desired result. Finally, add a few small drops of isopropanol to the image with a pipette. This will lighten these areas and make them look like light reflections on the water.
Step 4: "Solidify colors"
Cover the finished image with a layer of UV varnish to protect it from dirt and fading caused by light. Make sure that the varnish is not alcohol-based, so that the image does not run when applied.
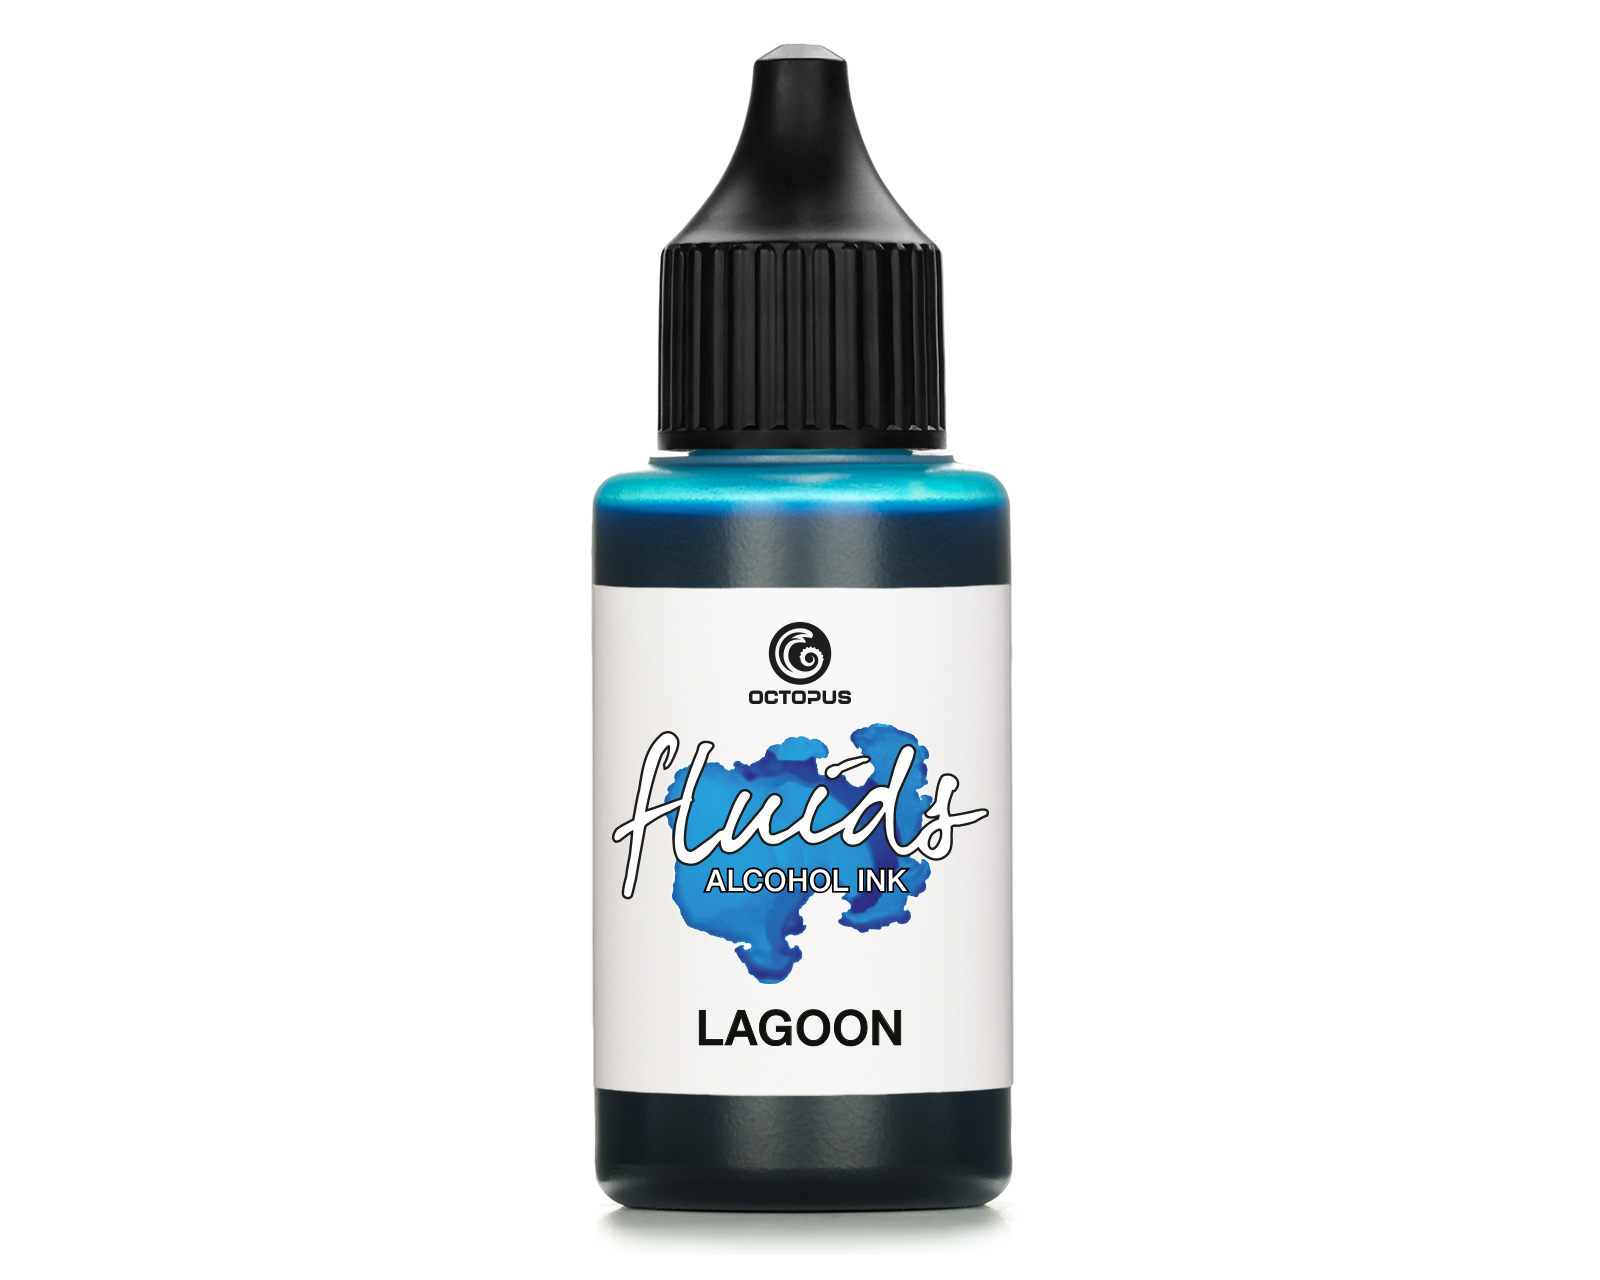 Octopus Fluids Alcohol Ink LAGOON for fluid art and resin, blue
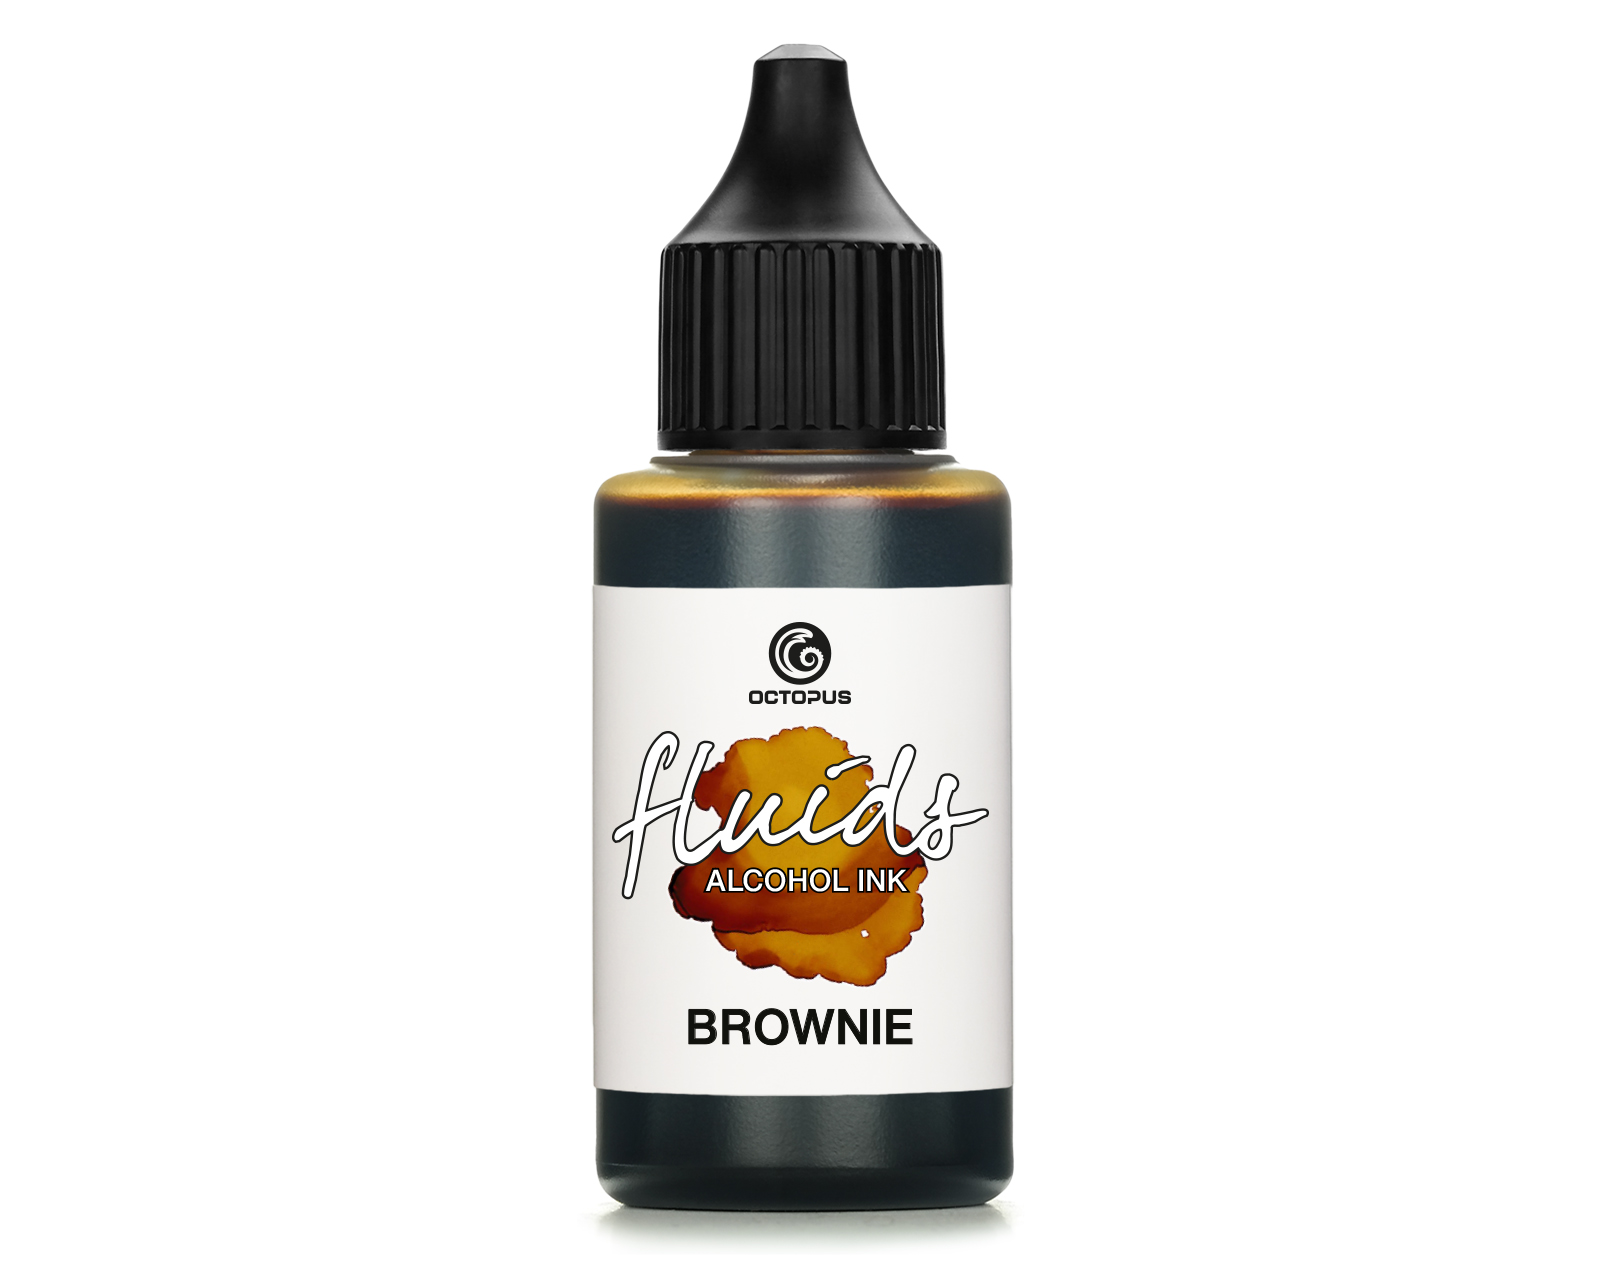 Octopus Fluids Alcohol Ink BROWNIE for fluid art and resin, brown
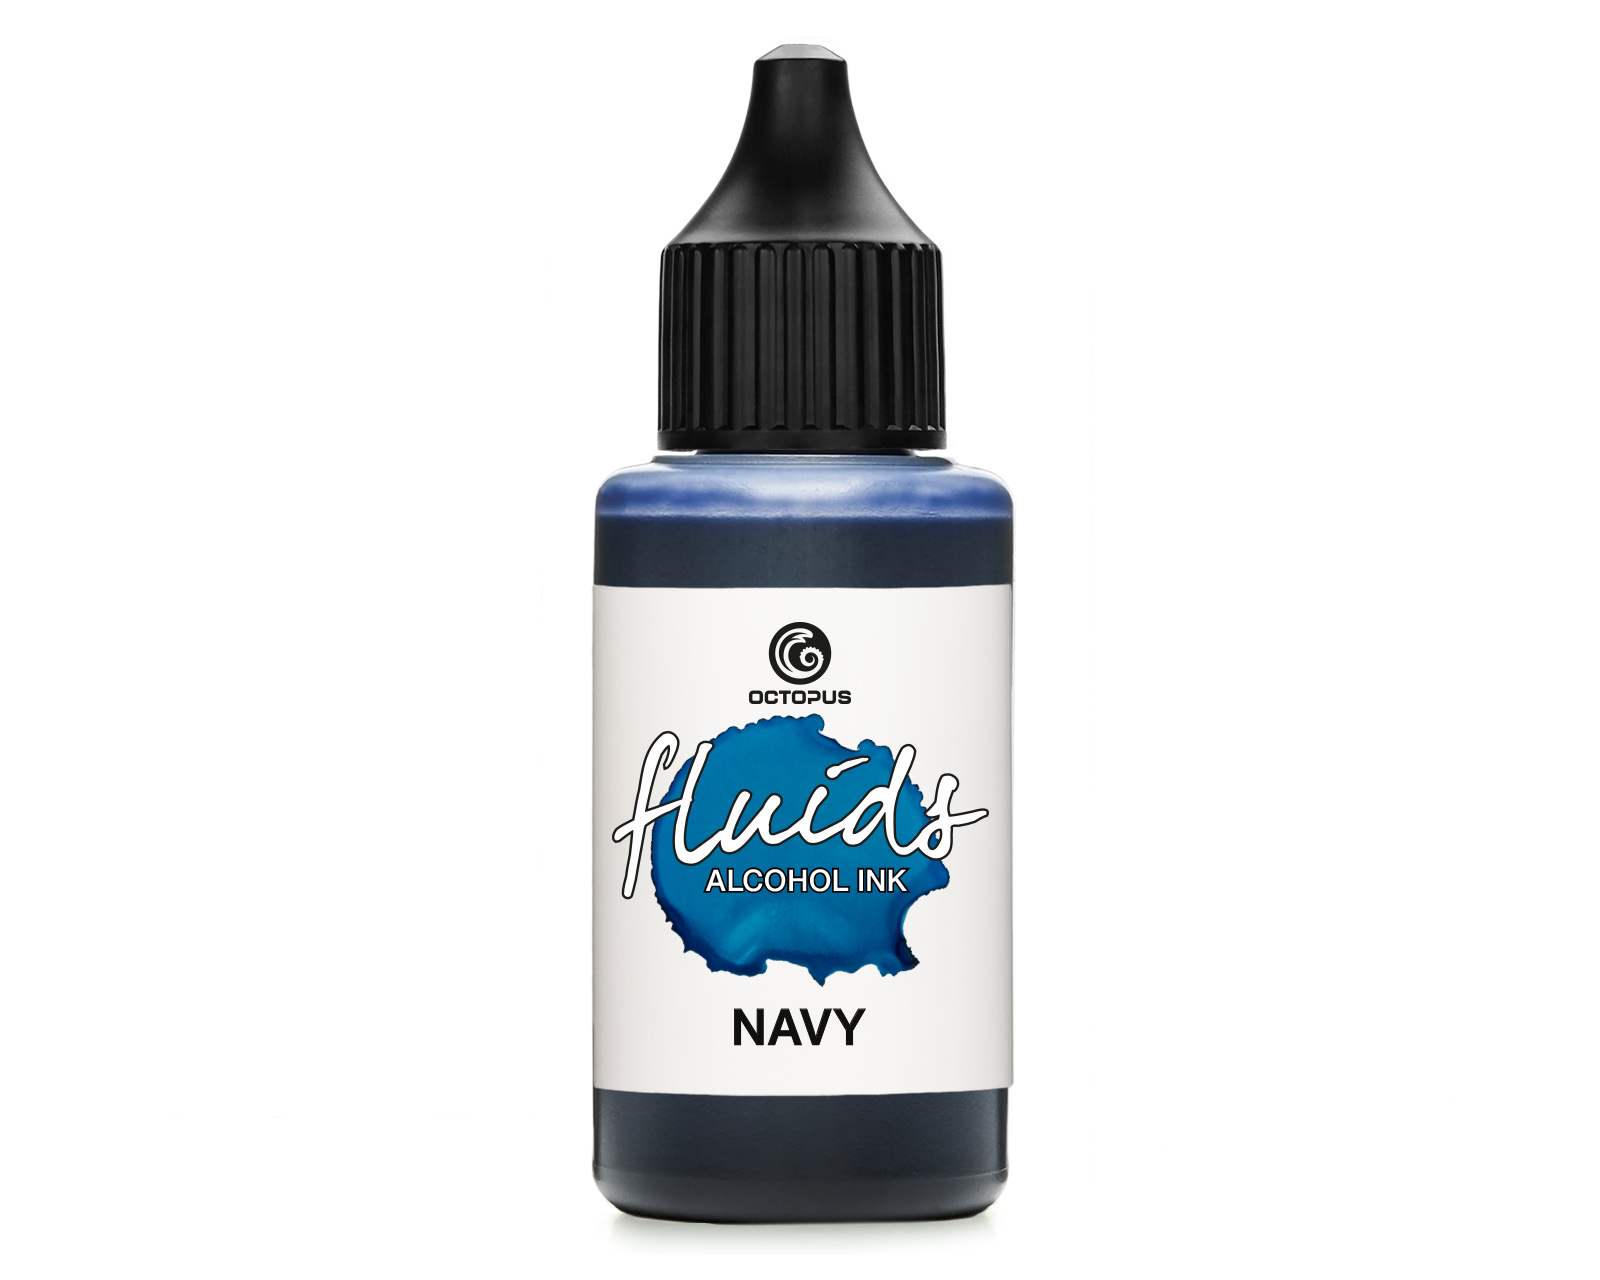 Octopus Fluids Alcohol Ink Navy for fluid art and resin, blue
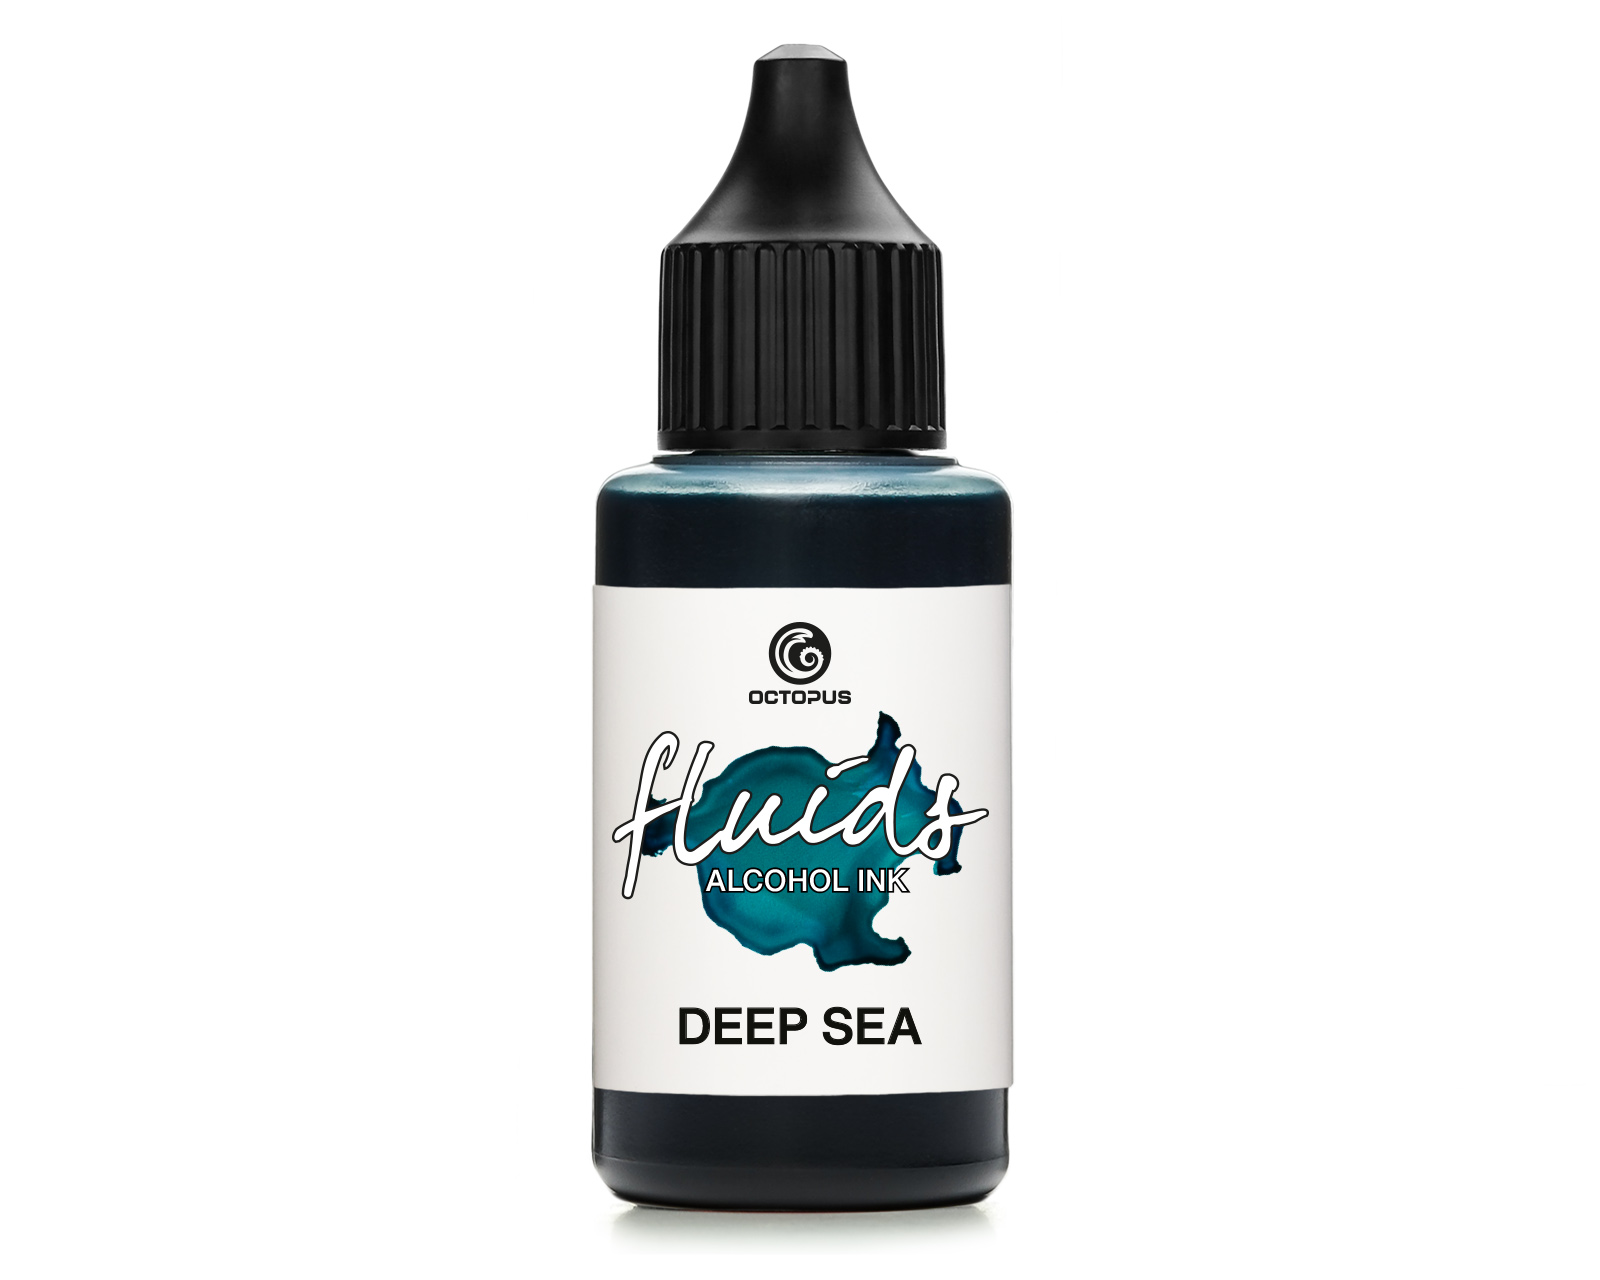 Octopus Fluids Alcohol Ink Deep Sea for fluid art and resin, blue
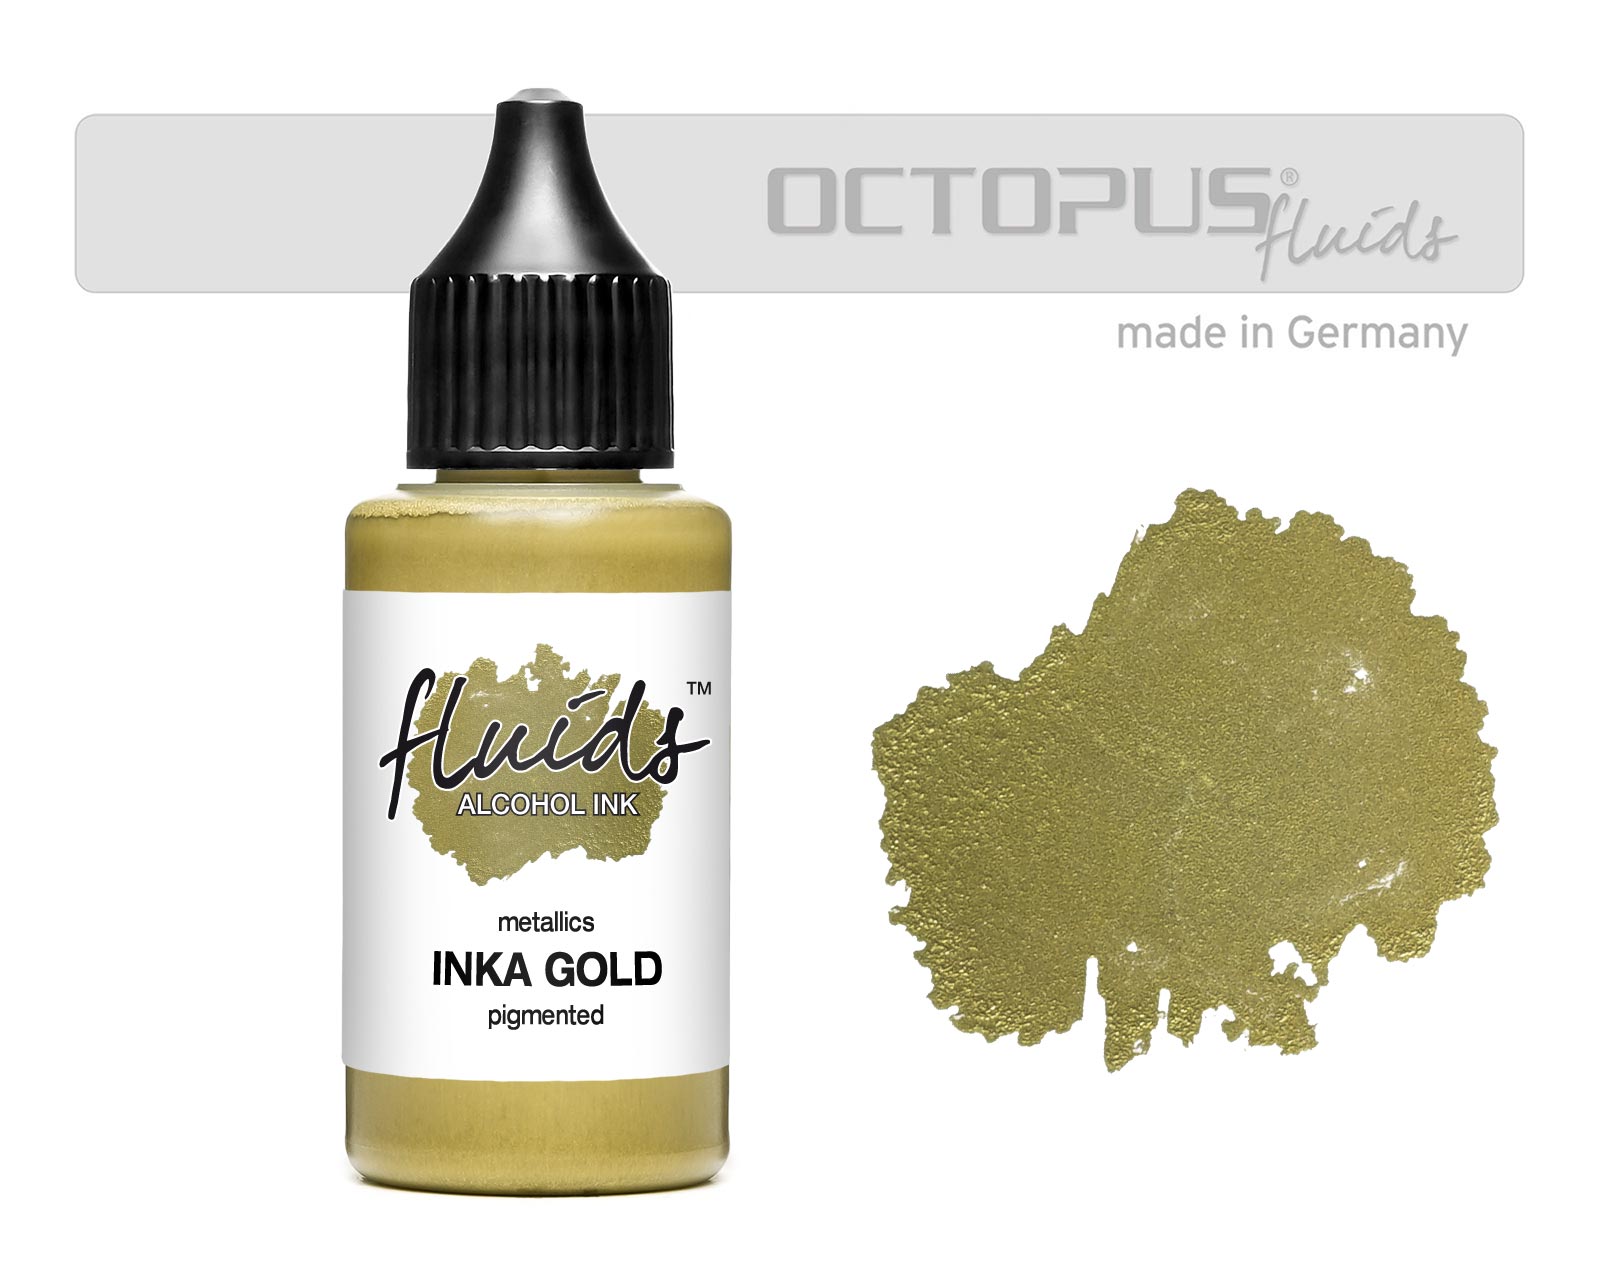 Octopus Fluids Alcohol Ink Inka Gold for fluid art and resin, metallic gold
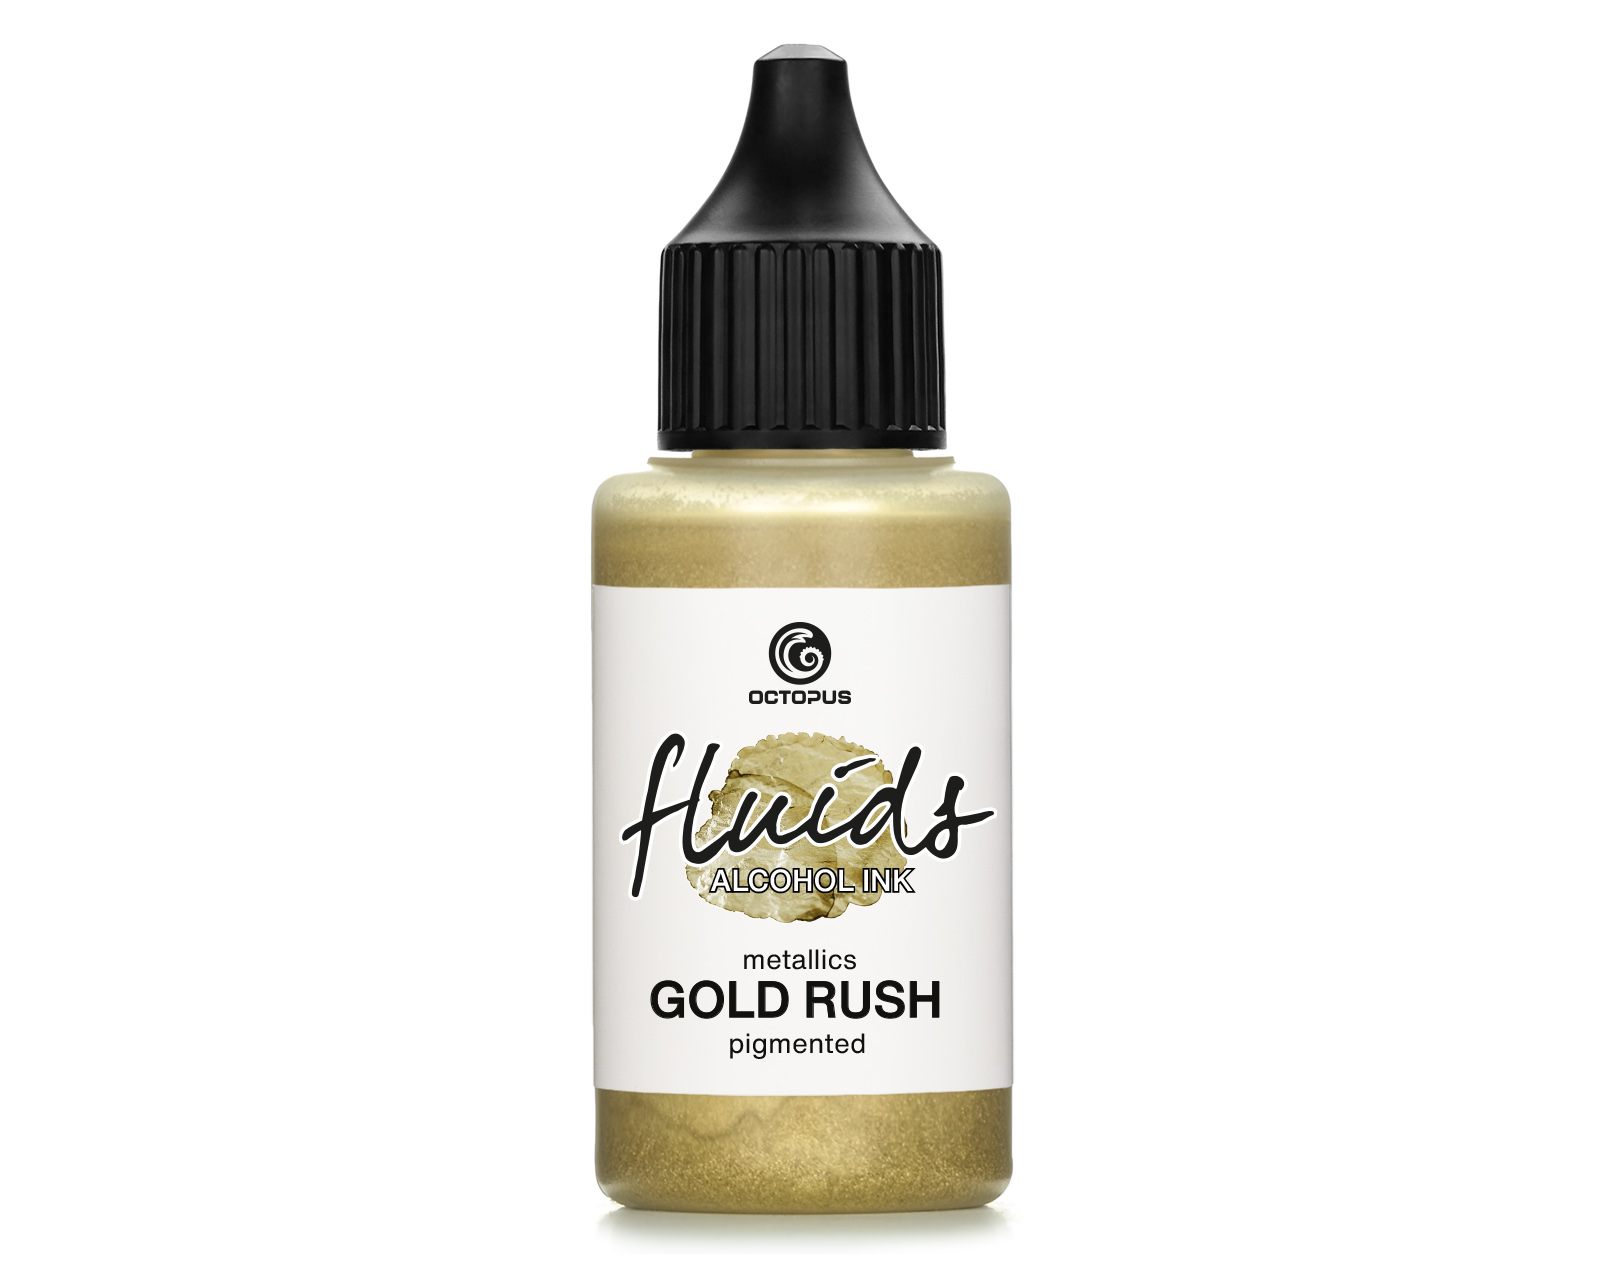 Octopus Fluids Alcohol Ink GOLD RUSH for fluid art and resin, metallic gold
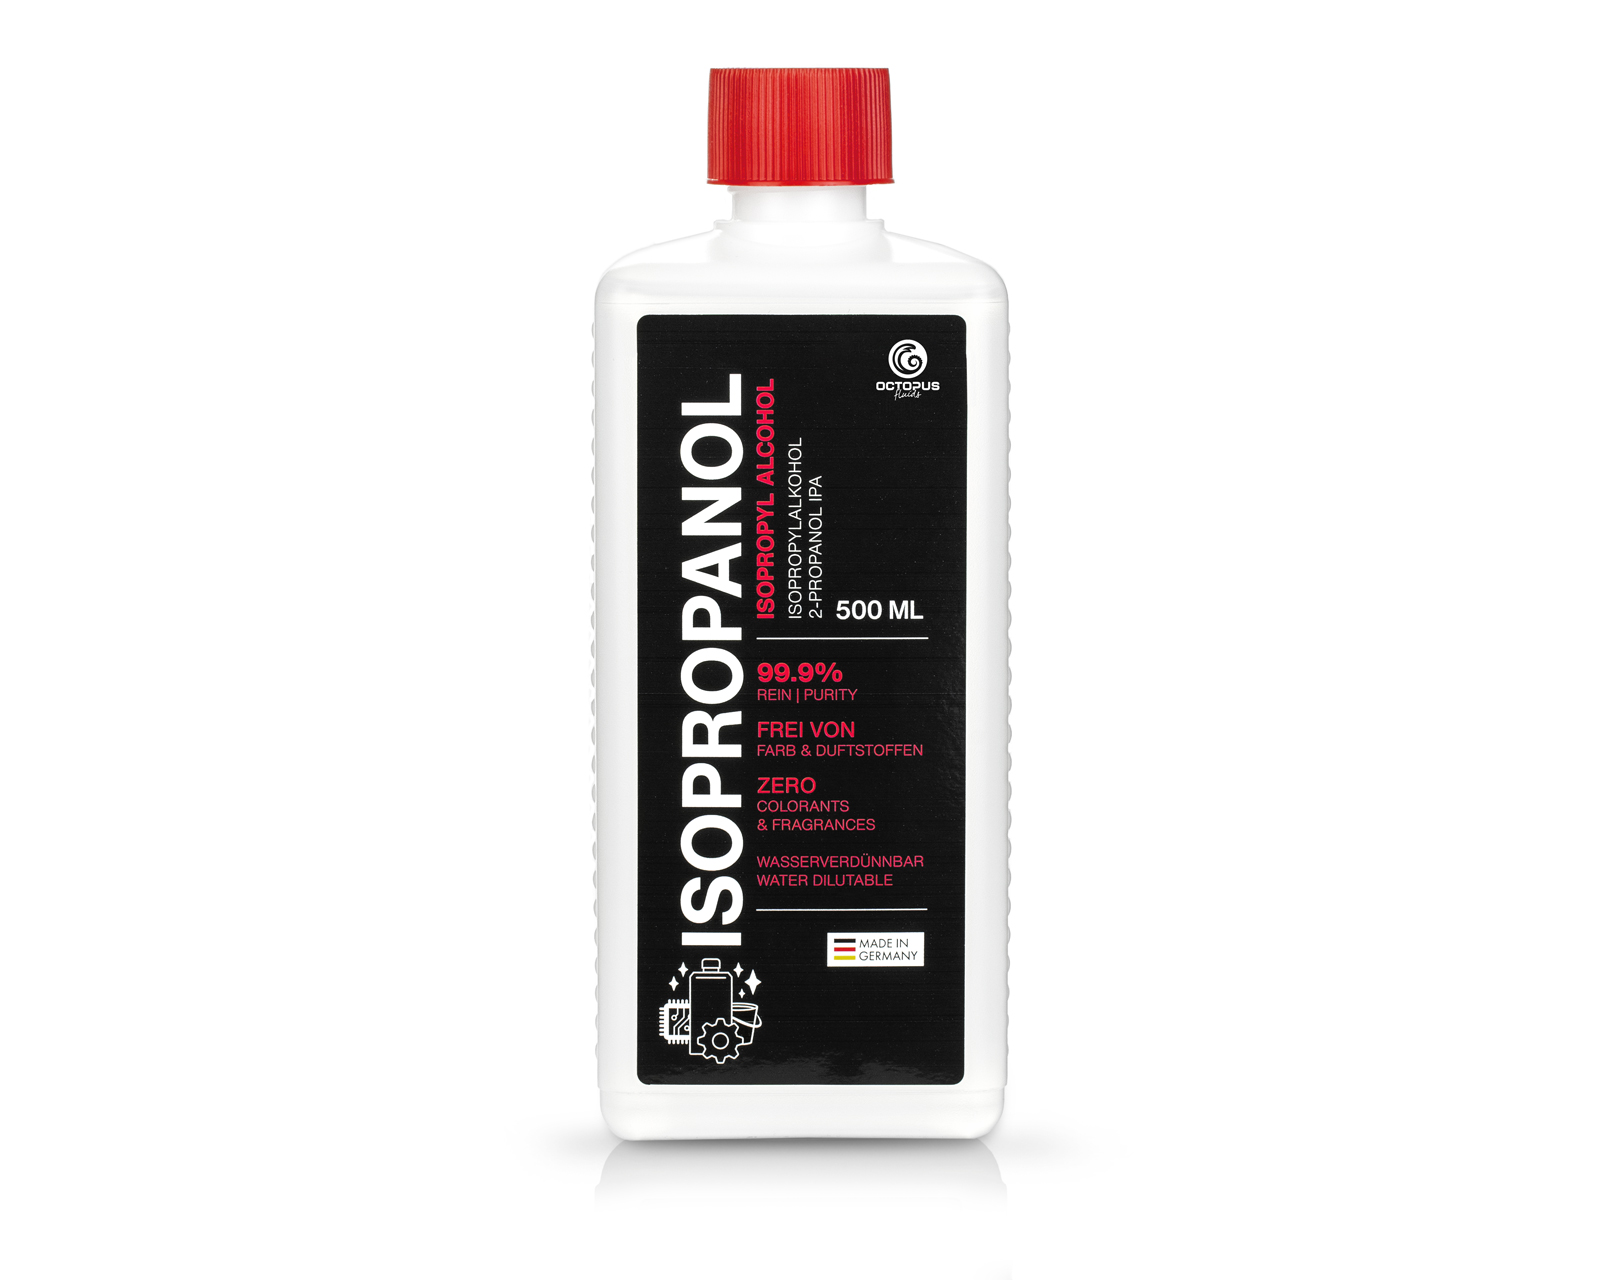 Isopropanol 99.9%, isopropyl alcohol 2-propanol IPA


