Alcohol Ink meets Mixed Media
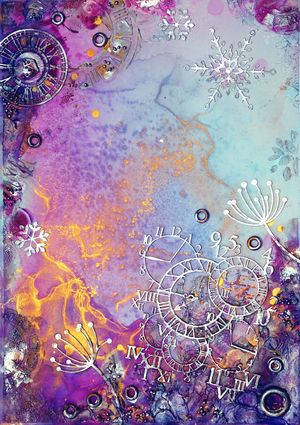
The following tutorial was created in the course of our calendar project with the linked artist. In addition to this tutorial, there are eleven other techniques around the various applications for alcohol inks. The individual materials, steps and tips were written by the respective artist and summarized by us for the calendar. We hope you have fun trying them out!
Materials used:
- Paper (e.g. AMI or Lanavanguard)
- Isopropanol
- Hair dryer
- Spray bottle
- Spatula
- Copy film
- Brush
- Stencils
- Stamp
- Tape
- Acrylic paint mother of pearl
- UV varnish
- Craft accessories
- Texture paste
- Metallic Wax
- Protective clothing
Colors used:
Artist: @goebiedesign (link to instagram page)
Alcohol Ink meets Mixed Media
Step 1: "Warm up"
When working with Alcohol Inks, it is recommended to wear protective clothing. At the beginning, prepare the work surface and fix the paper sheet with tape on a stable base to avoid the possible ripples. Suitable craft accessories are chipboard elements, wooden rings or punched snowflakes, which you can tint in advance with pearlescent acrylic paint or Alcohol Ink in "Silver Mine" and "Gold Rush". This works best on plain copy film. Then allow to dry sufficiently.
Step 2: "Let's start"
Soak the fixed paper sheet with enough isopropanol so that a film can be seen on the surface. Drizzle "Lagoon", "Hot Pink" as well as "Sparkler" on this pool and let the Alcohol Ink flow over the entire sheet with sweeping motions. If necessary, add a little isopropanol to dissolve any unwanted deposits. Use a hair dryer to push the ink over the paper until fine edges form and the ink has dried thoroughly. To darken the lower part of the background, repeat the procedure again only on the side edges as well as corners using a spray bottle.
Step 3: "The show must go on"
For stamping on the Alcohol Inks, put a few drops on the copying foil and spread them out. To ensure that the impressions are clean, press the wetted stamp briefly on a piece of paper in between and then gently press it onto the tinted sheet. Arrange the chipboard elements, the wooden rings as well as the snowflakes, with the Heavy Body Gel. Use a spatula to spread crackling paste in the gaps and around the edges and use stencils as desired. Press 3D Balls sporadically into the still wet paste and drizzle Alcohol Ink over them. If necessary, accelerate the drying process of the crackling paste with a hair dryer. Allow the image to dry well overnight.
Step 4: "Et voilà!"
Carefully remove the tape at the edges and detach the fixed sheet from the backing. Carefully trim any protruding chipboard elements along the edge of the paper. Finally, work out the structures of the crackle effect as well as the outer edges with Metallic Wax using a soft brush and, as a topping, apply "Silver Mine" to the raised areas of the 3D Balls as well as the chipboard elements using your fingertip. Seal the artwork as desired with alcohol-free UV varnish.
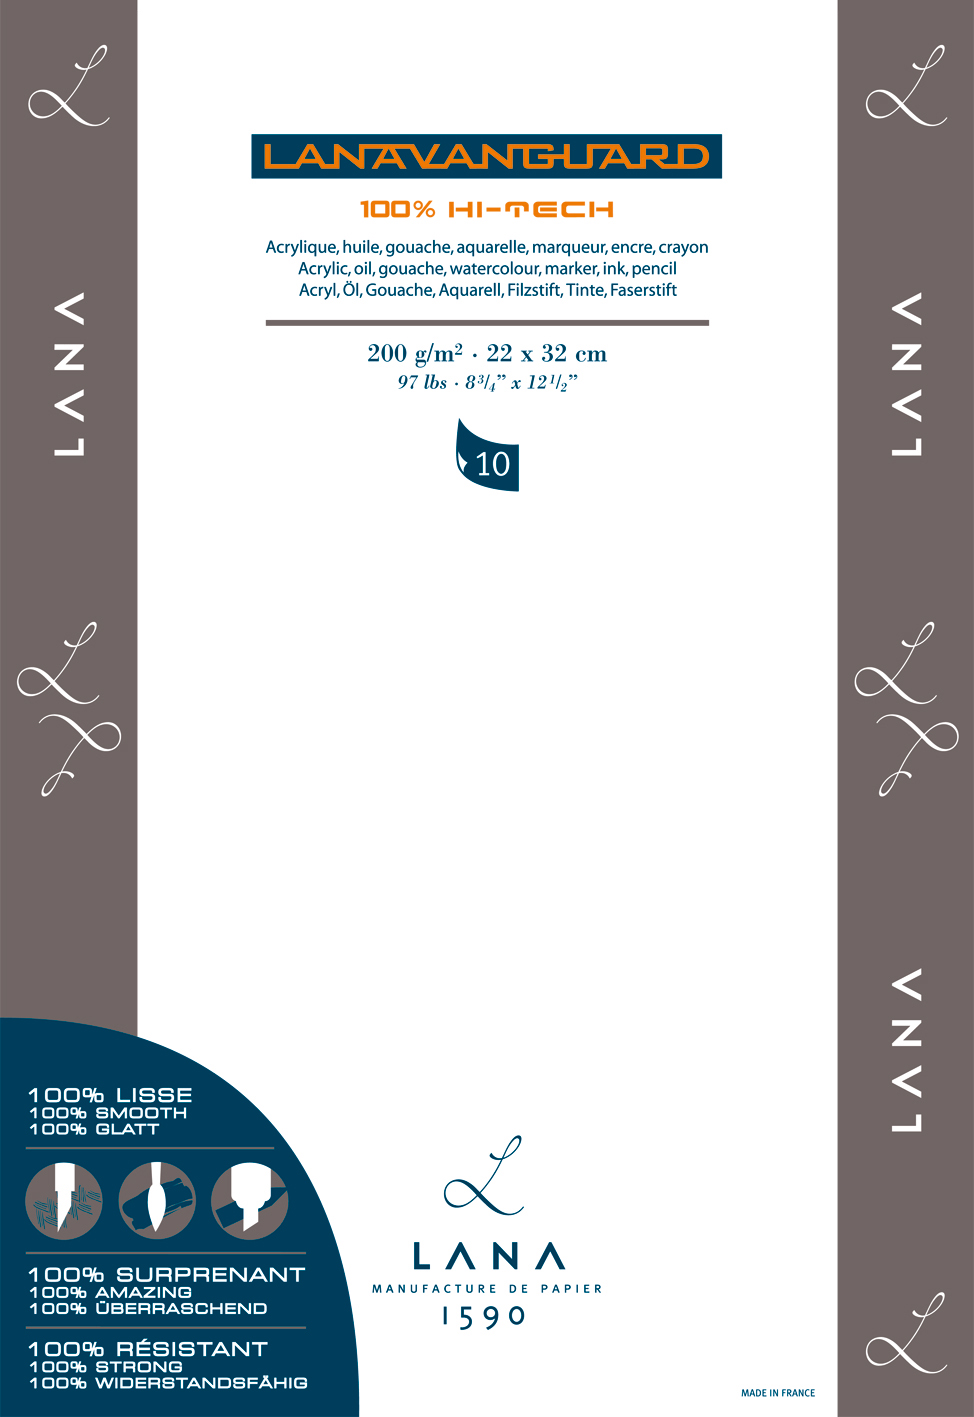 Lanavanguard Alcohol Ink Papier, Yupo, A4/A3, 200 g/m2, 10 Blatt
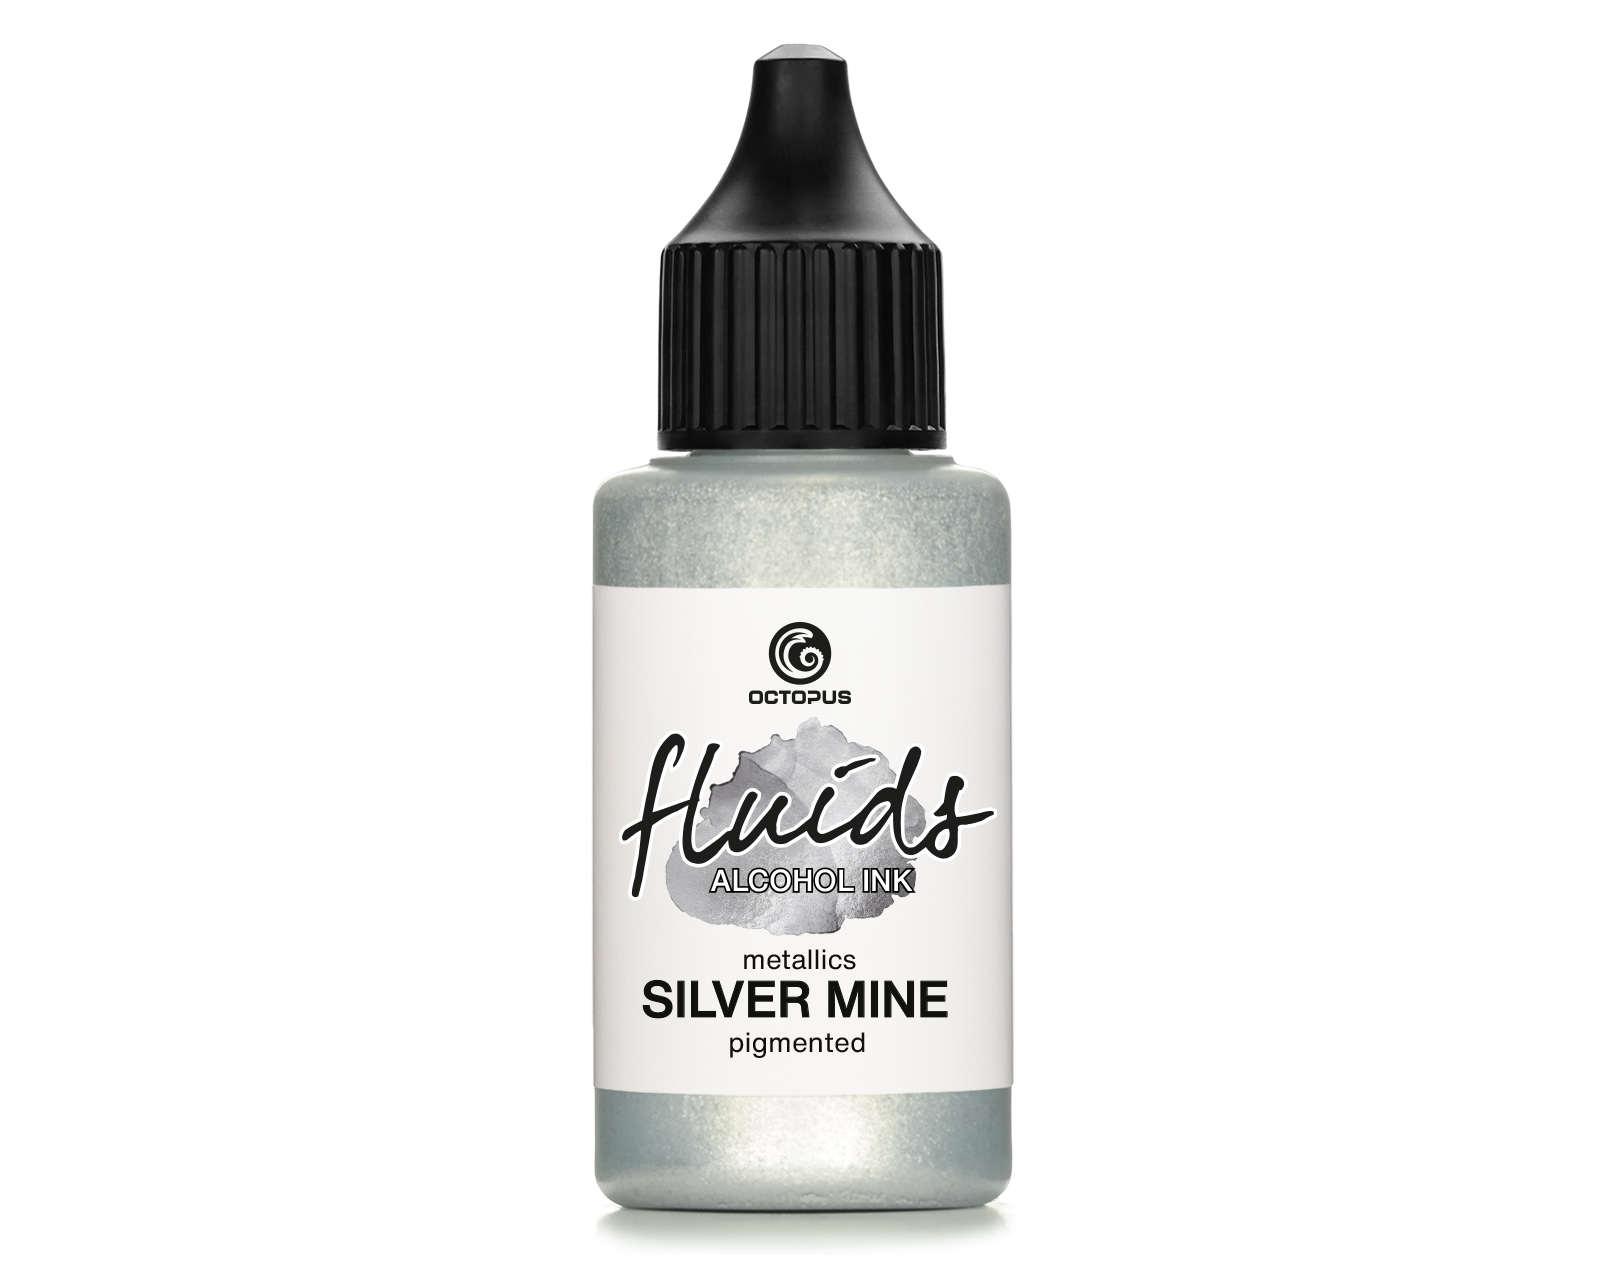 Octopus Fluids Alcohol Ink SILVER MINE for fluid art and resin, metallic silver
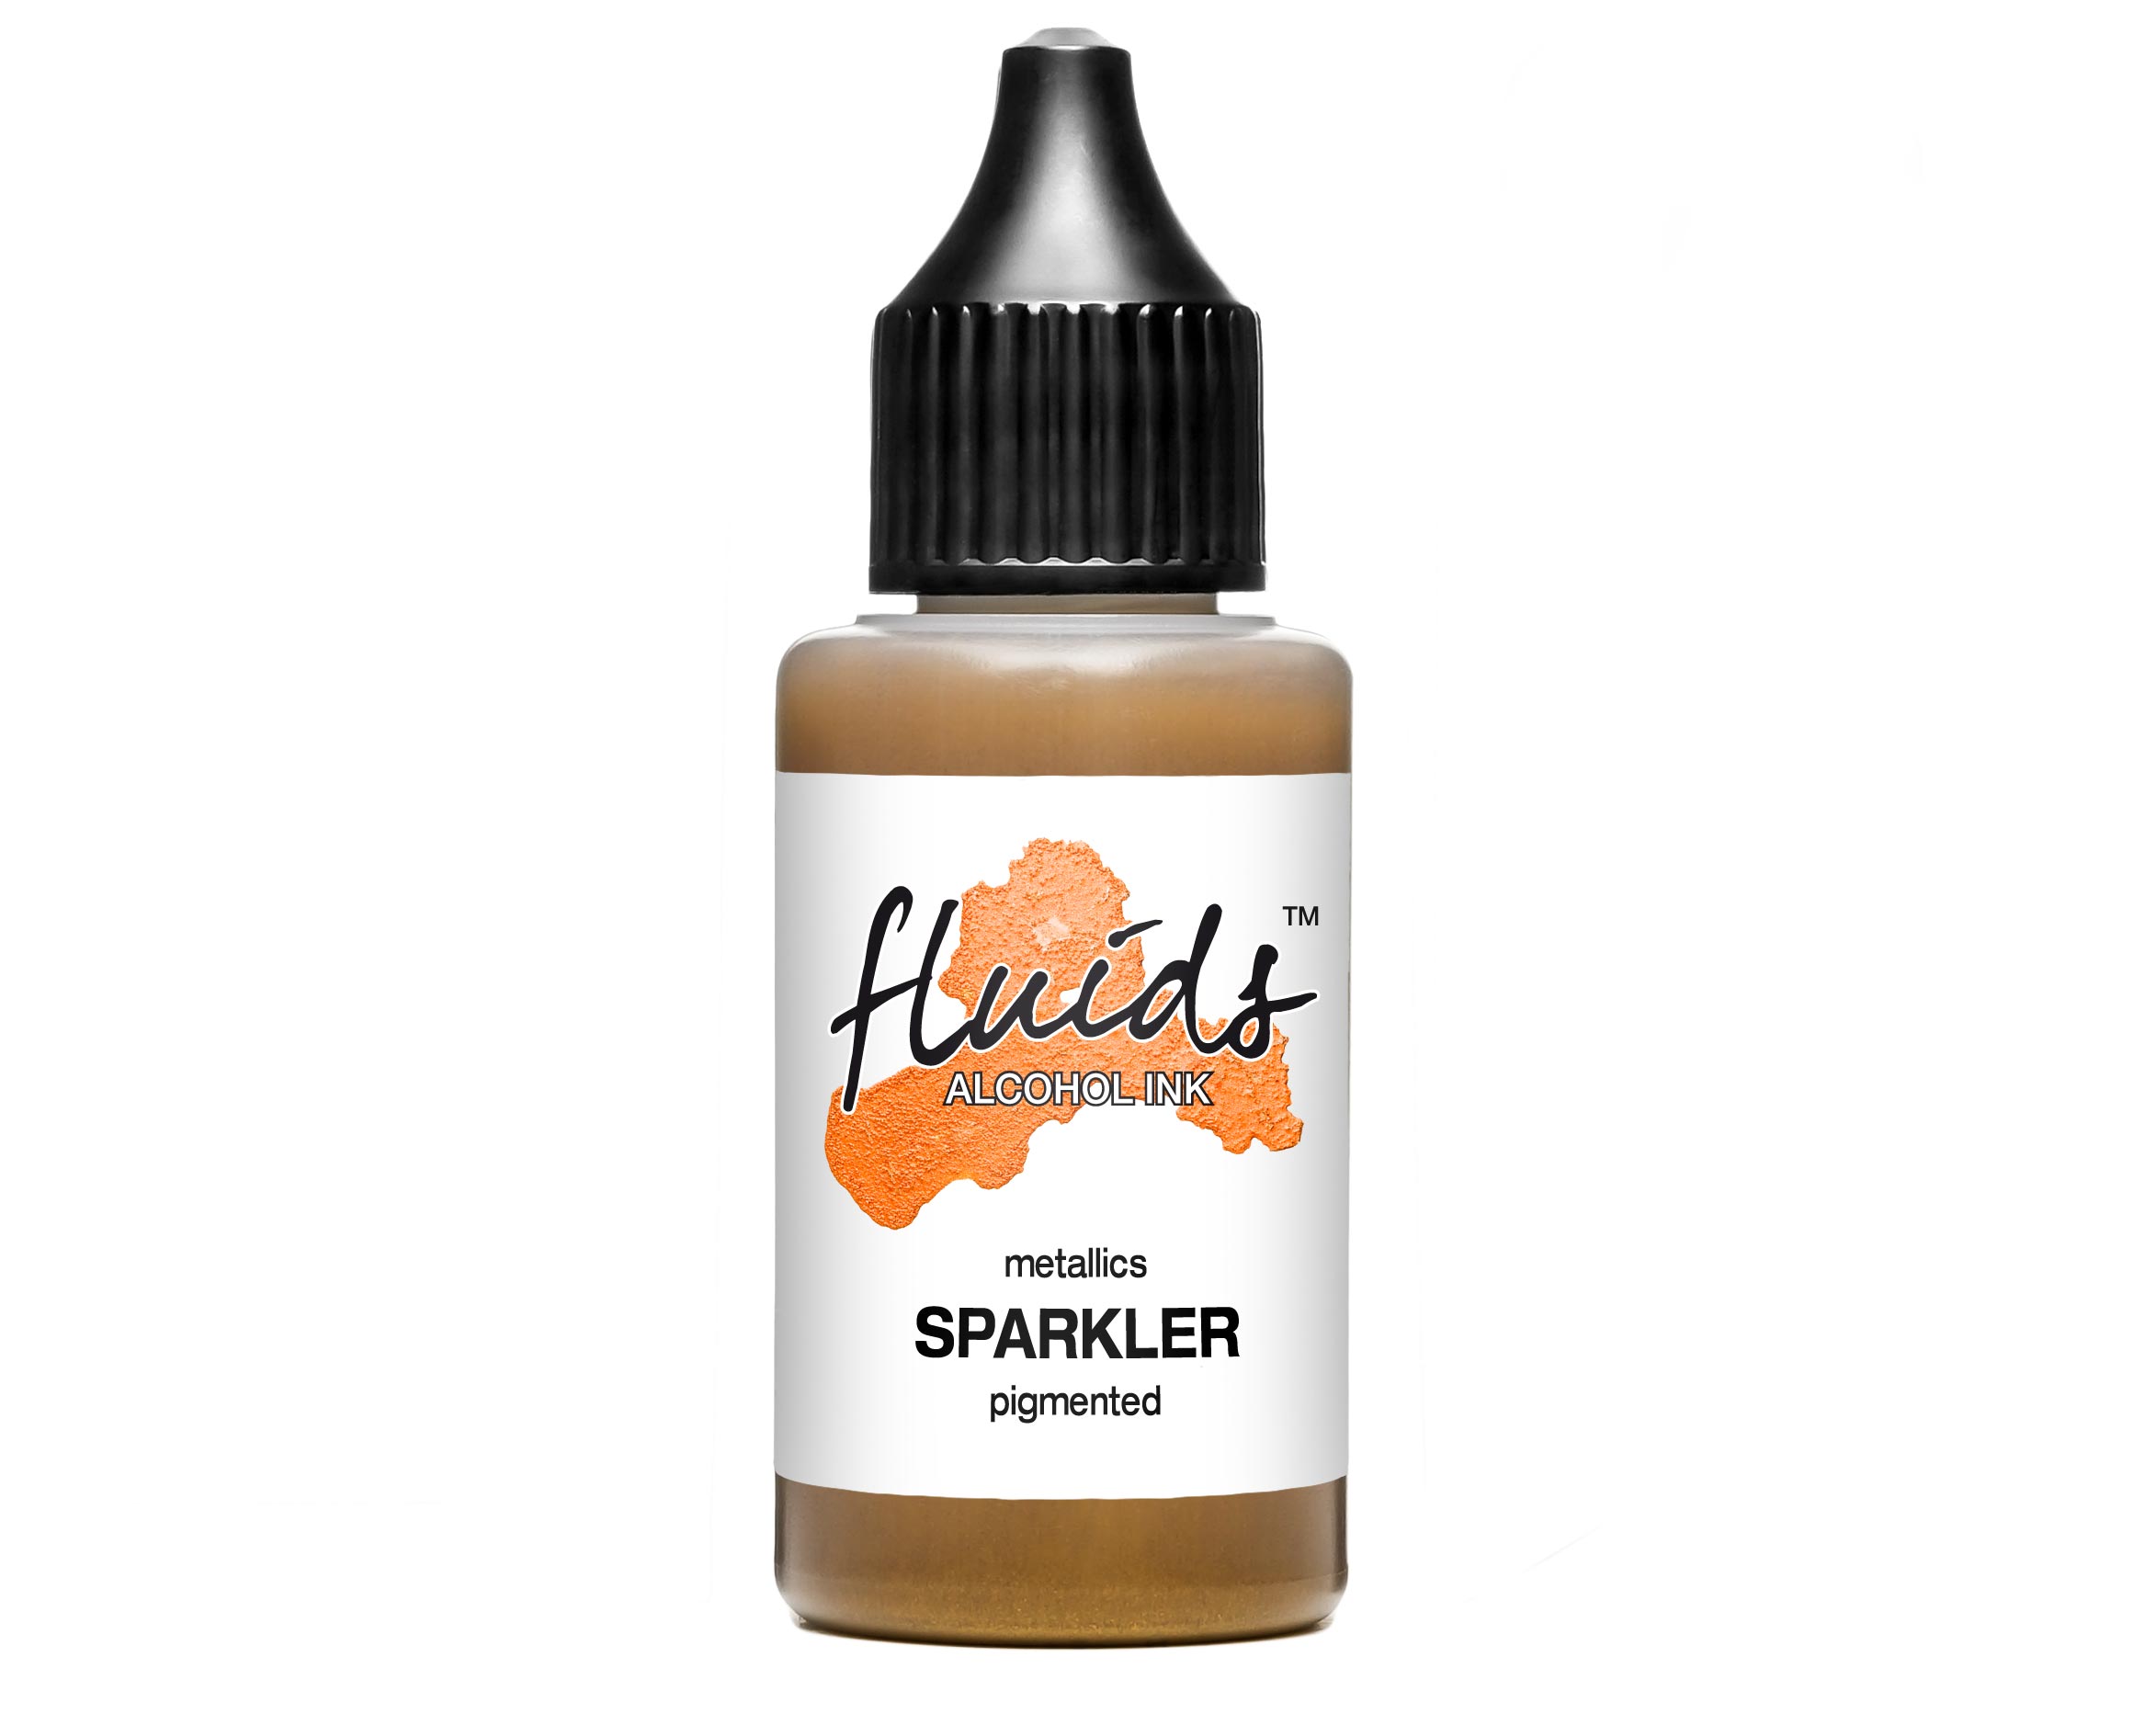 Octopus Fluids Alcohol Ink Sparkler for fluid art and resin, metallic gold
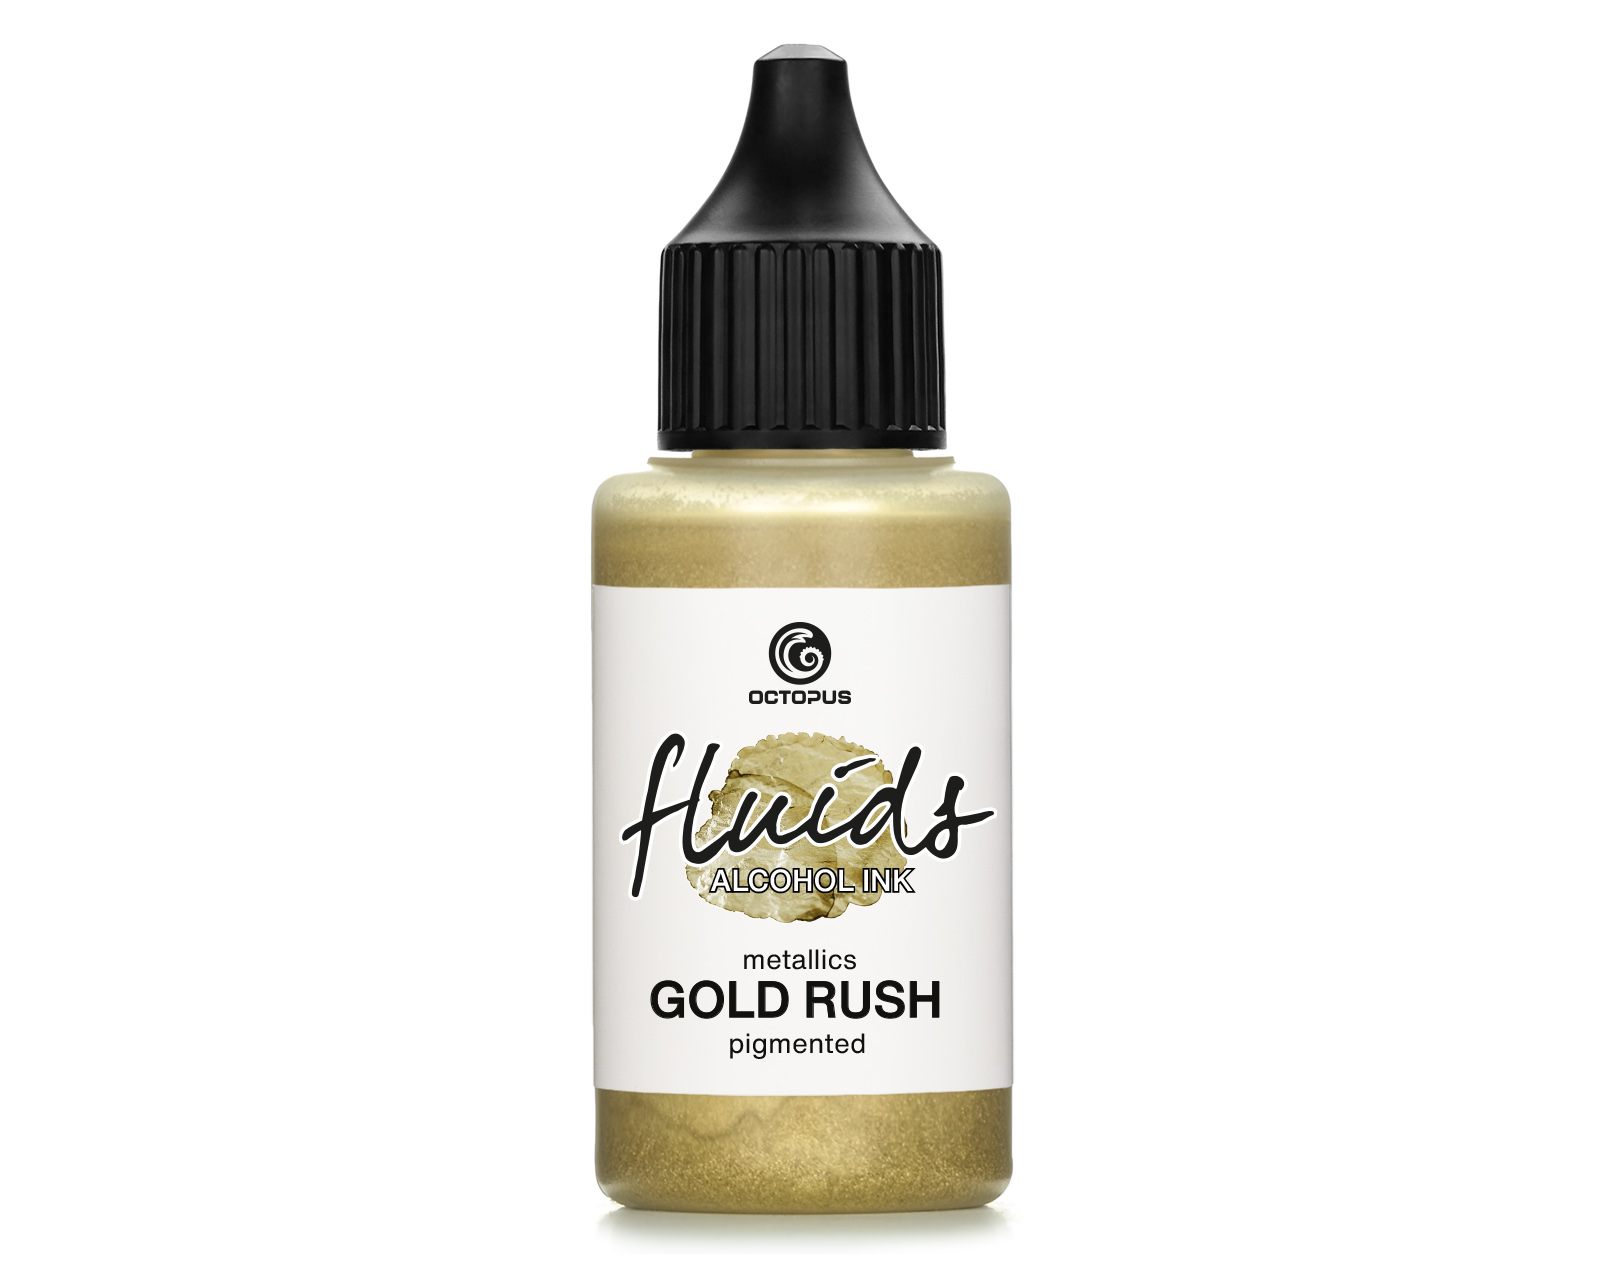 Octopus Fluids Alcohol Ink GOLD RUSH for fluid art and resin, metallic gold
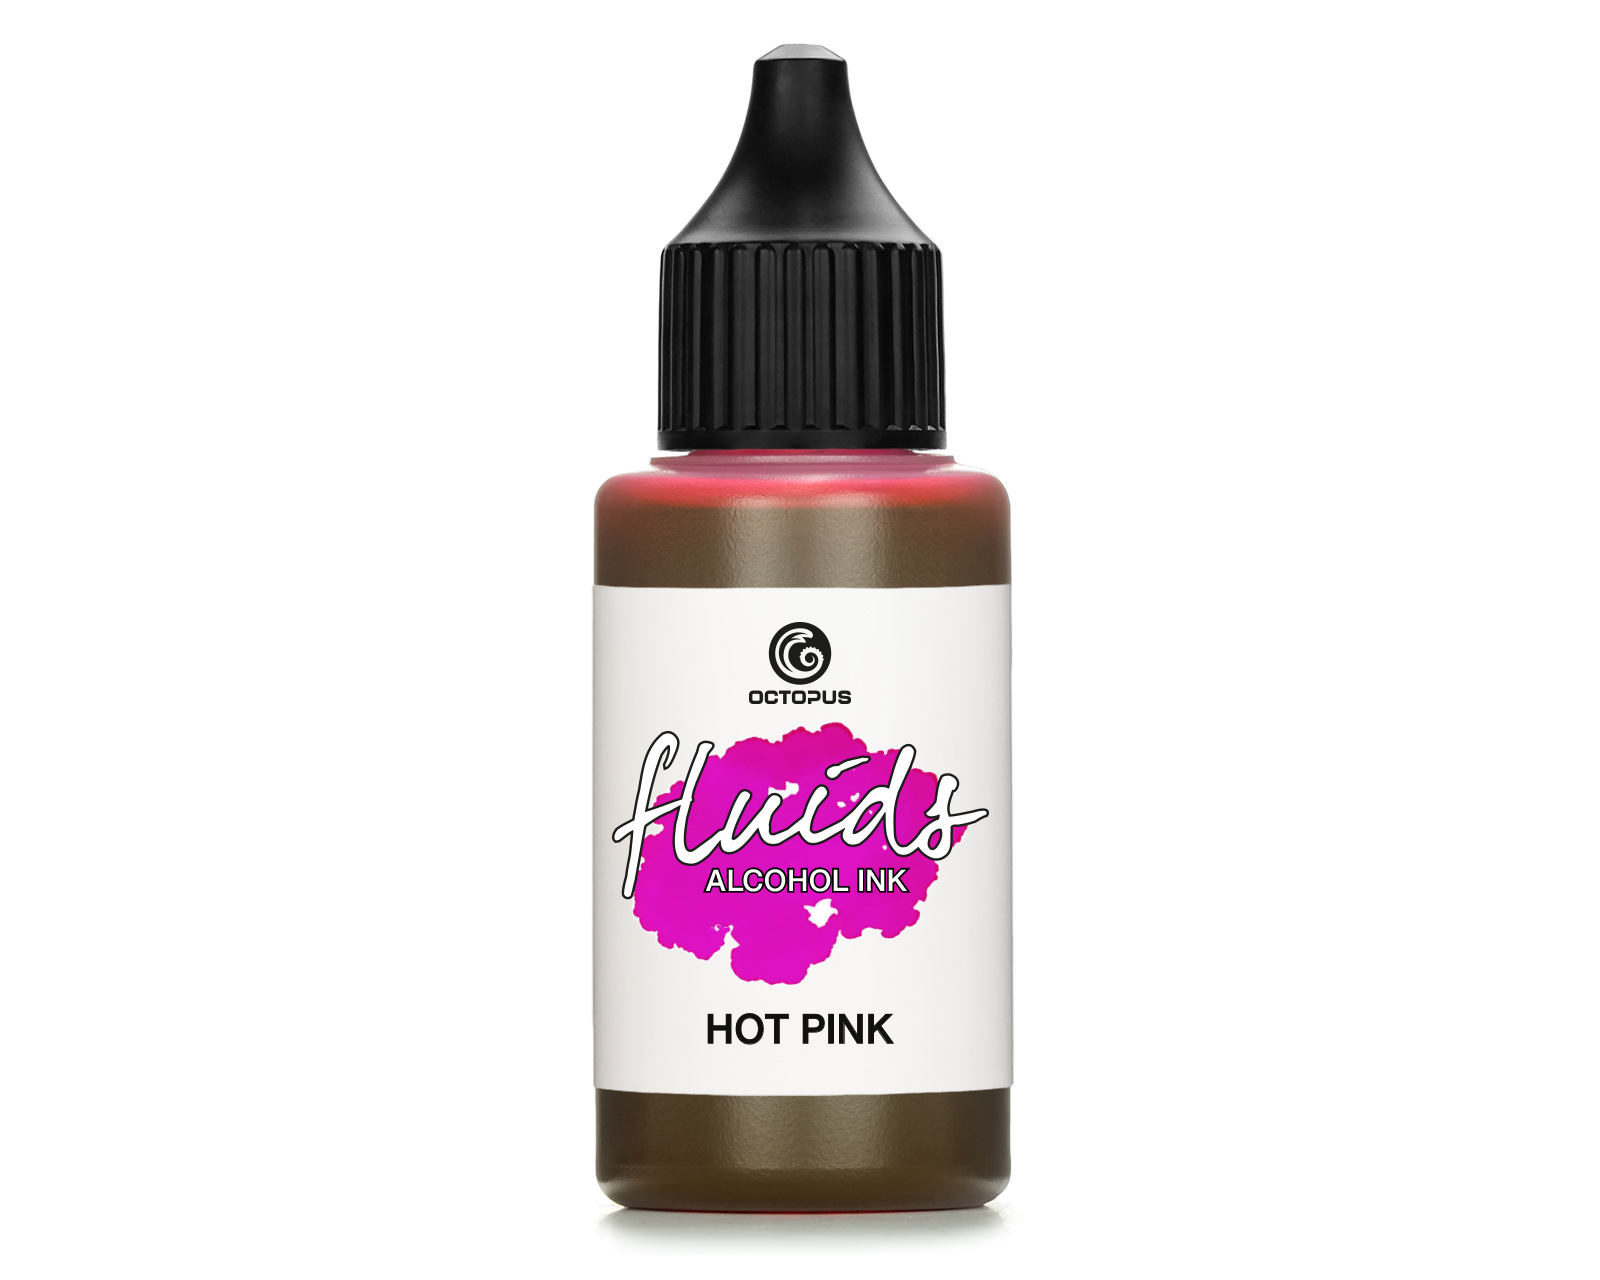 Octopus Fluids Alcohol Ink HOT PINK for fluid art and resin, pink
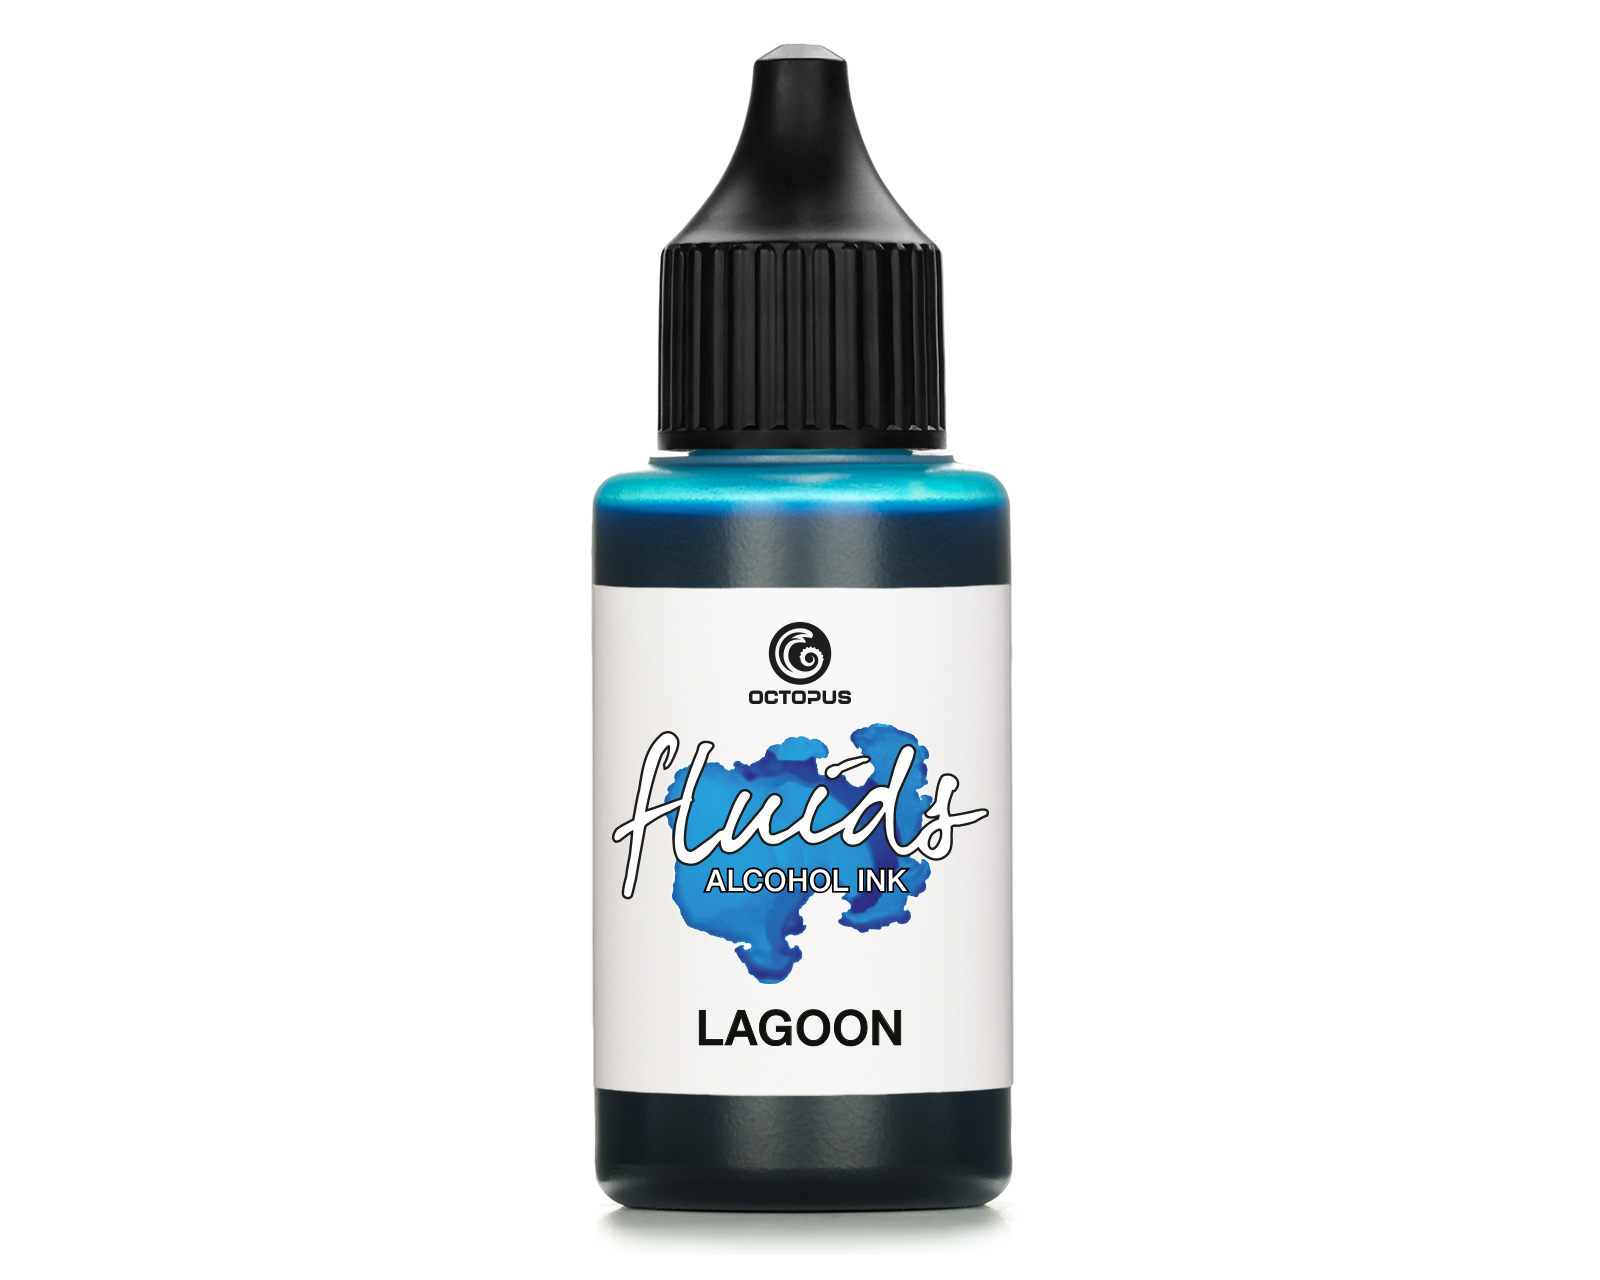 Octopus Fluids Alcohol Ink LAGOON for fluid art and resin, blue
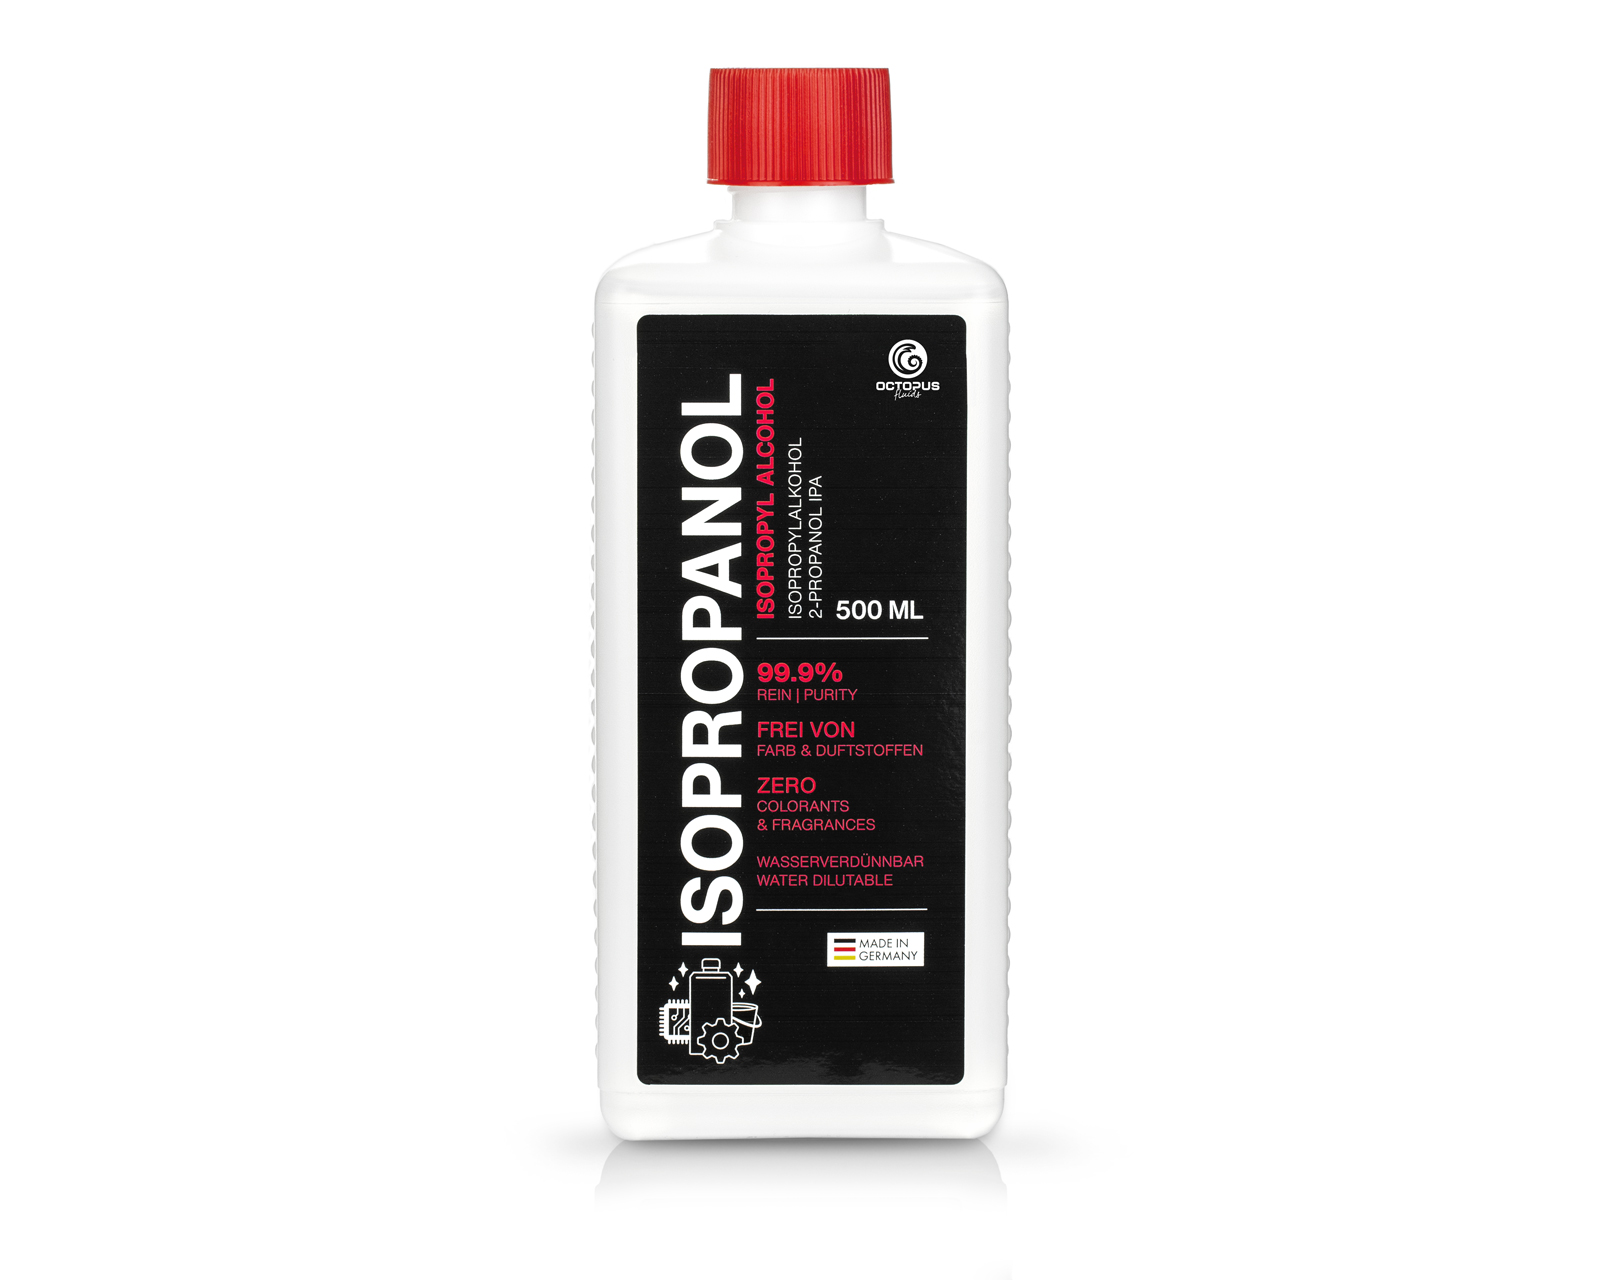 Isopropanol 99.9%, isopropyl alcohol 2-propanol IPA


