Epson print head cleaning - bring clogged nozzles back to work
Epson inkjet printers use Piezo technology inside their print heads. Different circumstances may cause that the print head´s nozzles do not work properly anymore.
Longer periods without printing and exposing the printer to direct sun light are possible reasons for a print head to dry out - the volatile ingredients of the ink evaporate and leave the nozzles clogged with the solid remains - pigment particles for instance.
Another reason for blocked nozzles could be the use of refill ink not suitable for a certain Epson inkjet printer. This happens usually when refilling with so called universal inks or installing super cheap compatible inkjet cartridges.
In all cases You have to option to run the printer´s internal print head cleaning function very often and wasting quite an amount of valuable ink to reactivate the print head. On top of the ink consumption for cleaning instead of printing You also fill up the waste ink container or wast ink pad unnecessarily. To avoid all of that we suggest a manual way to clean the print head and free the nozzles on an Epson inkjet printer.
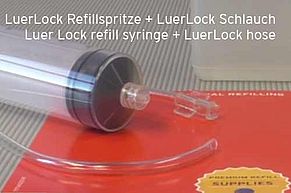
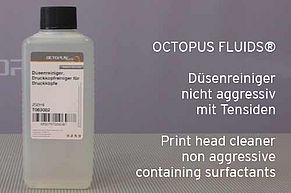
Following the Kiss principle (keep-it-stupid-simple) we use a very limited set of tools and materials to clean an Epson print head and its nozzles. Our intention is make the cleaning quite easy. Our suggested method works with a big refill syringe plus a plastic hose (best case would be both having a Luer Lock connector) and a suitable print head cleaner fluid. The inner diameter of the plastic hose has to match the ink port inside the print head compartment. Furthermore some an absorbent underlay is needed - a simple piece of kitchen towel is fully sufficient here.
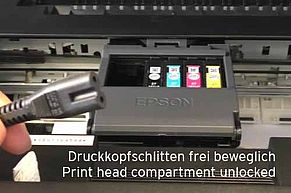
The cleaning of the print head and its nozzles we do not conduct when the print head compartment is in the parking position. We clean having the whole print head in the printer´s working area. The print head compartment can get unlocked by cutting off the electricity supply of the printer during printing a nozzle test pattern or during any other print job. You can check how to do so more detailed in our video.
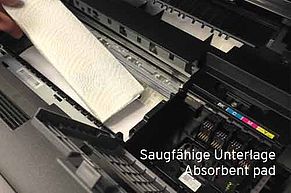
As soon as the Epson print head is free to be moved from side to side we slide a piece of folded kitchen towel under the nozzle plate at the print head. This underlay absorbs the print head cleaner that leaks out of the nozzles and prevents this polluted liquid staining the inside of the printer.
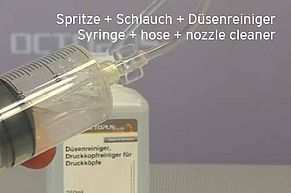
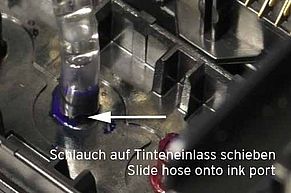
Now it´s time to connect refill syringe and the plastic hose. If Yours have Luer Lock connectors - good - because such a connection provides security from the plastic hose slipping off from the refill syringe´s tip. If You do not have such a material available - also no problem - You just have to be a bit more careful while pumping print head cleaner into the print head.
Make sure that there is also some air in the refill syringe when taking nozzle cleaner into the syringe. This air acts as a kind of shock absorber when building up pressure with the syringe towards the nozzles. This protects the tiny Piezo components inside the ink chambers from damages.
The other end of the plastic hose is slided on the ink port located in the print head compartment.
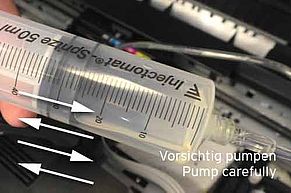
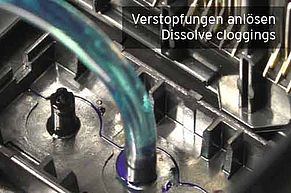
Start pumping the syringe´s plunger carefully to flush print cleaner into the print head. Make sure not to push the cleaner liquid in by brute force. The surfacants inside the cleaner dissolve cloggings and blockades best when giving the cleaner time to have impact.
Especially during pumping pay attention to avoid the plastic hose sliding off from the ink port when building up too much pressure. The cleaner should flow into the print head and through the nozzles easy and without resistance. It is sufficient to press one to two milliliter of cleaner through. The printer coming out of the nozzles is absorbed by the kitchen towel below the nozzle plate.
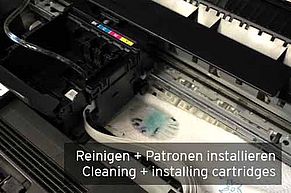
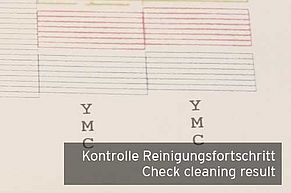
Pull the plastic hose from the ink port and clean inside the print head compartment afterwards. Now You can install the Epson inkjet cartridges again; take out the kitchen towel, move the print head compartment to the parking position and connect the Epson printer back to the electricity supply. To check on the effect of the manual cleaning it is helpful to print a nozzle test pattern. Do all lines exist and do they appear clear? You can repeat the cleaning process until the desired result has been reached.
How to remove the remaining nozzle cleaner out of the print head after cleaning?
After flushing the Epson print head according to our instruction there will remain a certain amount of nozzle cleaner fluid within the print head, within the printer´s ink system. The safest way for Your printer to get that cleaner out is to print it out. To do so please install regular inkjet cartridges filled with regular inkjet ink into the printer again and start printing a couple of print jobs. It does not really matter what you are printing as long as all cartridges are involved. You also print on already used paper as the print job is just aiming on clearing the print head from the nozzle cleaner and not on producing a nice print out. Keep on printing until colors appear clearly on the print out again. This method of removing the cleaning fluids has the advantage that You do not have the use the printer´s nozzle cleaning function that will pollute the waste ink pad inside the printer unnecessarily.
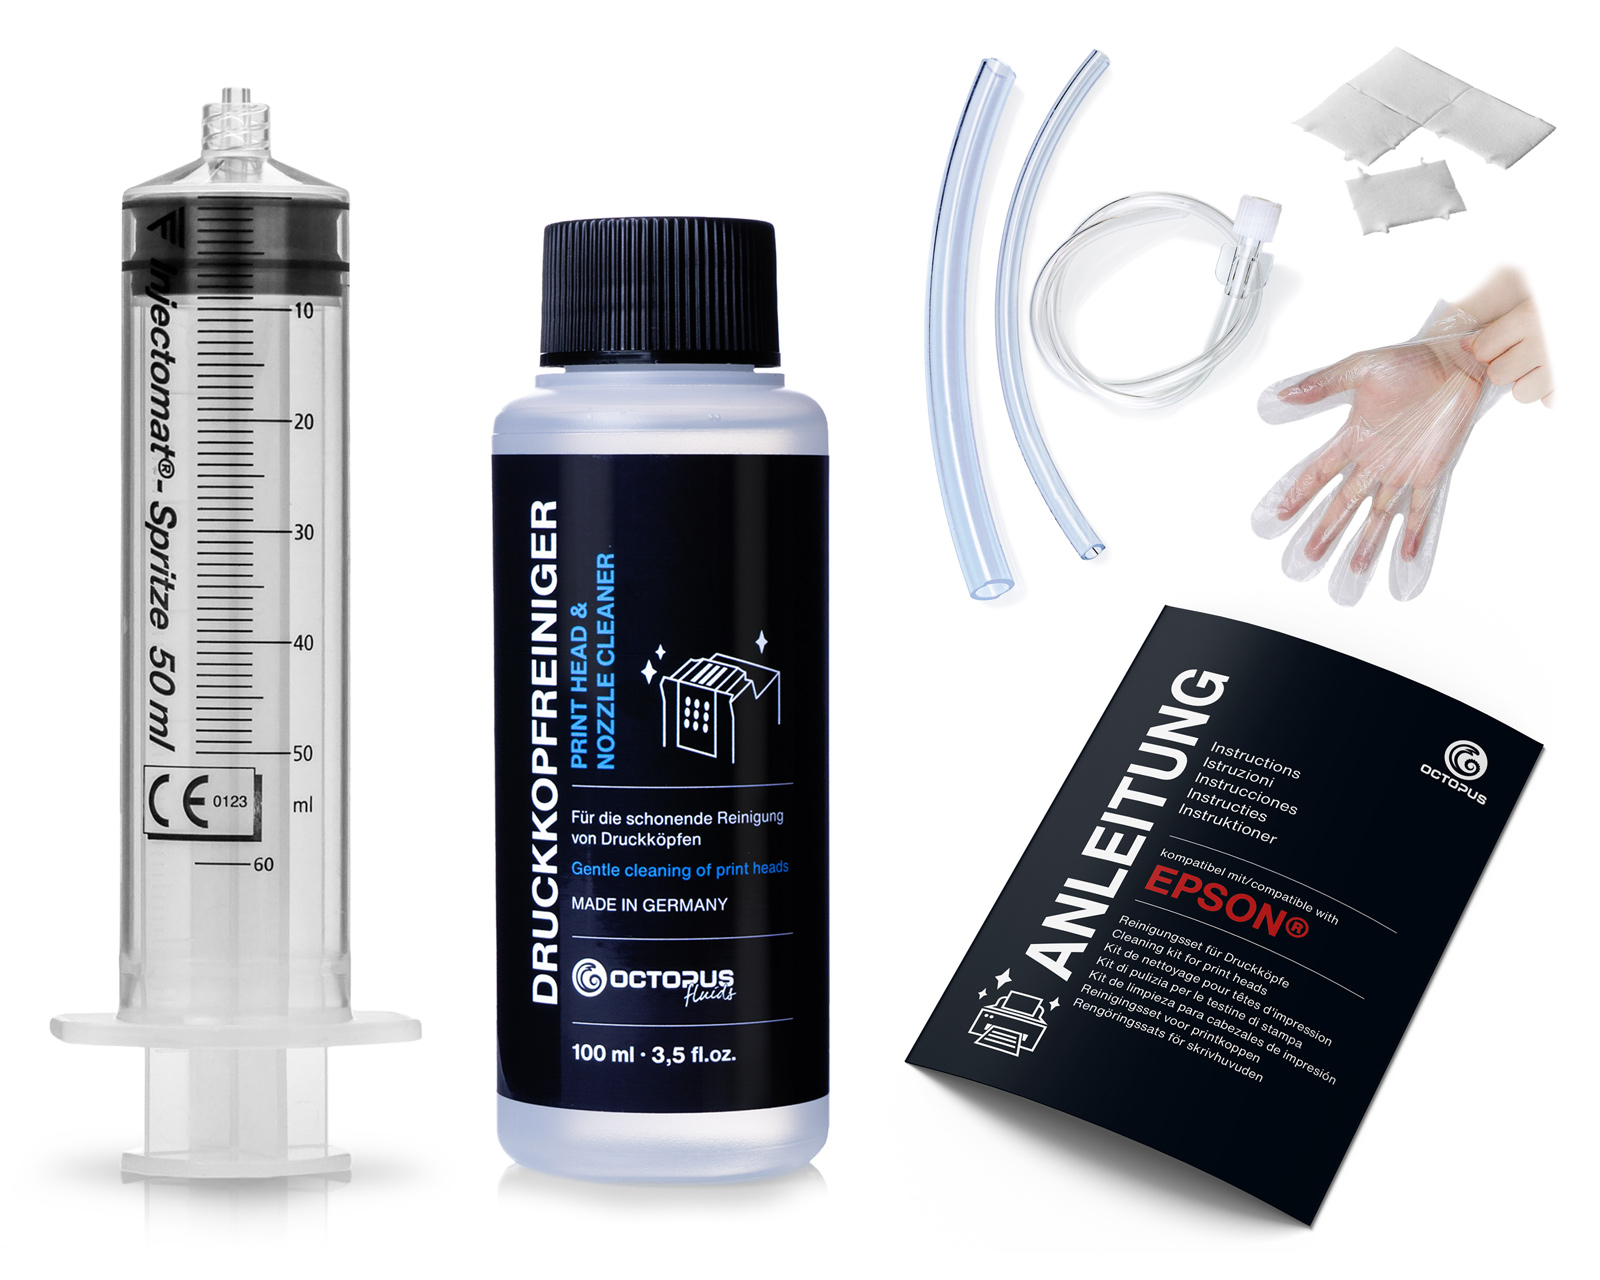 Nozzle Cleaner for Epson, Print Head Cleaner with extension
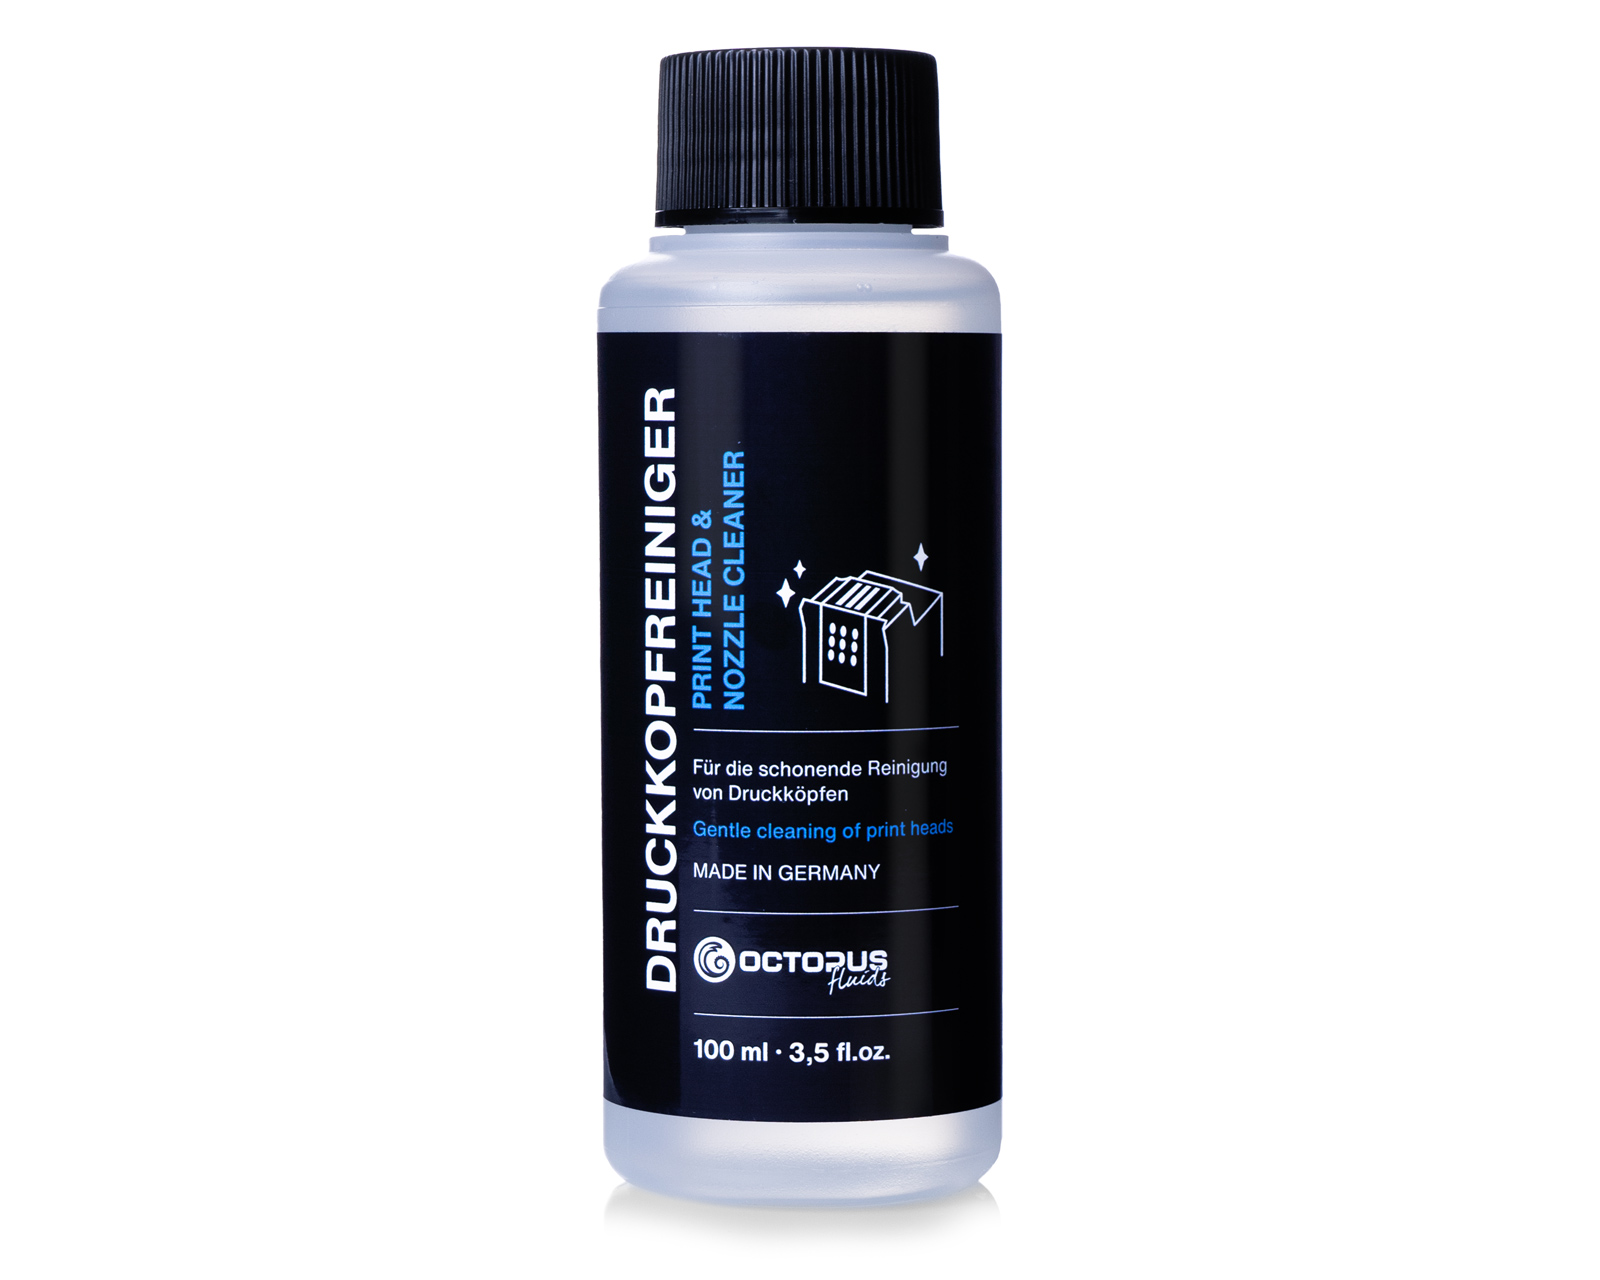 Nozzle Cleaner, Print Head Cleaner
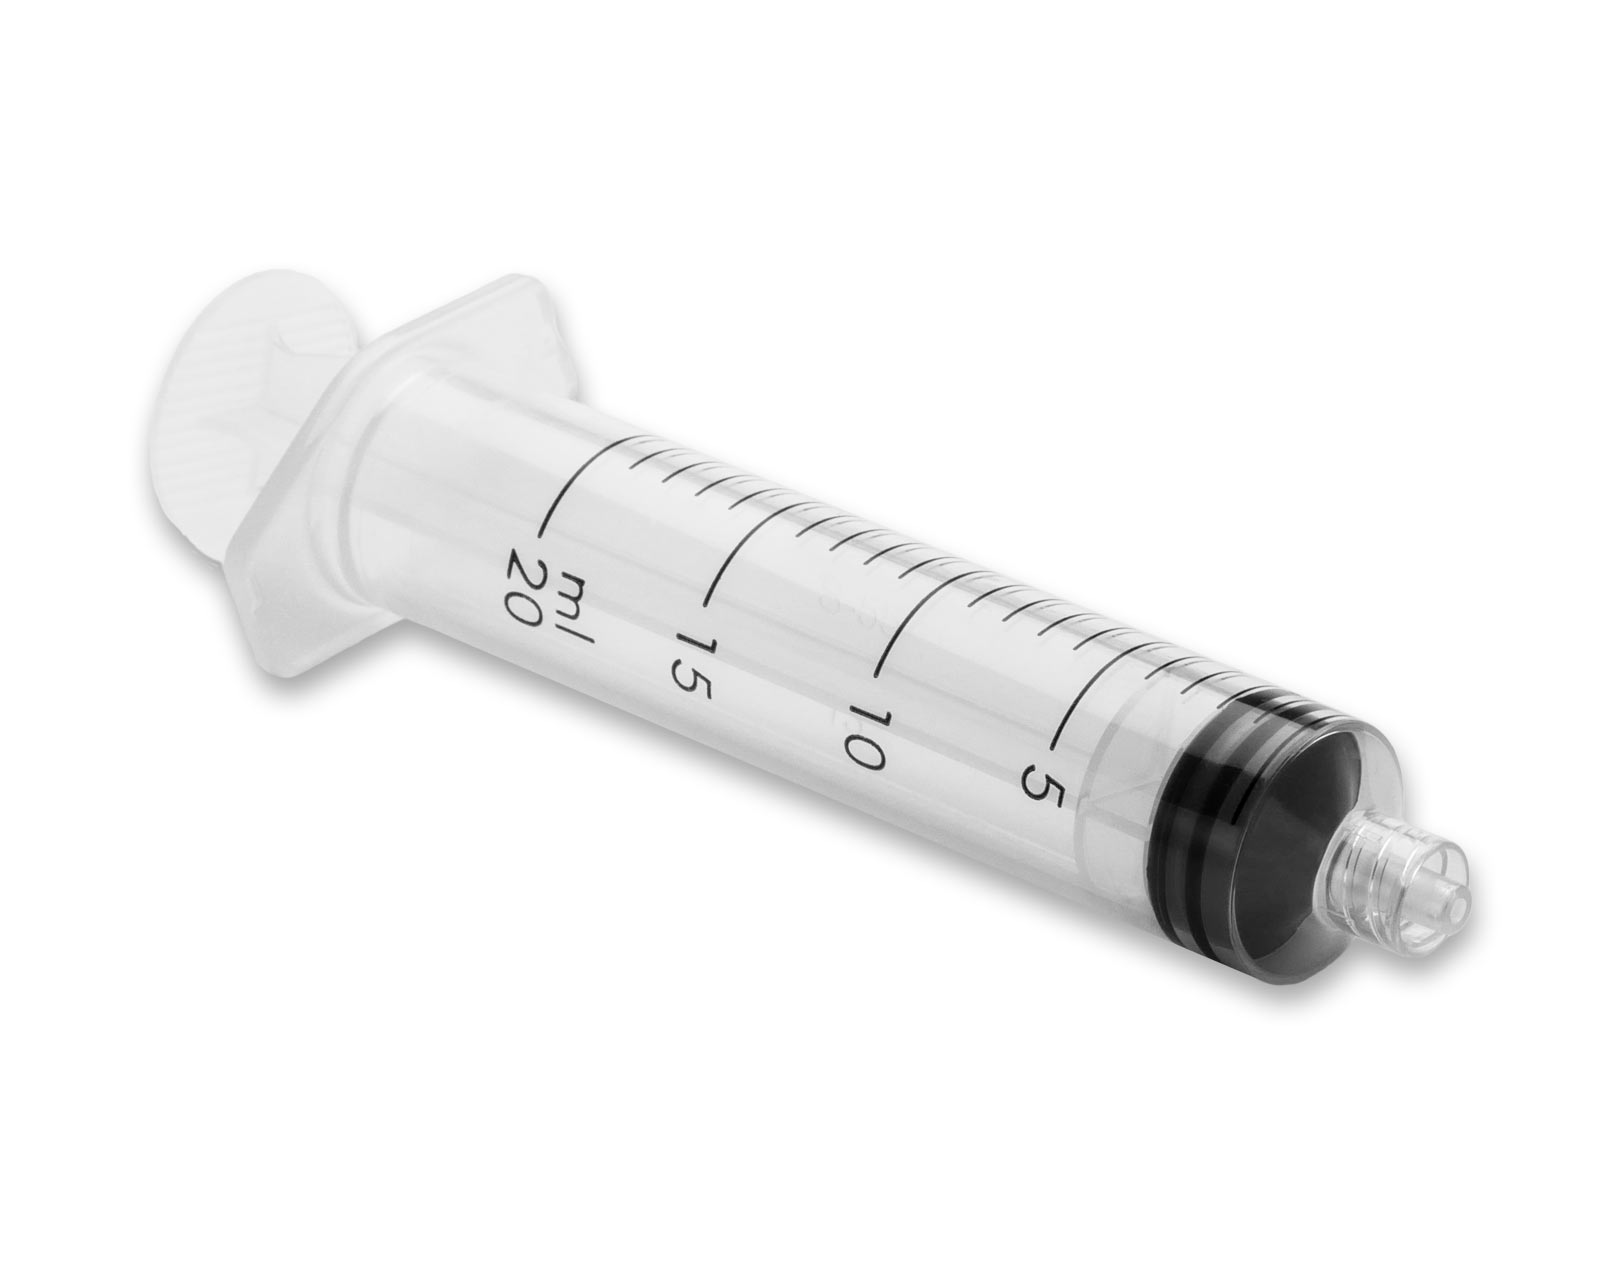 Softmatik refill syringe with luer lock fitting
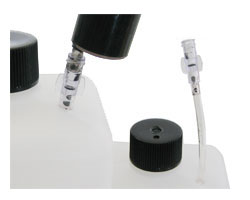 Extension for ink intake


