Brother print head cleaning, nozzle cleaning - How to clean clogged nozzles?
Due to several circumstances it may happen that the print head inside a Brother inkjet printer dries out or that several nozzles in the nozzle plate are blocked. In some cases the cleaning function of the Brother printer is not capable to free the print head again and to flush all of the blocked nozzles. Beside that the cleaning uses quite some of the valuable ink from the Brother inkjet cartridges.
Our tutorial provides a simple way to flush the print head manually without wasting Your printer´s ink.
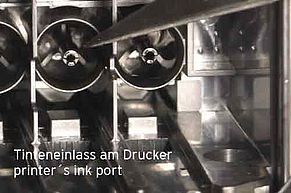
The majority of Brother´s desktop printers uses flexible tubes to feed their inks from the cartridges to the print head. The idea of the here shown method is to flush the ink system from the entrance of the ink, we call it ink ports, towards the nozzles in the print head. Dissolved cloggings and blockings get rinsed out through the print head´s nozzles into a suction pad.
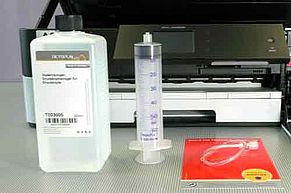
Our setup for that cleaning is quite simple but well adjusted to the Brother inkjet printer´s needs - we use gentle nozzle cleaner containing a special Surfactant + refill syringe with LuerLock connector + silcon tube with LuerLock connector.
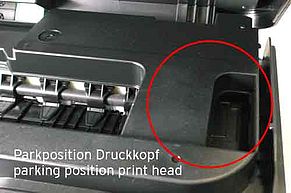
The parking position for the print head does barely provide any opportunity to work on the print head directly. Therefore the aim is to get the print head out of its parking position to the print area.
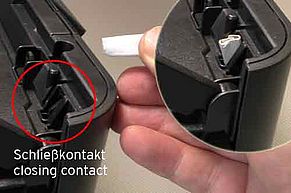
In the first step we trick the printer into thinking that the upper cover / scanner unit is closed. We do that by blocking the switch by using a piece of folded cardboard. Usually that switch is activated by a notch located on the upper cover.
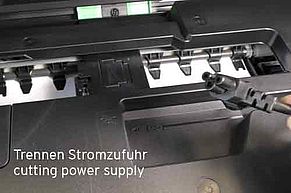
Then we start printing a nozzle test pattern and plug out the electricity supply when the print head has started to move towards the printing area. Thanks to the open, upper cover You can see that easily.
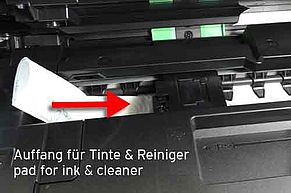
Now You can move the print head manually from side to side and it is quite easy to install a suction pad under the print head´s nozzle plate. That pad could be a piece of rolled paper towel. That pad prevents nozzle cleaner and dissolved cloggings plus inks coming out of the nozzles to leak into Your printer.
To conduct the cleaning remove all Brother inkjet cartridges from the printer. Each cartridge position is clearly marked for which color it is. So You are able to identify which ink port You need to use to clean a specific color.
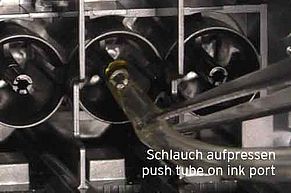
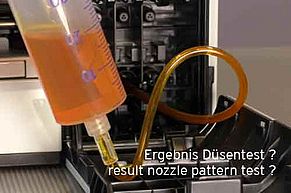
Couple the refill syringe and the silicon tube by the LuerLock connector. Take nozzle cleaner into the refill syringe, make sure that there is air, 10 ml to 15 ml, inside the syringe too. This air works as a pressure buffer during the cleaning process. Now press the silicon tube straight on the ink port. The fit has to be tight.
Now You can start pumping the syringe´s plunger carefully to get nozzle cleaner into the ink system. Push the plunger in and build up pressure, let the plunger go to release the pressure. The less pressure You use the better - this protects little structures inside the print head from damages. Depending from the degree of pollution the noozle cleaner needs more or less time to have its impact on the clogging or pollution.
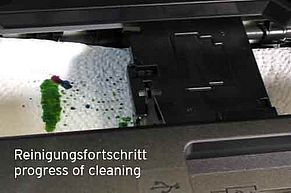
You can check on the cleaning´s progress on the padding under the nozzle plate. Cleaner and residual ink should leak from the color´s nozzles that You are cleaning. As said before it depends on the degree of pollution how long takes that the clogged nozzles become free again and You can see that the circle of spots on the pad is becoming bigger.
A detailed check on the progress is to print a new nozzle pattern (with all inkjet cartridges installed again). The pattern gives You a good indication if further cleaning is necessary.
You can make also use of the pad to clean the nozzle pad´s surface by moving the print head back and forth on the pad. This removes residual ink from the outside.
Using this method we are able to accomplish excellent results in getting completely dried in and heavily clooged print heads back to work. The worse the clogging the longer time was necessary to get rid of it. It did not help to increase the pressure while flushing, the decisive point was always time - let the cleaner´s surfacant work on the pollution.
How to remove the remaining nozzle cleaner out of the print head?
After flushing the Epson print head according to our instruction there will remain a certain amount of nozzle cleaner fluid within the print head, within the printer´s ink system. The safest way for Your printer to get that cleaner out is to print it out. To do so please install regular inkjet cartridges filled with regular inkjet ink into the printer again and start printing a couple of print jobs. It does not really matter what you are printing as long as all cartridges are involved. You also print on already used paper as the print job is just aiming on clearing the print head from the nozzle cleaner and not on producing a nice print out. Keep on printing until colors appear clearly on the print out again. This method of removing the cleaning fluids has the advantage that You do not have the use the printer´s nozzle cleaning function that will pollute the waste ink pad inside the printer unnecessarily.
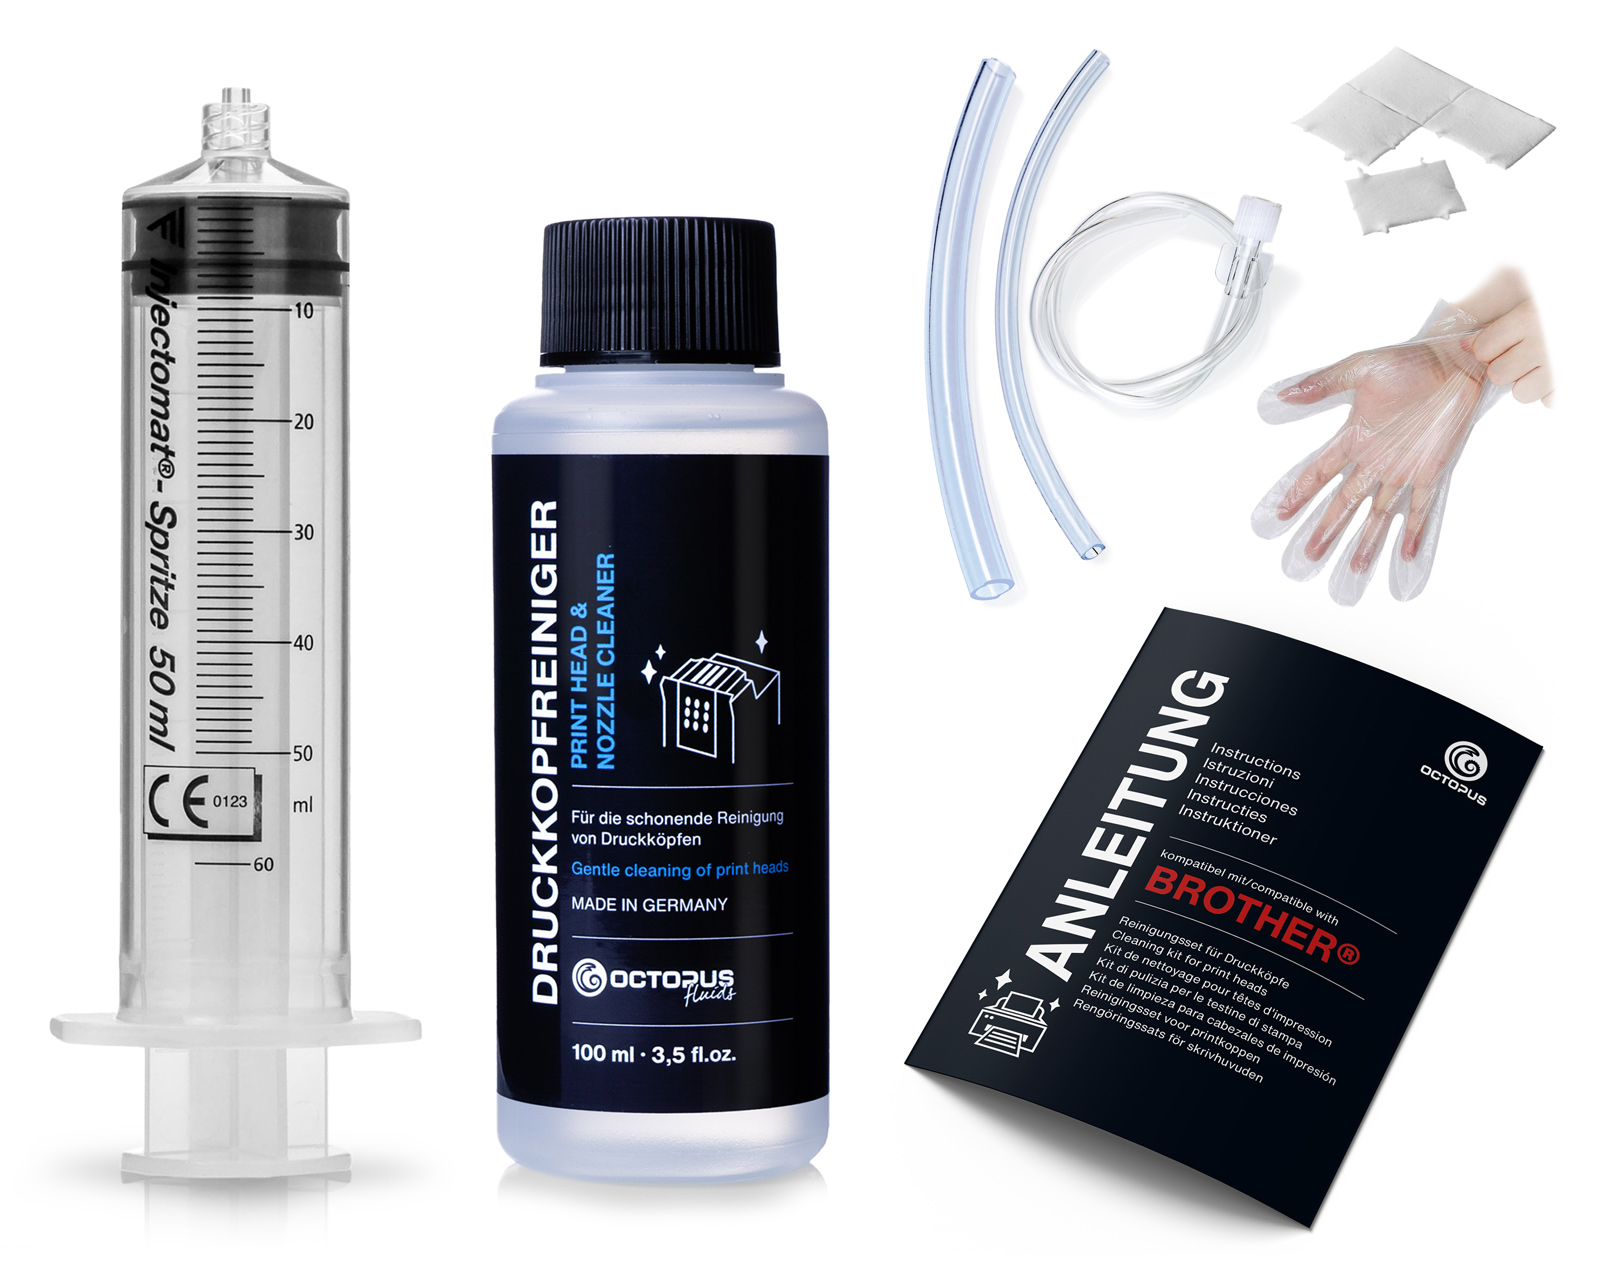 Nozzle Cleaner for Brother, Print Head Cleaner with extension
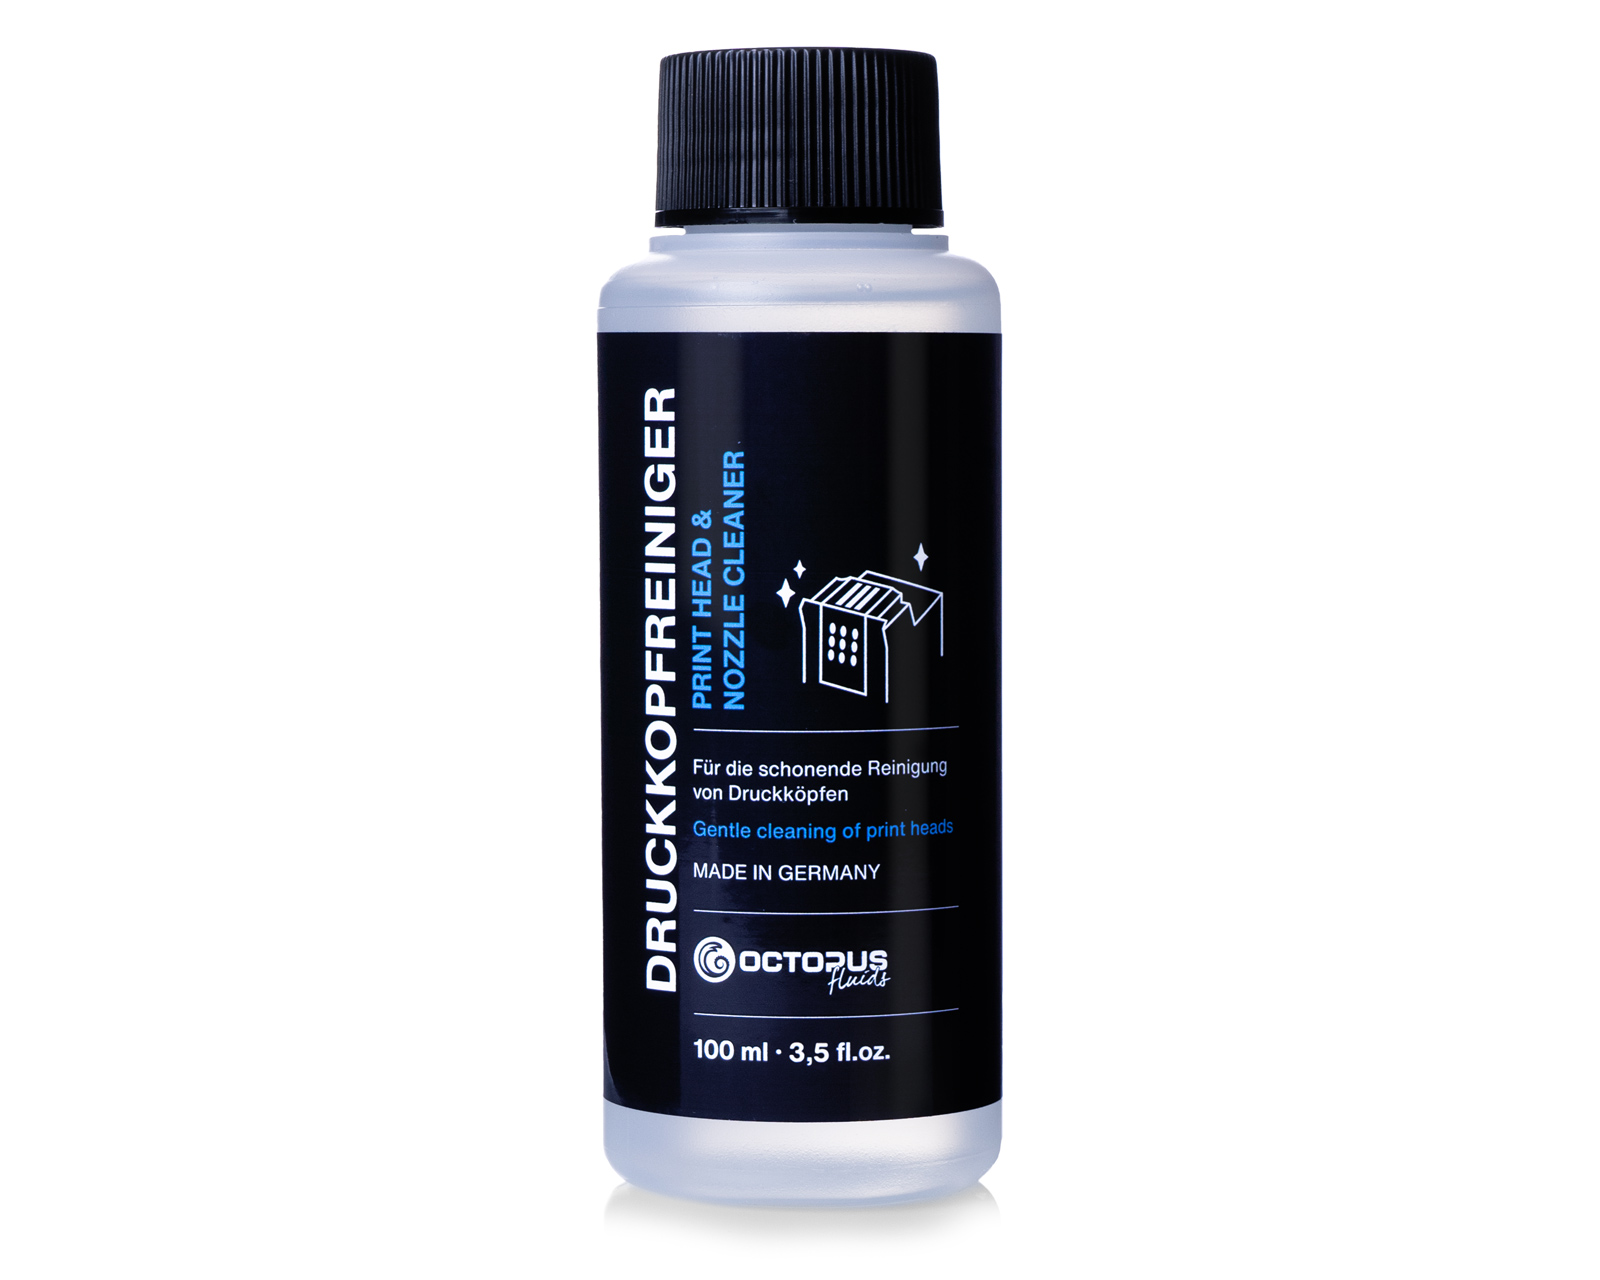 Nozzle Cleaner, Print Head Cleaner
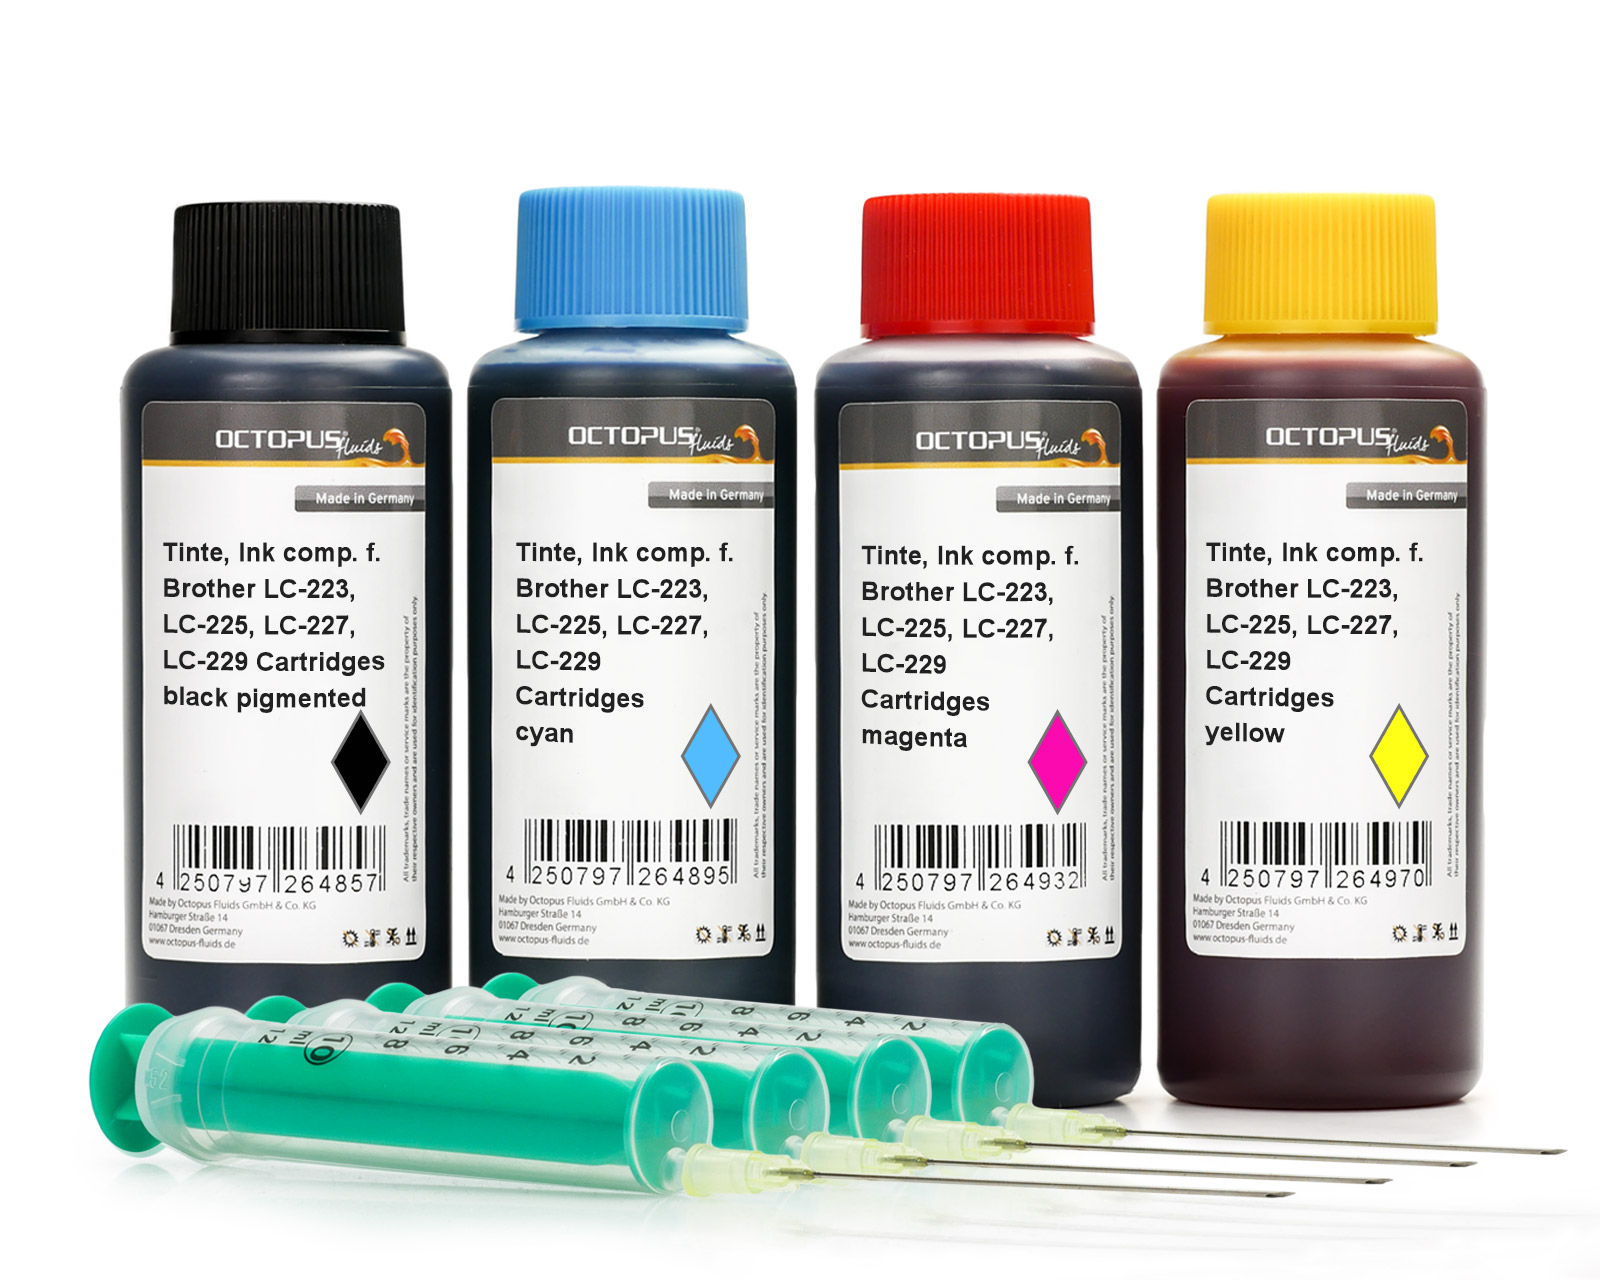 Ink comp. with Brother LC-223, LC-225, LC-227, LC-229, LC-12E
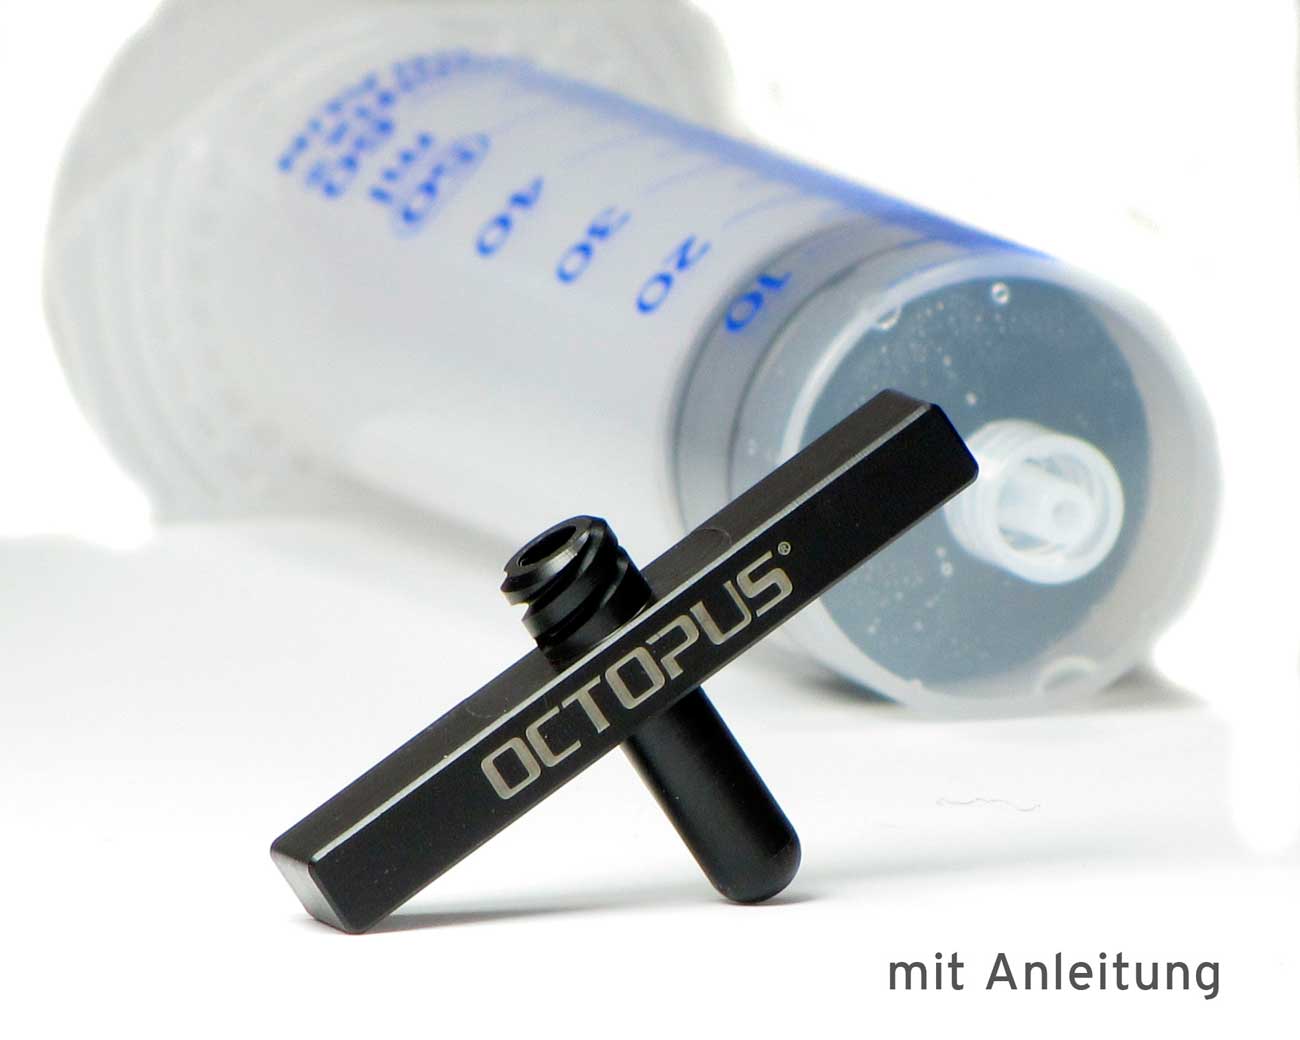 BroLuer Refill Tool for Brother Cartridges incl. Luer Lock Syringe
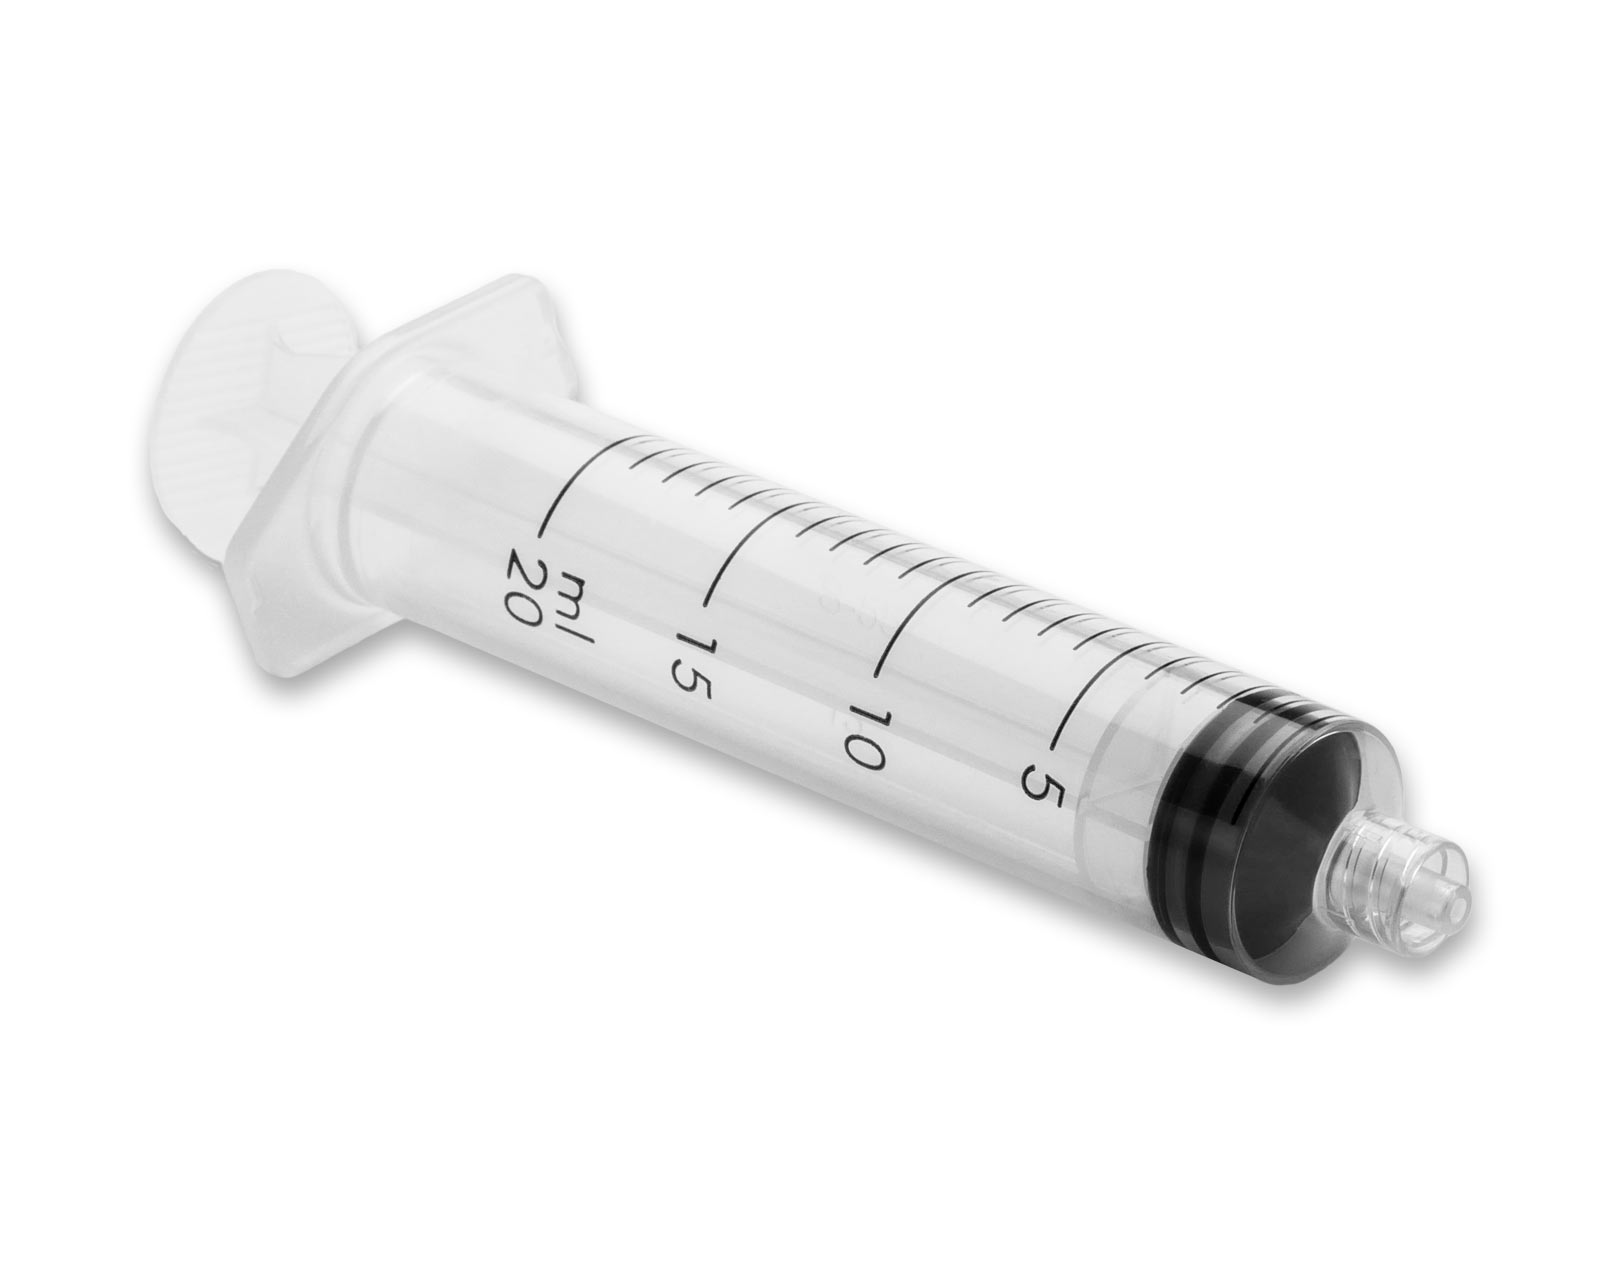 Softmatik refill syringe with luer lock fitting
 Extension for ink intake


