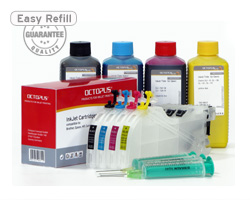
Refill Instructions for Brother XL Fill In cartridges LC-123, LC-125, LC-127
Our instructions explain how to refill ink, build the original chip onto the new cartridge and dismantling the cover of the cartridge panel on your printer.
How to refill ink and replace the chip on Brother XL Fill In cartridges LC-123, LC-125, LC-127
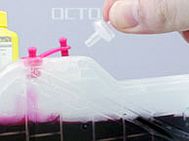
Our XL Fill In cartridges for Brother LC-123, LC-125, LC-127 are delivered with a double sealing plug for the filler opening and air valve and an air filter. Both pieces need to be attached to the cartridge before using it.
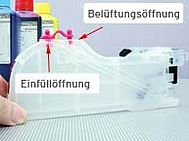
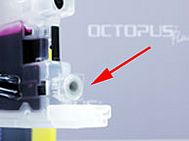
The bigger opening on the upper side of the cartridge is the filler opening. That is were you put the big coloured sealing plug. The smaller opening next to it is the air valve. Set the air filter into it. Also located on the upper side of the cartridge is the place were you put the chip for recognition of the cartridge. You remove the chip from the original Brother cartridges LC-123, LC-125, LC-127 and place it here.
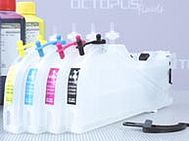
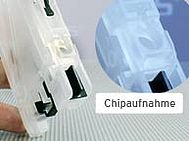
The original chips are attached to the Brother cartridges LC-123, LC-125, LC-127 with two welding spots. To remove the chip carefully cut off the right welding spot. Now you can lift the chip and place it on the new Fill In cartridge. To fix the chip we recommend a drop of instant glue or welding the chip onto the pin of the cartridge. When using instant glue please make sure that no glue gets on the backside of the chip. Solvent could damage the conductor path. You can also attach the chip with double sided adhesive tape.
Fill In cartridges that are already equipped with a chip do not need the original one.
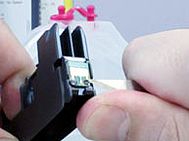
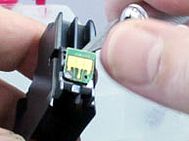
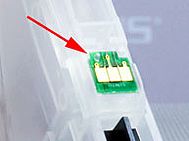
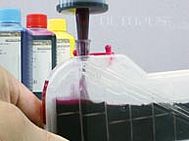
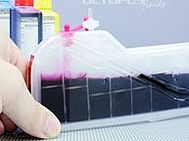
To refill the cartridge remove the sealing plug from the filler opening. If you fill in ink for the first time we recommend and amount of 50ml for each colour. Carefully fill in the ink with a syringe and make sure not to damage the inside of the cartridge.
If both plugs (filler opening and air valve) are sealed you can move or store the cartridge. Before using the cartridge inside the printer remove the small plug from the air valve and set in the air filter.
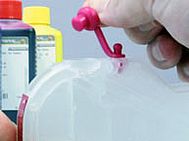
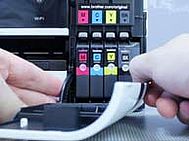
The XL Fill In cartridges are bigger than the original ones and therefore protrude from the printer. That is why you need to remove the cover of the cartridge panel. You can do so by carefully levering the open cover. First out of the right fixation and then out of the left. Keep the cover safe.
The bracket on the cover signals the printer that the cover is closed. That is were you need to put in the single bracket included in deliefery. It leads the printer to believe that the cover is closed although there is no cover.
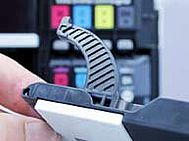
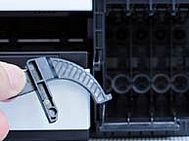
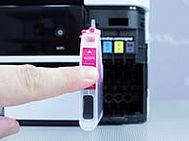
With the bracket in place you can use the refilled Fill In cartridge in your printer. The ink outlet is sealed with a foil which is stabbed when inserting the cartridge into the printer. Do not remove this foil. It holds the rubber seal in place. Insert the filled Fill In cartridge into the corresponding place. It locks into place when you have correctly inserted it.
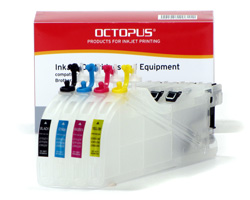 Refillable XL cartridges compatible with Brother LC-123, LC-125, LC-127 cartridges
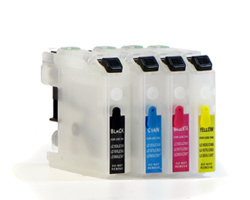 Refillable cartridges compatible with Brother LC-123, 125, 127 with autoreset chip
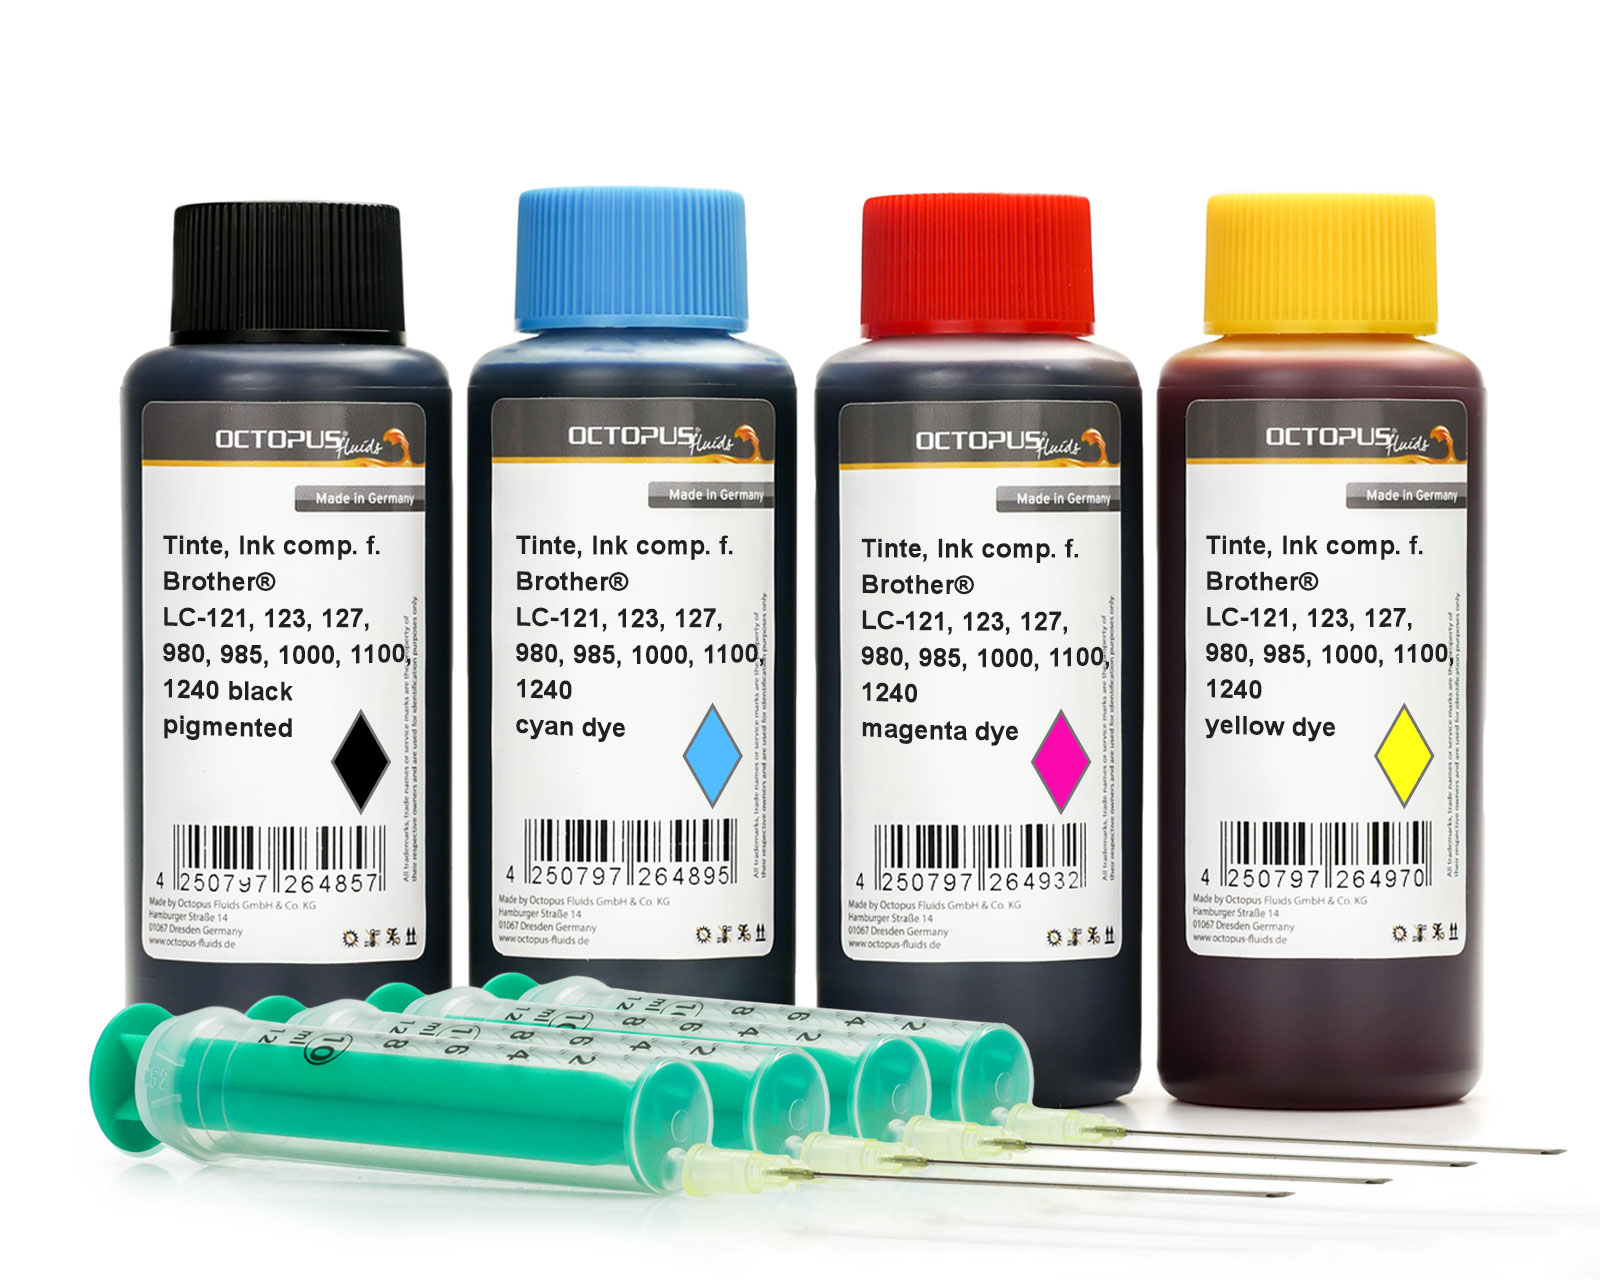 Ink comp. with Brother LC-121, 123, 980, 985, 1000, 1100, 1240, 1280
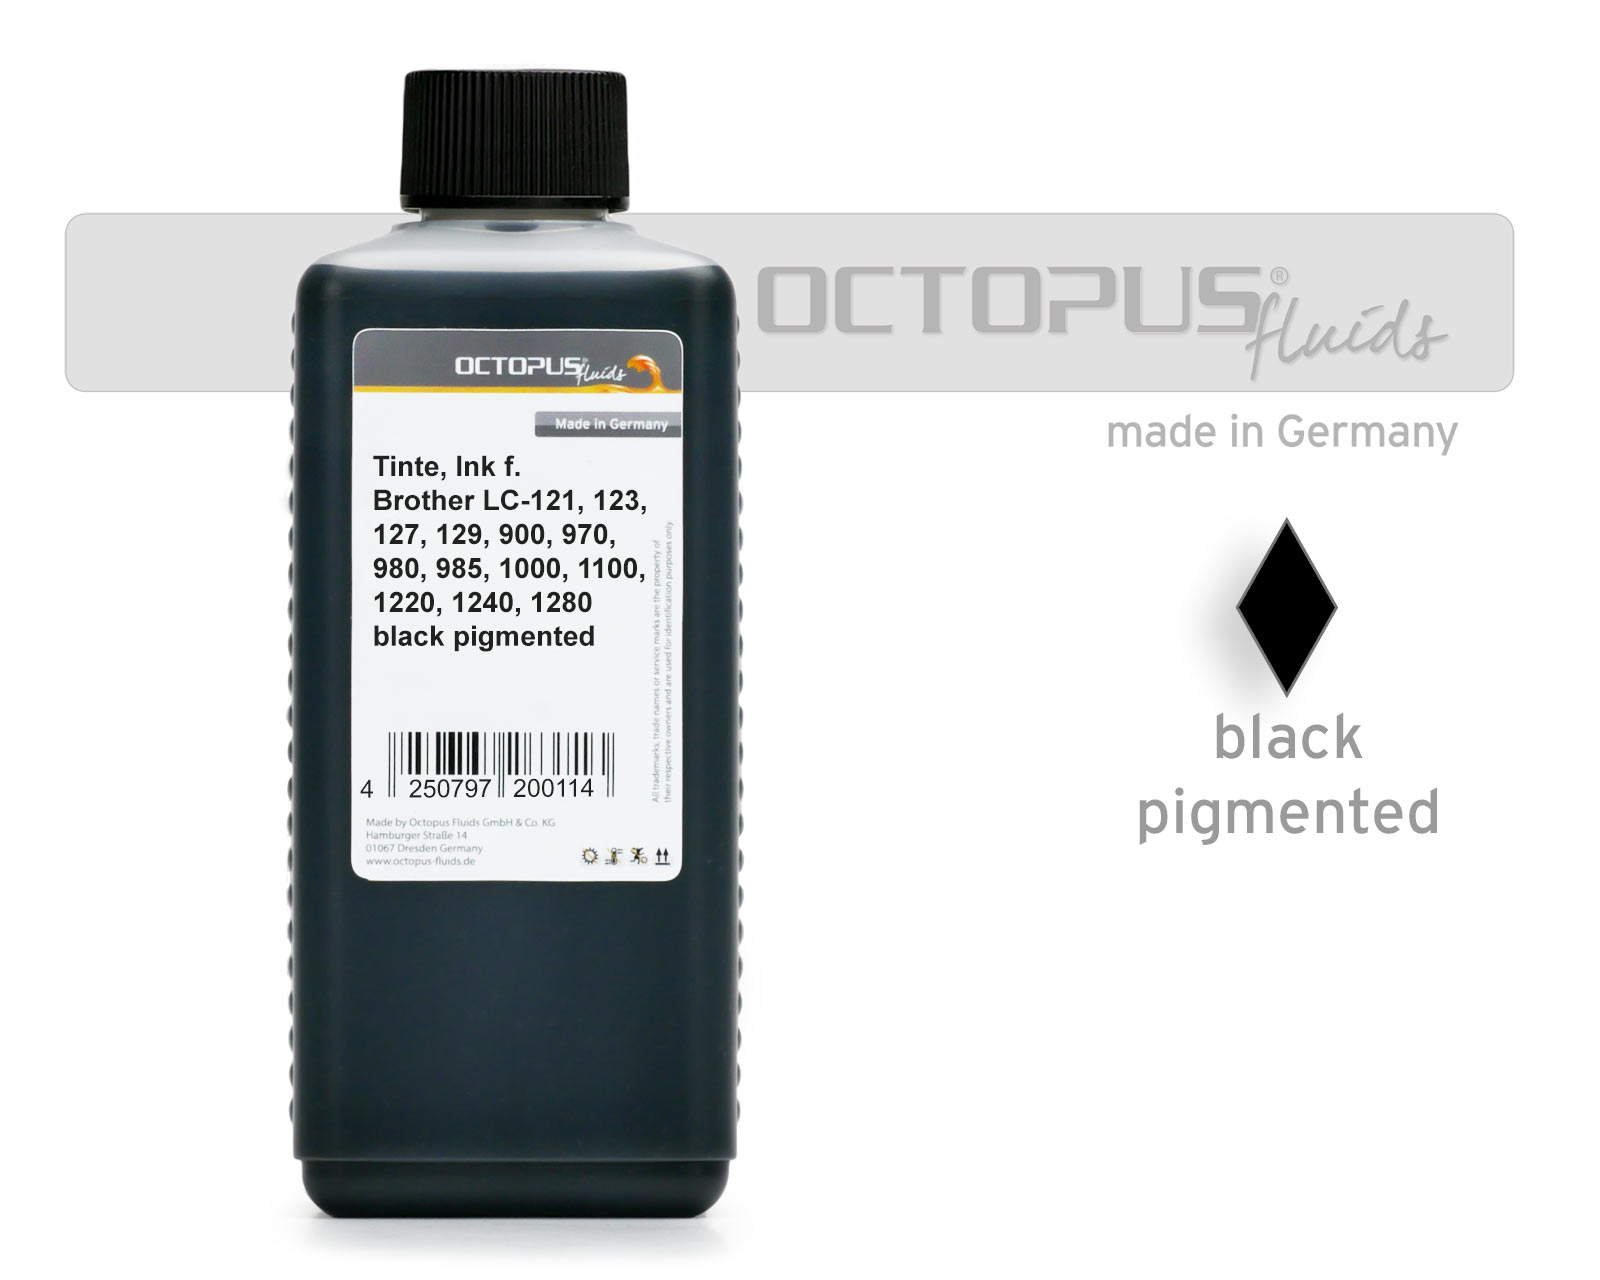 Ink comp. with Brother LC-970, 980, 1000, 1100, 1220, 1240, 121, 123, 127 black
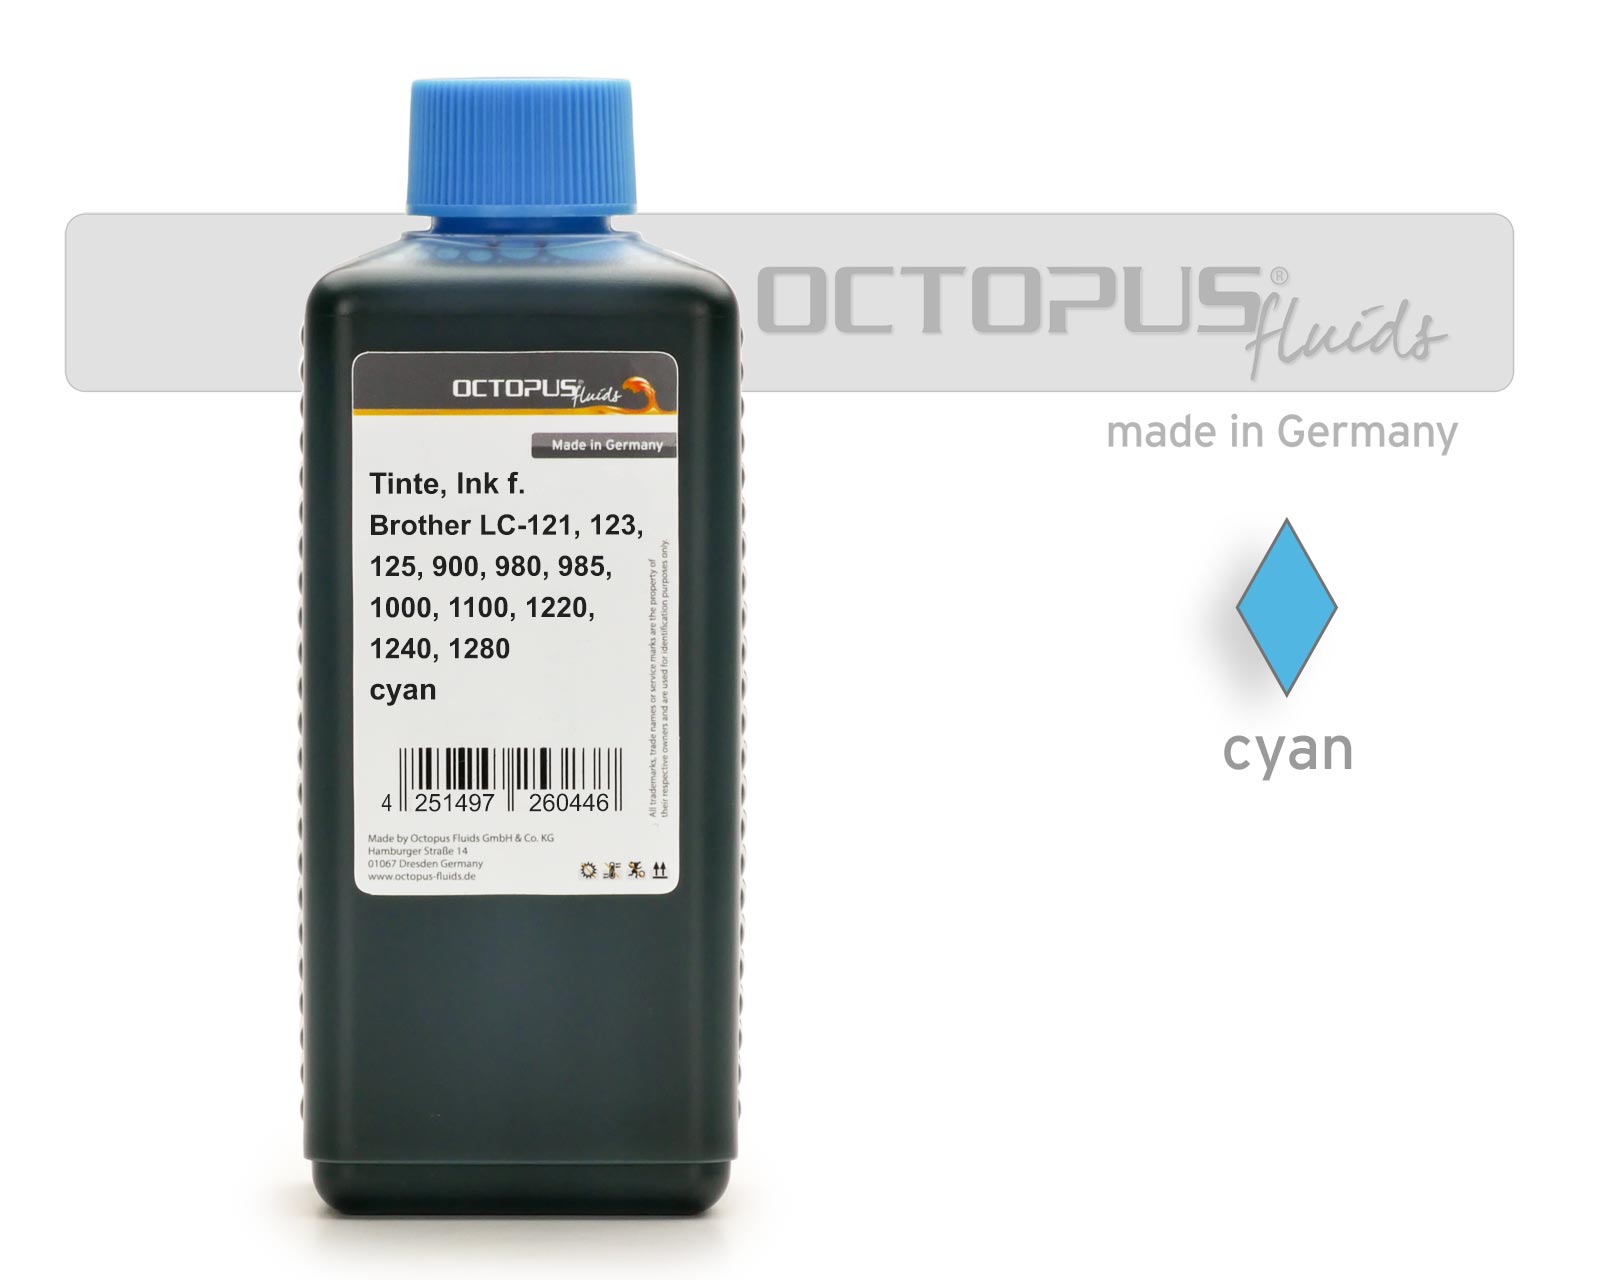 Ink comp. with Brother LC-121, 123, 970, 1000, 1100, 1220, 1240 cyan


