Refill Instructions for Brother LC-223, LC-225, LC-227, LC-229 Cartridges with Syringe and Cannula
The original Brother LC-223, LC-225, LC-227, LC-229 can also be refilled with a syringe and cannula by attaching a filling opening to the inner ink tank. In addition, all you need is a small screwdriver, a needle, and a standard household liquid adhesive.
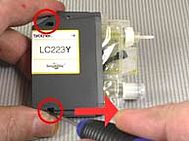
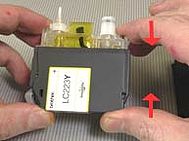
The outer housing of the cartridges consists of a front cap (1) and a rear part (2). Both housing parts must be removed for the filling opening to be attached. Take the small screwdriver and push the retaining lugs in the openings on the front cap towards the rear of the cartridge.
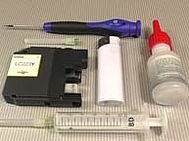
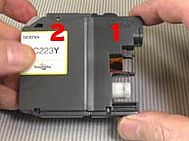
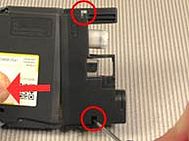
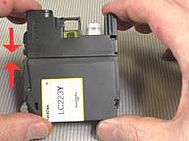
If both retaining lugs are loosened, the toe cap becomes loose. Carefully pull it down from the inner ink tank. The second part of the housing is also attached with two holders. Press the retaining hooks flat in the openings and use the screwdriver to press the inner tank out of the housing part. If you separate the rear part from the tank for the first refilling, this is still quite difficult. Take your time, as the brackets in the openings are more difficult to access than in the front cap. This will make it easier to remove the rear cap when refilling the same Brother ink cartridge. If you have loosened the holders, carefully pull out the inner tank completely.
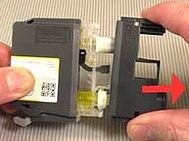
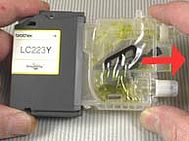
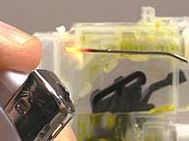
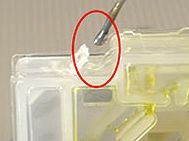
We have identified the rear area of the plastic frame of the tank as suitable for attaching the filling opening. There the cannula of the refill syringe can be inserted deep enough into the interior without hitting obstacles. Take a cannula, needle or similar and heat it with a lighter. Carefully press the hot needle onto the area on the frame where the filling opening is to be made. We had to heat our cannula several times to melt the plastic material completely.
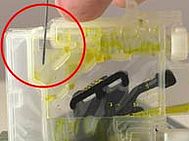
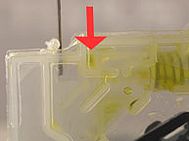
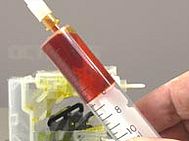
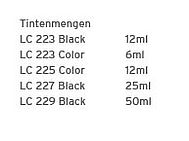
Now fill your refill syringe with the appropriate amount of refill ink. Please refer to the following picture to determine the correct amount for your empty Brother LC-223, LC-225, LC-227, LC-229 ink cartridge. Insert the tip of the cannula about 1 cm - 2 cm into the filling opening inside the tank and take care not to stick it into the side foils. Fill in the complete quantity of refill ink and then remove the syringe from the filling opening.
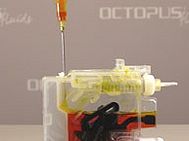
Now close the filling opening. Use a household liquid glue, hotmelt or similar. Apply one or two drops of glue directly to the opening using a needle or match process. Wait until the glue has dried before mounting the outer casing of the ink cartridge. This will prevent the inner tank from sticking to the rear of the housing. If both are glued together, the following filling procedures are more complicated than necessary. First place the rear cap on the tank and snap it back into place. The front flap forms the end - press firmly on until the retaining lugs click into place.
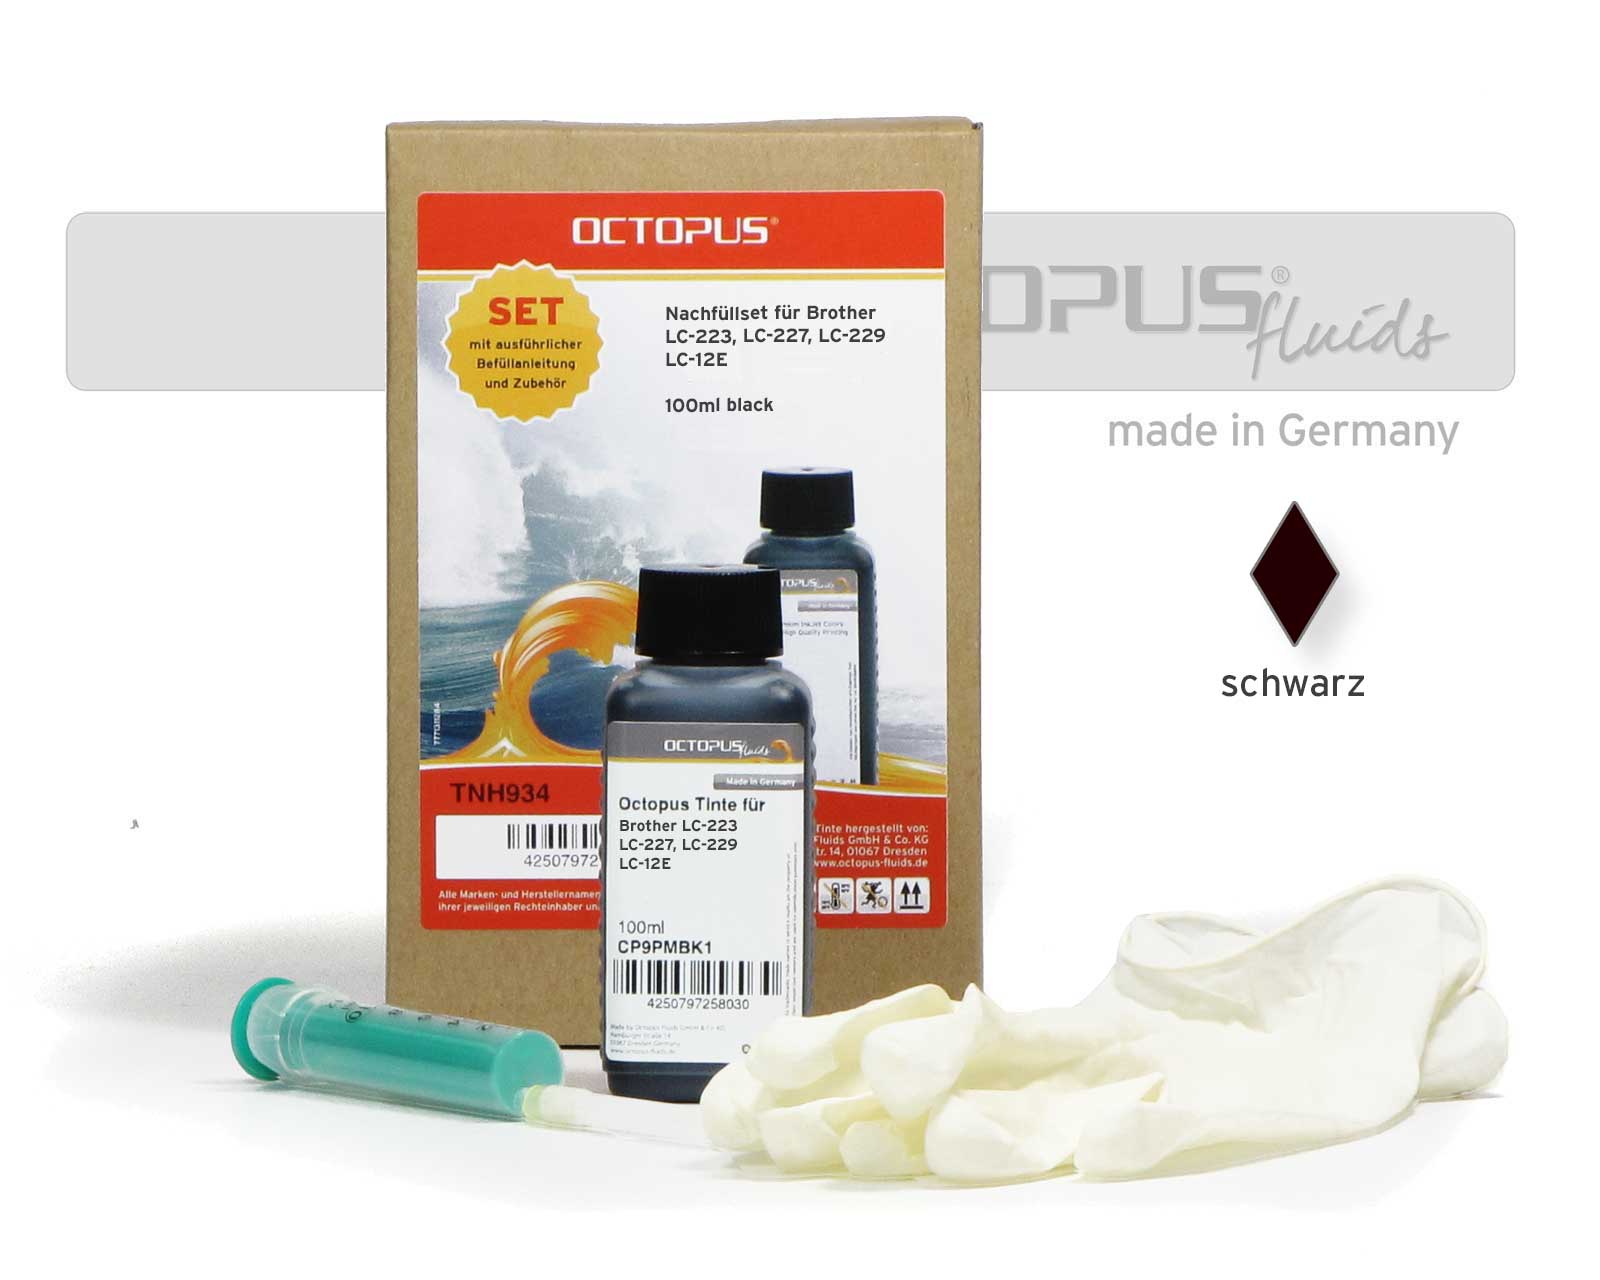 Refill kit for Brother LC-223, LC-227, LC-229, LC-12E black
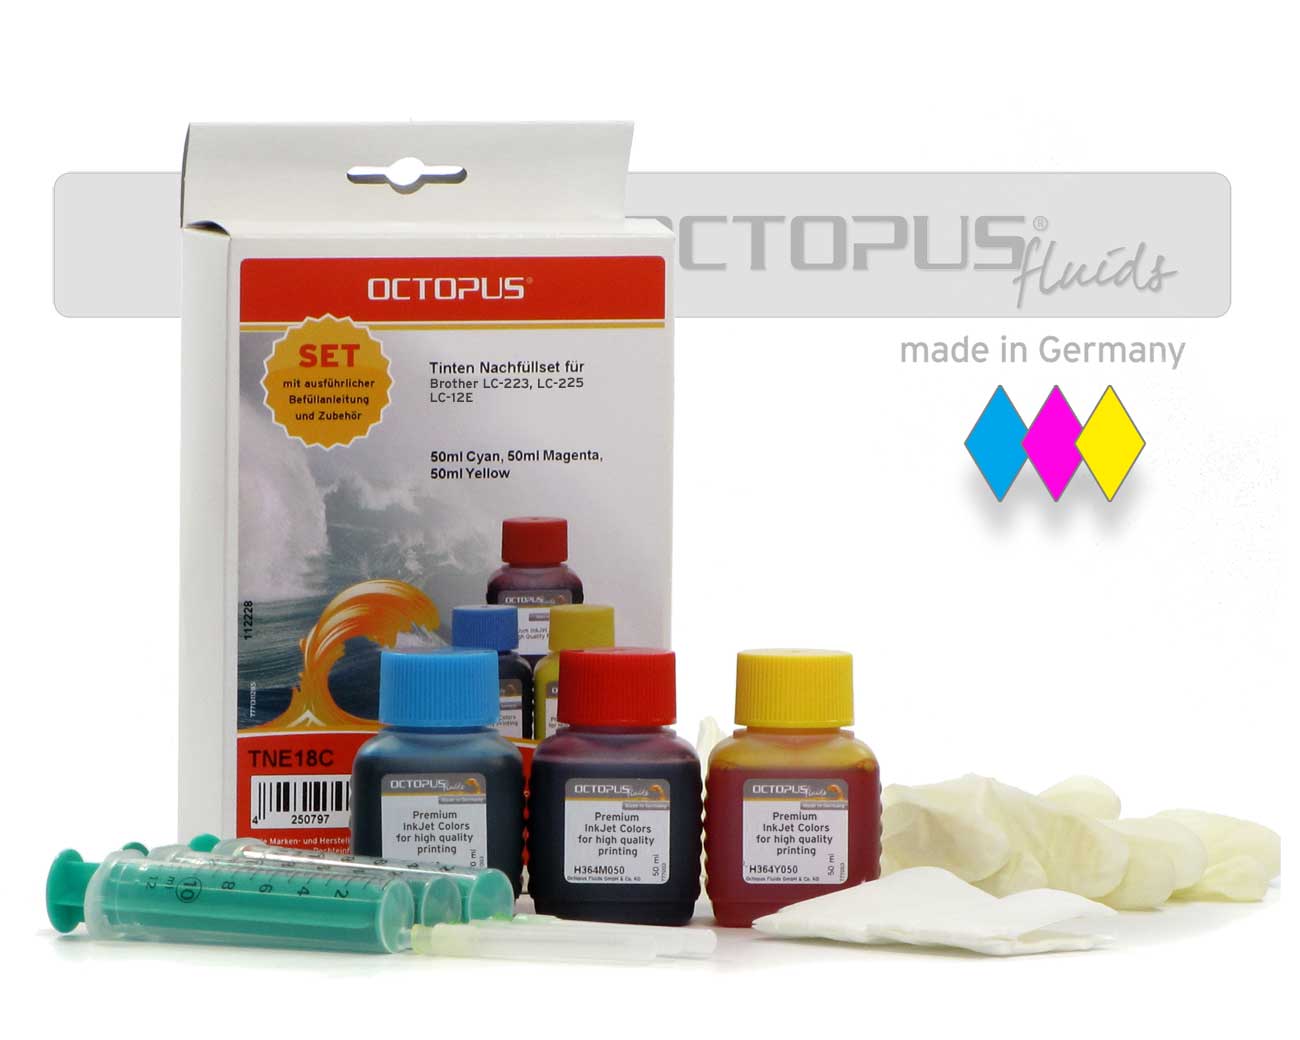 Refill kit for Brother LC-223, LC-225, LC-12E color
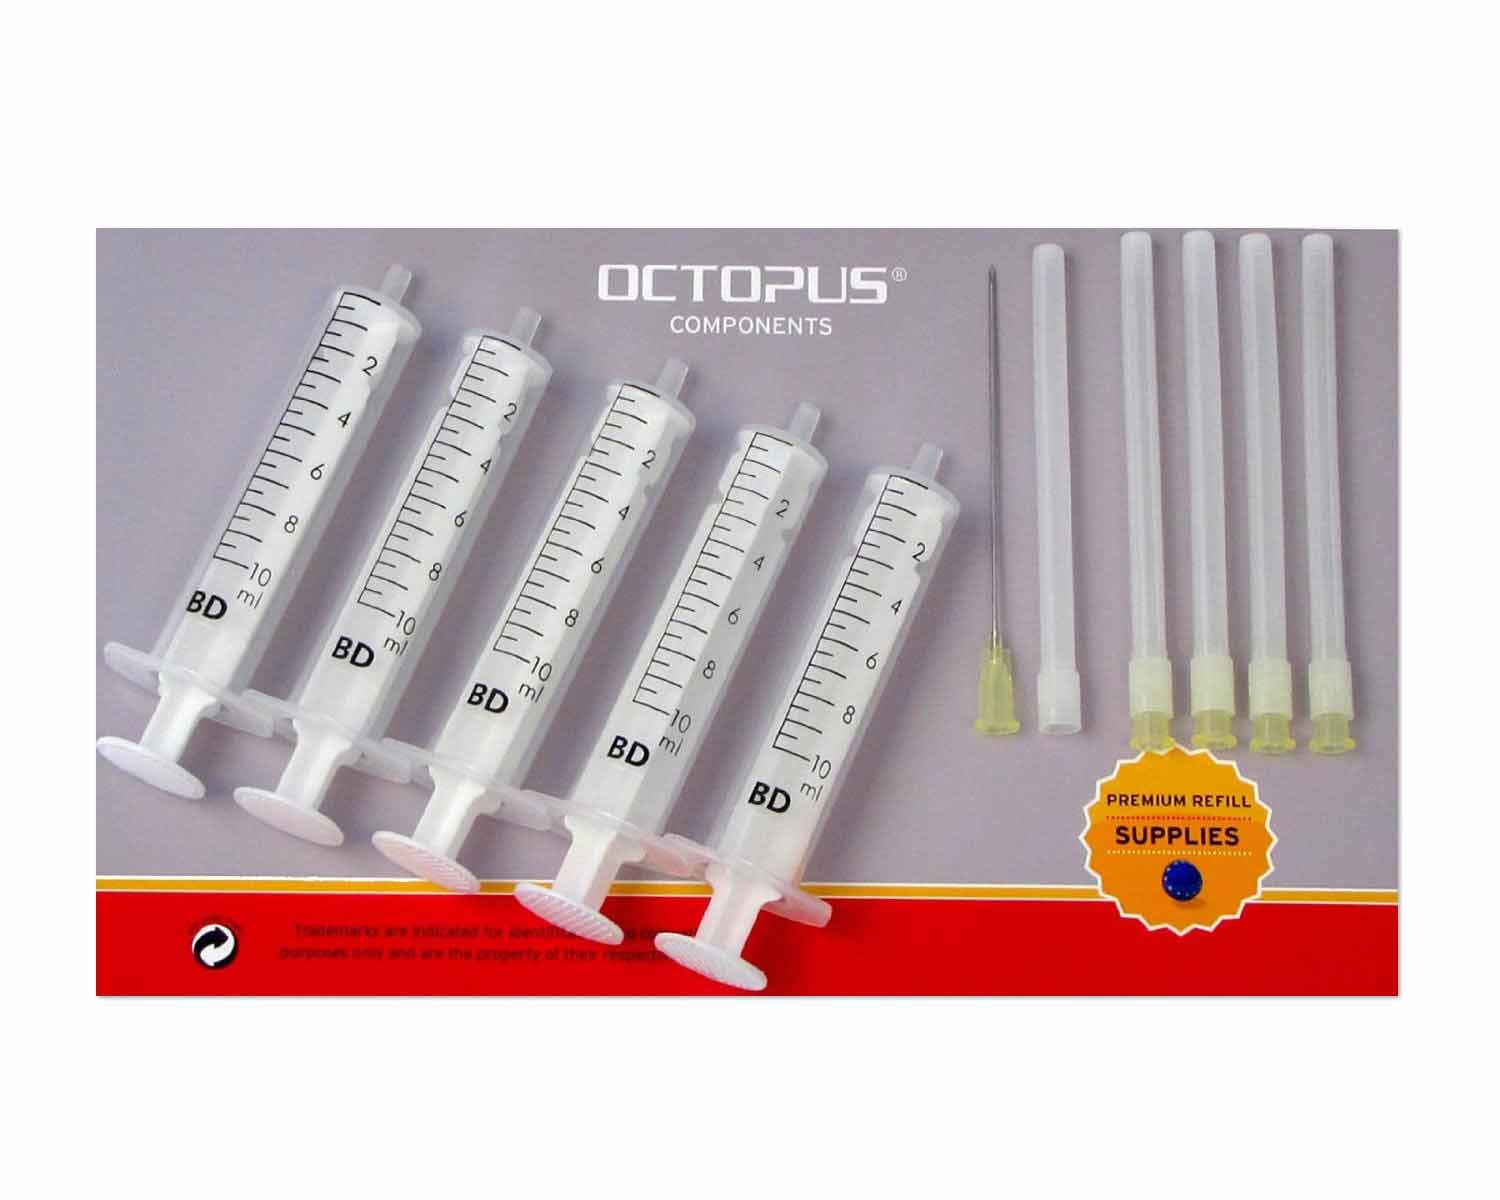 Ink Syringes with Needles (5 pcs.)
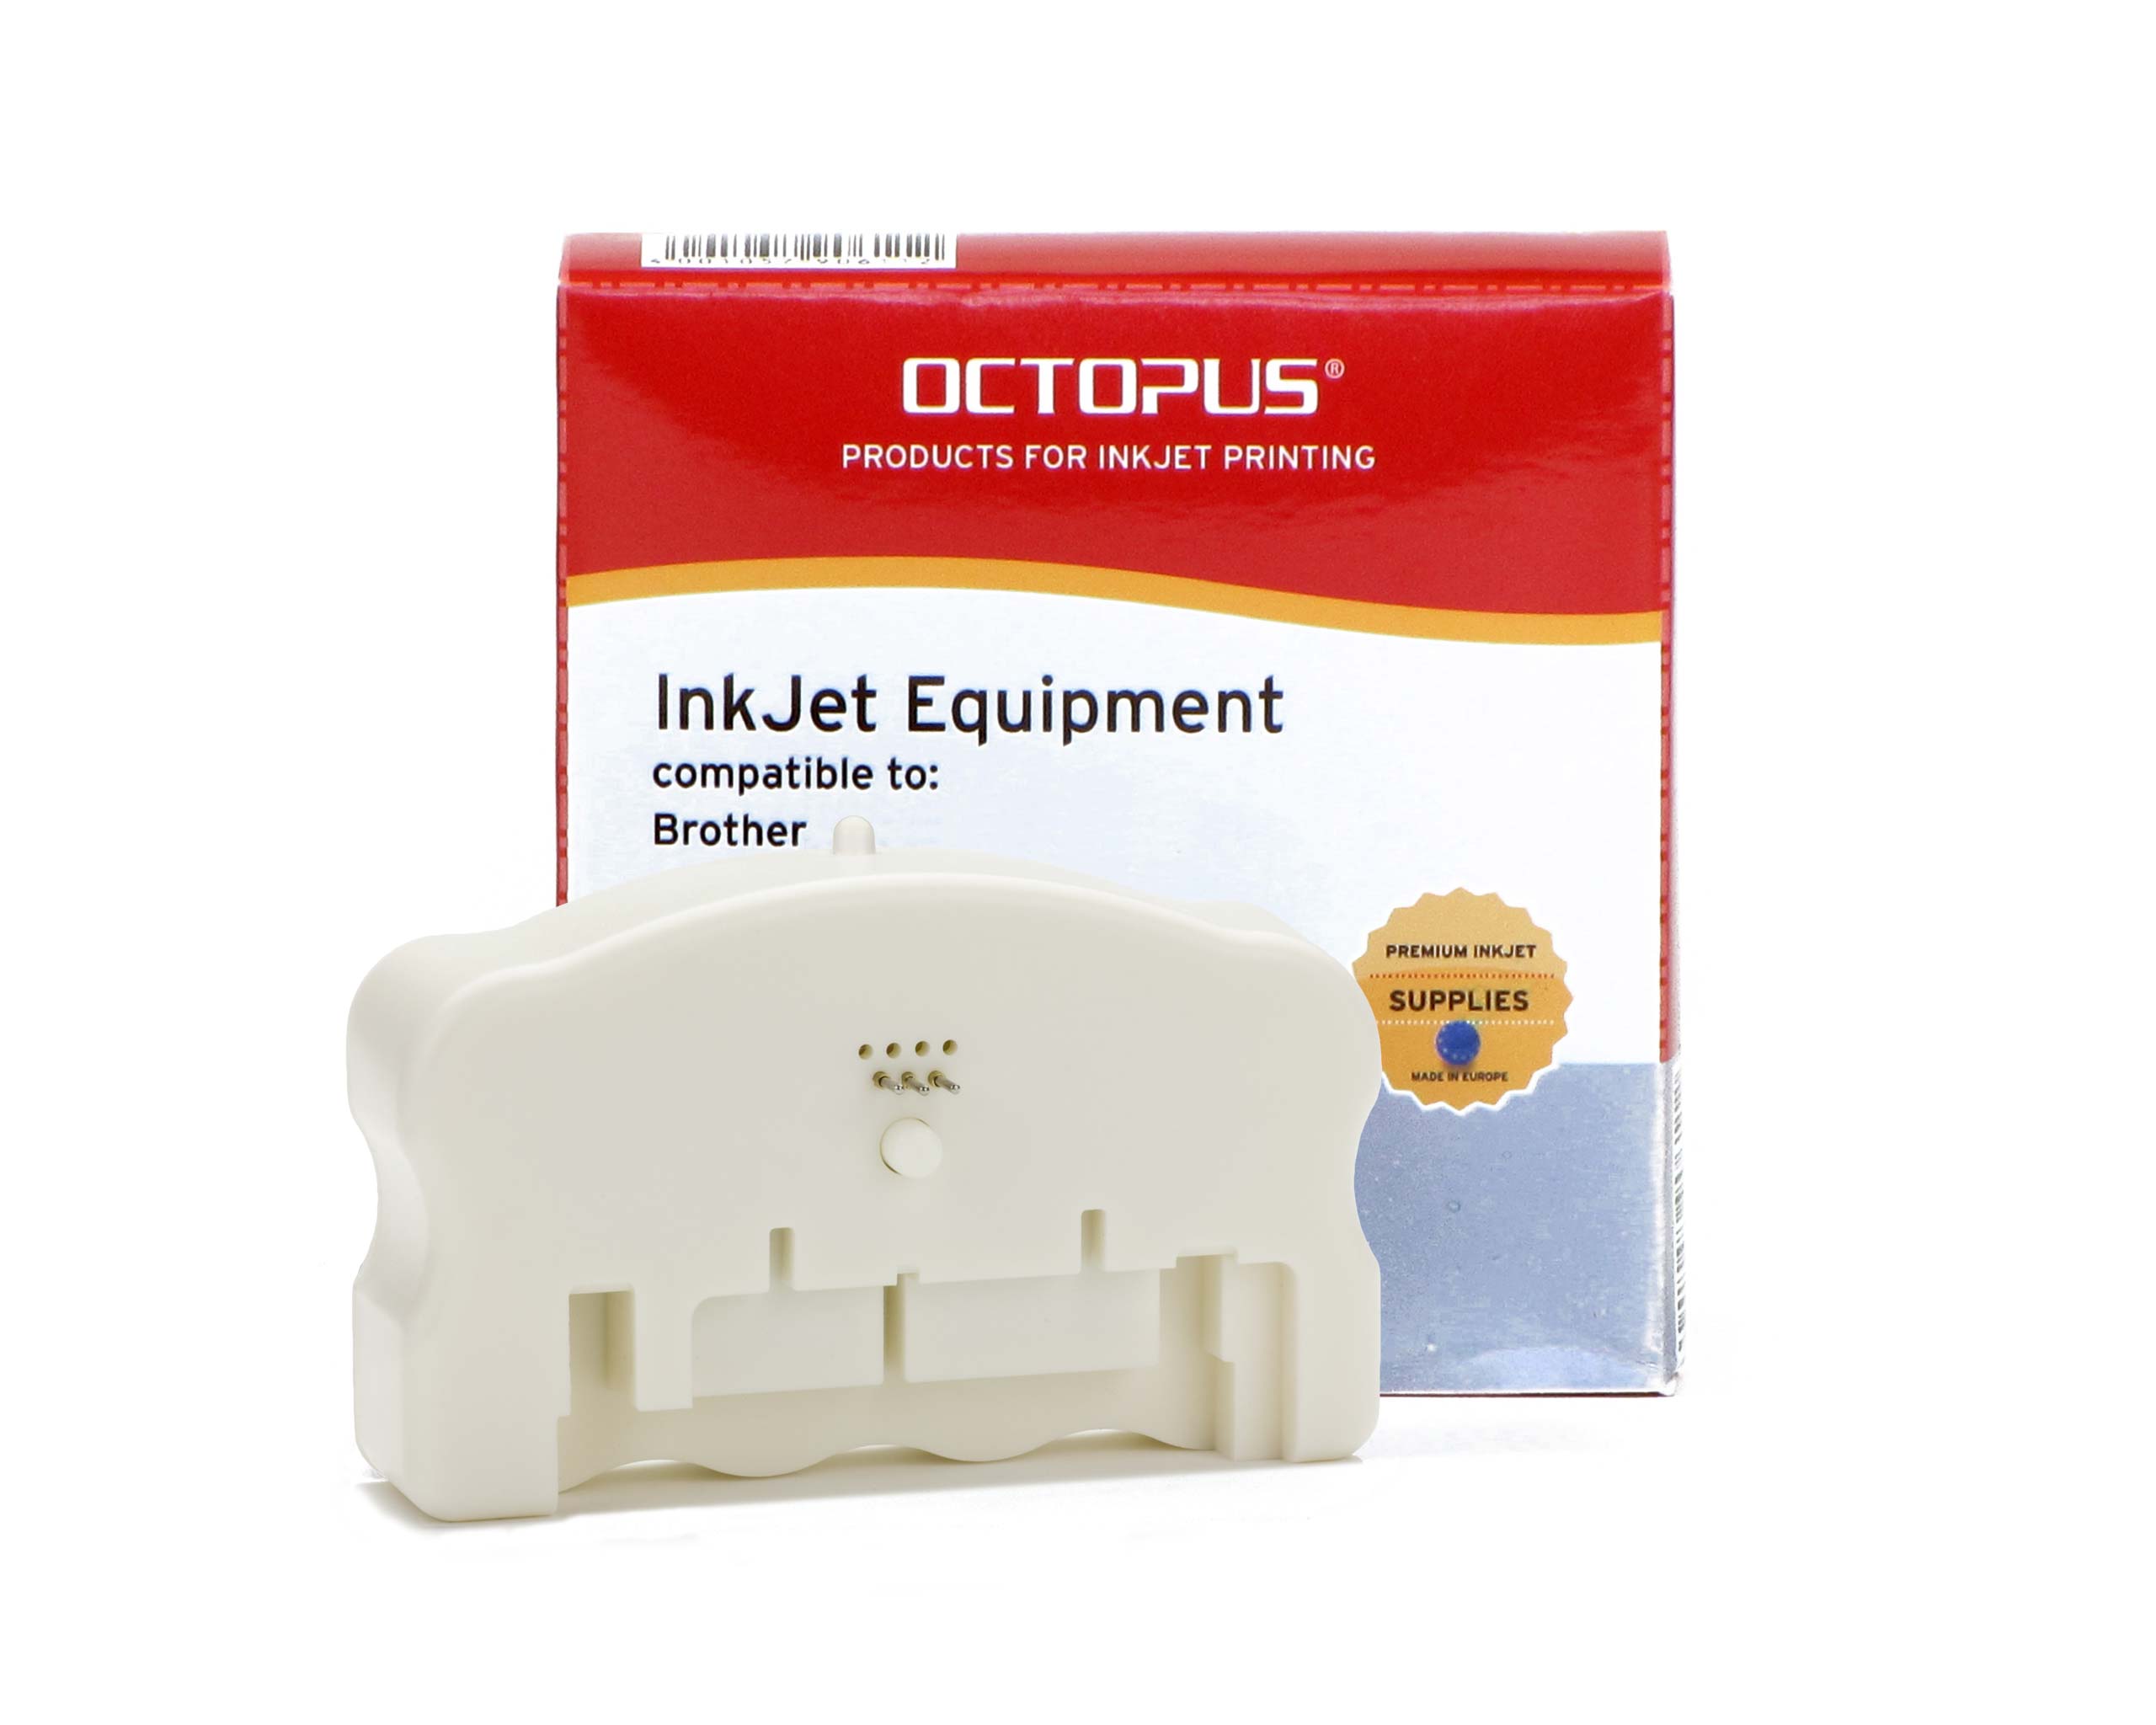 Chip resetter for Brother LC-223, LC-225, LC-227, LC-229
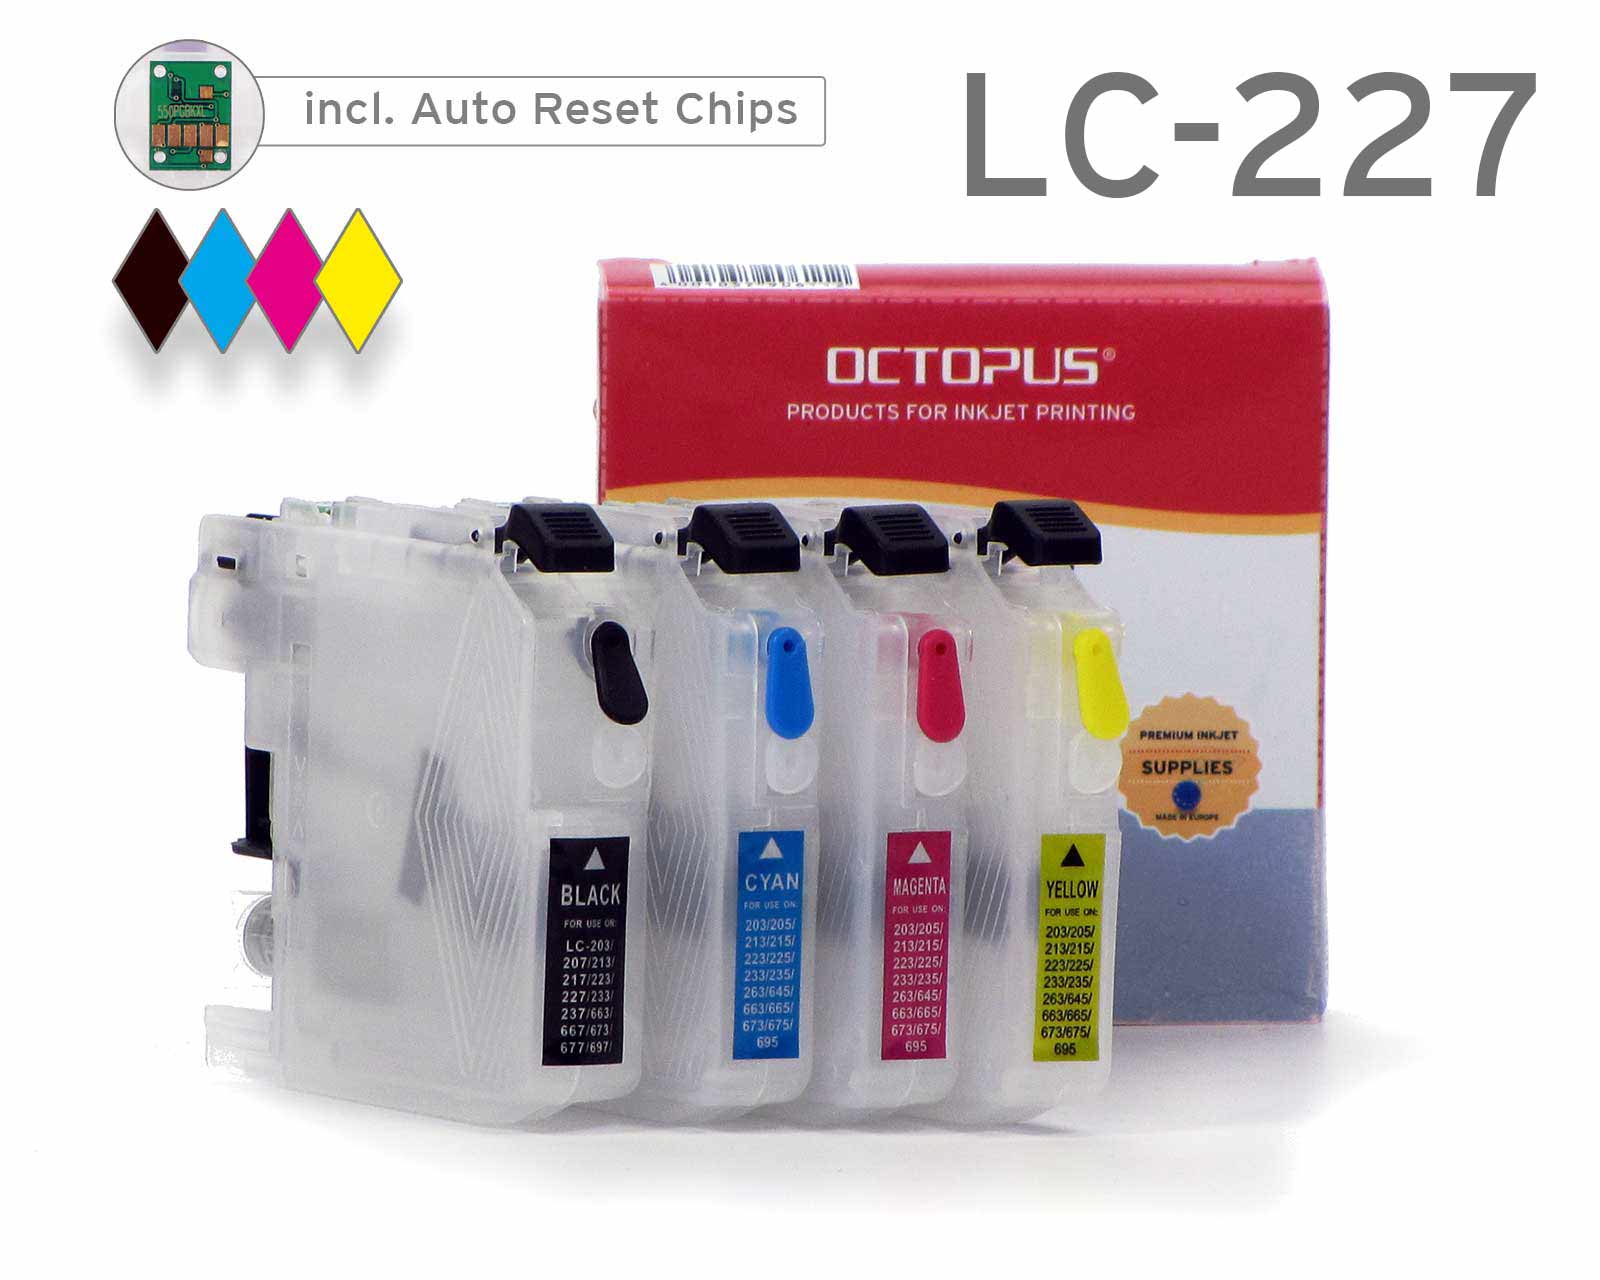 Refillable cartridges compatible with Brother LC-227 BK, LC-225 with autoreset chip
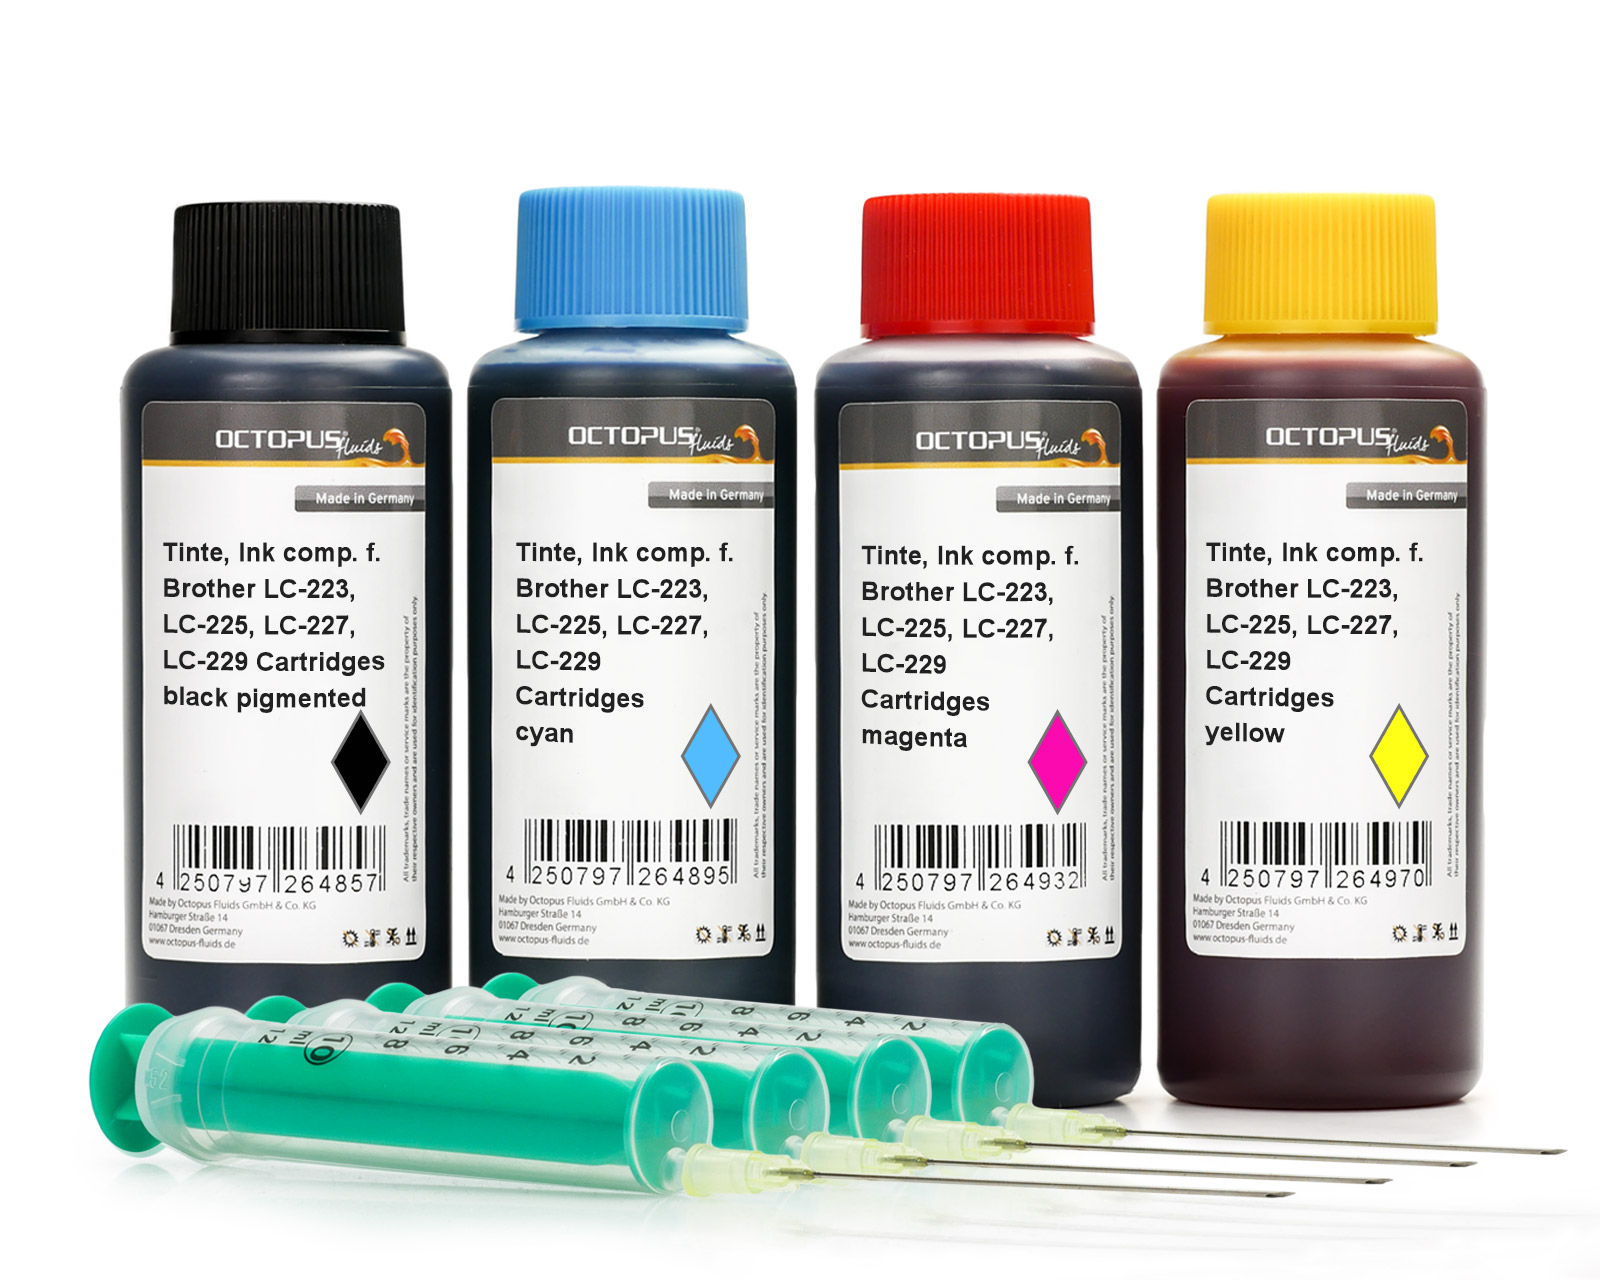 Ink comp. with Brother LC-223, LC-225, LC-227, LC-229, LC-12E
 Ink Syringes with Needles (5 pcs.)
 Chip resetter for Brother LC-223, LC-225, LC-227, LC-229
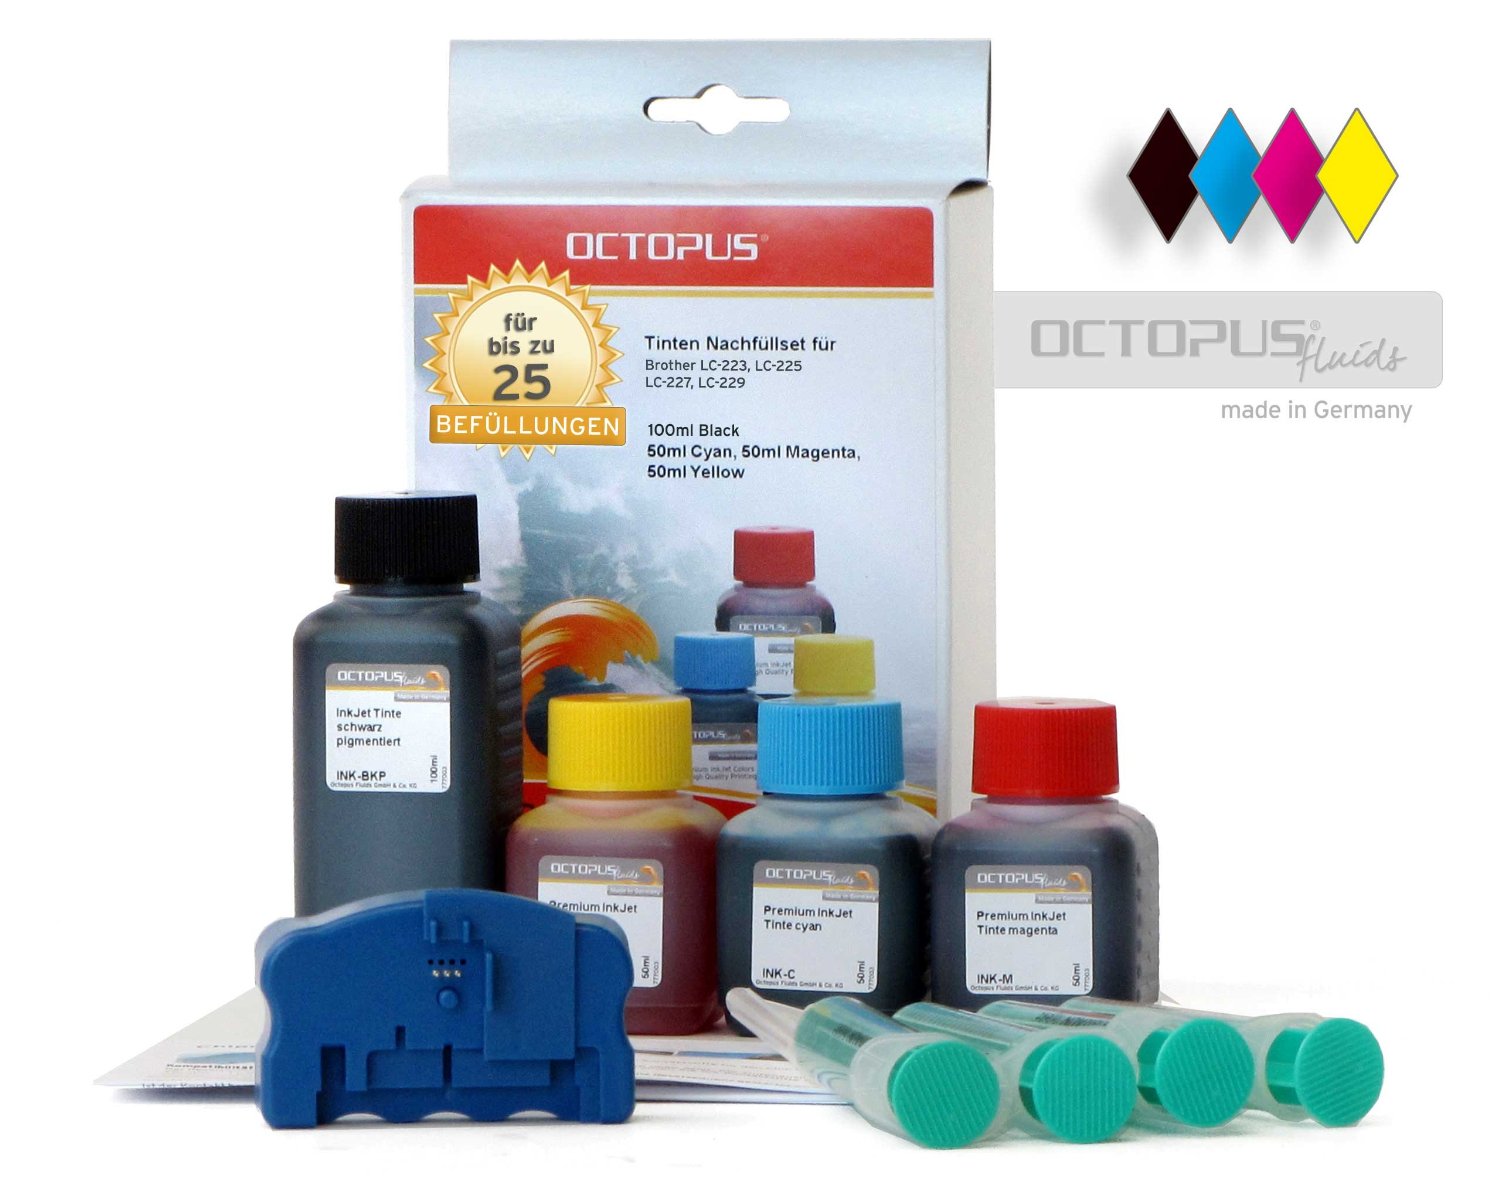 Chip resetter kit Brother LC-223, 225, 227 incl. 2 ink refill kits
 Chip resetter for Brother LC-223, 225, 227 incl. 4x refill ink


