Instructions to refill Canon CLI-65 Fill In™ cartridges
Filling the Fill In™ refill cartridges for Canon CLI-65 is very easy. There are only two small things you need to pay attention to when filling for the first time.
First, you need to place the chip from the original Canon CLI-65 cartridge or the separately ordered auto-reset chip onto the corresponding fill-in cartridge. If you use the original chip, you can later deactivate the ink level indicator.
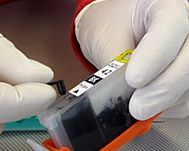
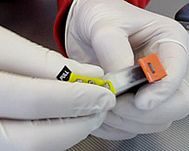
The original chip can be easily removed from the cartridge using a sharp knife. To do this, cut off the left of the two small PVC rivets above the chip (see picture 2). Remove the chip from the cartridge and place it on the two PVC pins on the Fill In cartridge (see picture 3).
To attach the chip, we recommend deforming the two pins by melting them with a hot knife (see pictures 4 and 5). Please do not stick the chip on using superglue. This will destroy it.
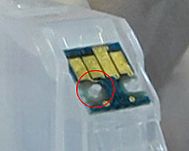
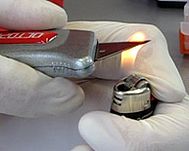
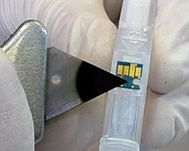
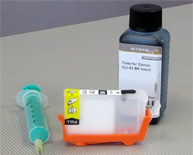
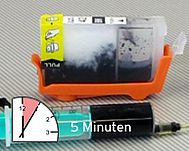
Secondly you need to know that you need 5 minutes more if you are filling the cartridge for the first time. In these 5 minutes the sponge inside the cartridge needs to become saturated with ink. The next refill takes only seconds because only the ink chamber needs to be refilled.
To refill the cartridge you need three things:
- the Fill In™ cartridge
- the correct ink
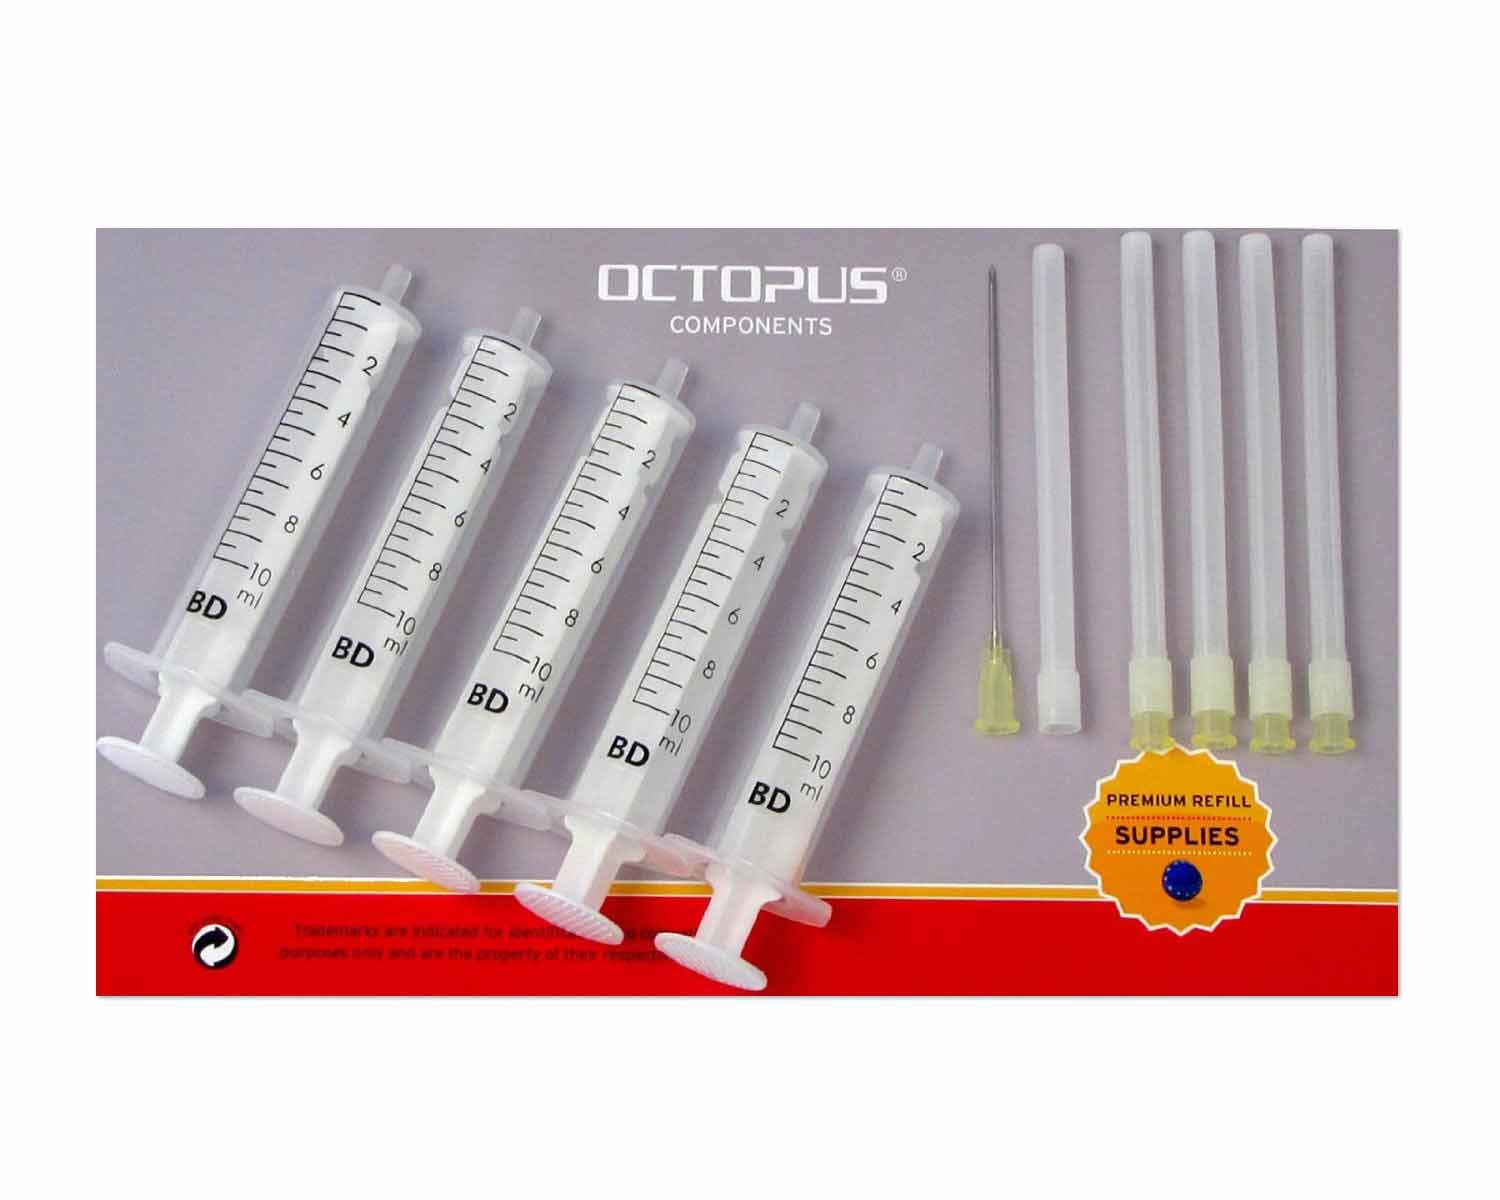
- a syringe with needle
The refilling process:
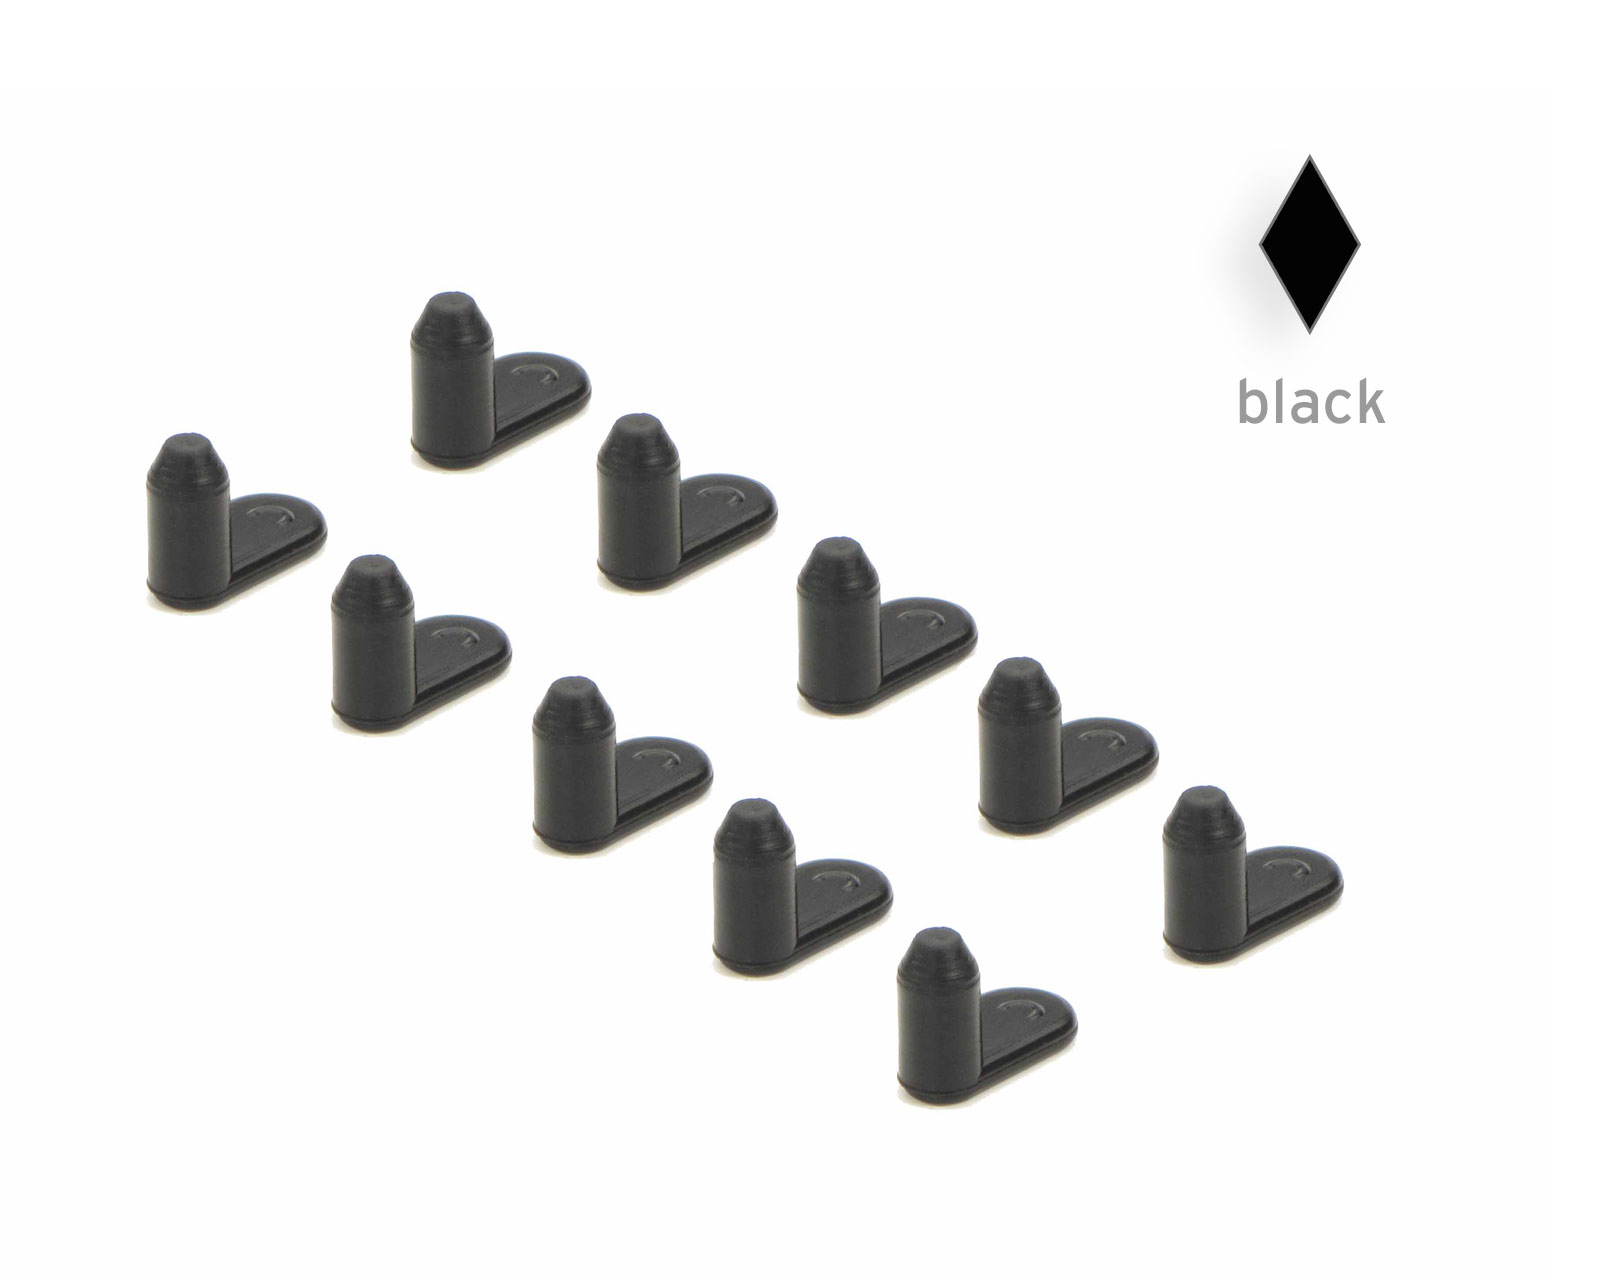
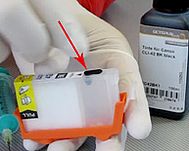
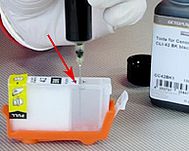
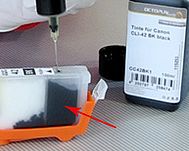
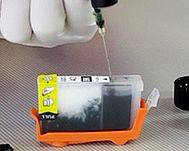
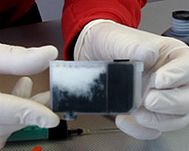
At first remove the black rubber plug from the filler opening (picture 7). Now draw about 8ml ink into the syringe and fill the cartridge with appoximately 5ml (picture 8 and 9). Now wait 5 minutes.
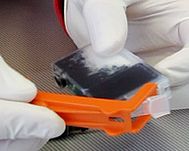
The ink is slowly sucked from the ink chamber into the sponge until it is saturated (picture 10). After 5 minutes you can fill the remaining ink into the ink chamber (picture 11). Afterwards reseal the filler opening with the rubber plug (picture 12). The next step is to remove the yellow banderole of the air vent hole (picture 13). The cartridge can only print if the vent hole is open. Otherwise air can not replace the ink inside the cartridge and a vacuum is created. If that happens ink can not leave the cartridge. At last remove the yellow/orange plastic foot of the cartridge (picture 14). The cartridge is now filled and can be used to print (picture 15).
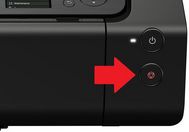
If necessary, the ink level must be deactivated on the printer (press the stop/reset button for 5 seconds or until the warning message about the cartridge already in use disappears - only when using the original ink chip), see pciture 16.
With a little skill, all further fillings can be carried out directly in the printer. To do this, simply open the cartridge slot. When the cartridge carriage has moved into position, simply pull the plug on the desired cartridge and carefully add some ink. Make sure that no ink overflows. Otherwise, the printer and the surrounding area could become unpleasantly contaminated.
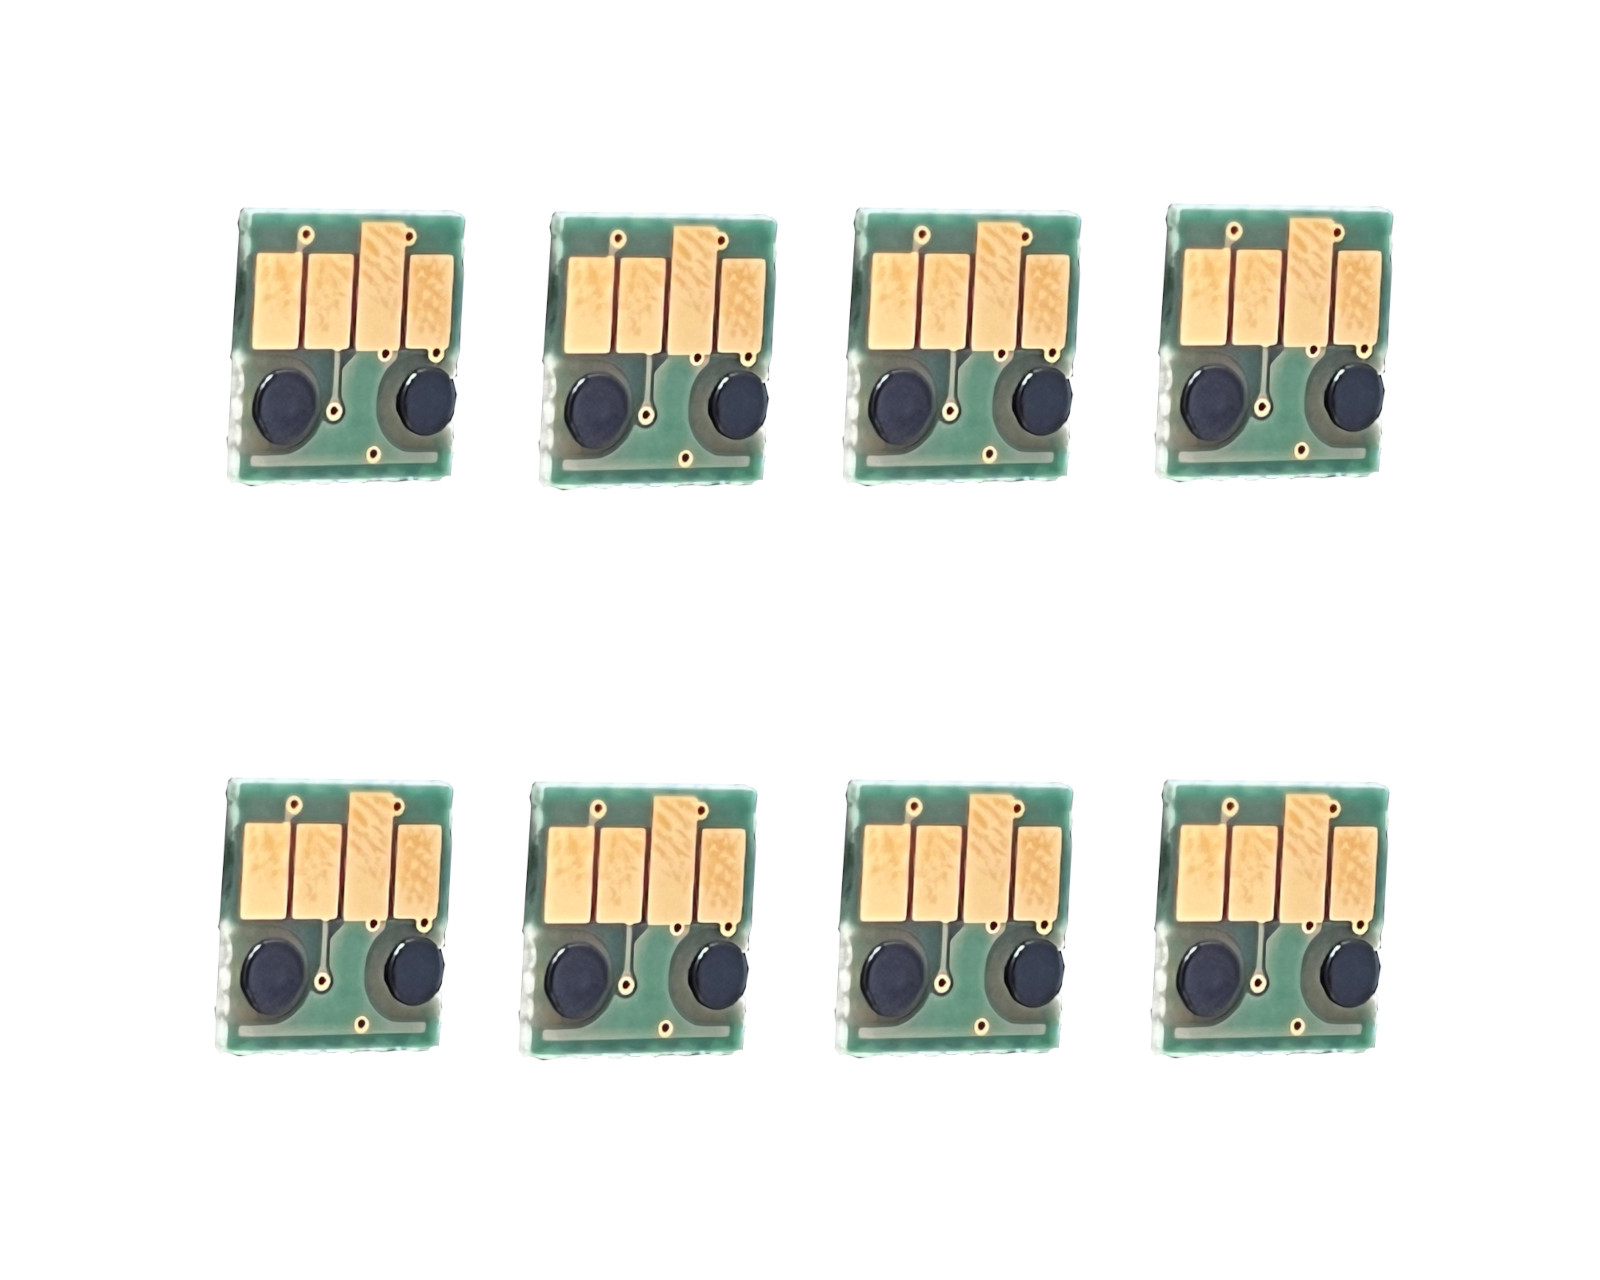 8 Permanent chips for Canon CLI-65 ink cartridges


