Canon PGI-1500 and PGI-2500 with very clear innards
The Canon PGI-1500 and PGI-2500 are very easy to refill. This is due to the very simple construction.
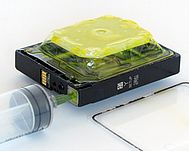
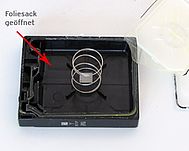
In picture one you can see the cartridge with the side cover removed. Without the lid, the foil bag expands to its full size due to the spring underneath.
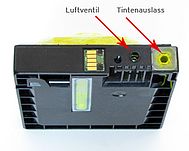
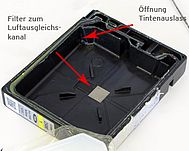
Picture two clearly shows the chip for level monitoring, the air valve and the ink outlet.
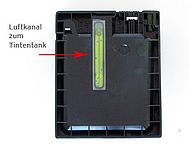
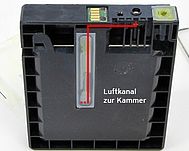
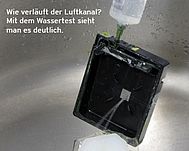
Picture three shows the air duct. As the ink level decreases, air flows through this channel to equalize the pressure inside the cartridge. For this reason, we recommend that you proceed step by step when filling the cartridge. The air channel also works in the opposite direction, otherwise it will push ink out of the valve. This leads to unpleasant impurities. Please read our tips in the instructions.
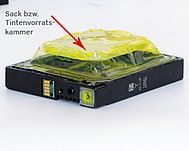
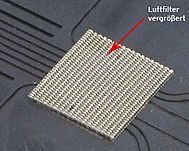
The foil bag shown in picture four is only glued on one side of the cartridge. After opening the bag, the spring and the central air filter appear. When filling, the air filter forms the natural upper edge or filling limit. If more ink is added, it can escape from the valve via the filter and the air duct behind it. This should be avoided.
Figure six also shows the inner opening to the ink outlet. If the Canon PGI-1500 and PGI-2500 are inserted into the printer, this tiny opening occupies the lowest point of the ink chamber. This means that the user can actually empty 100% of the cartridges.
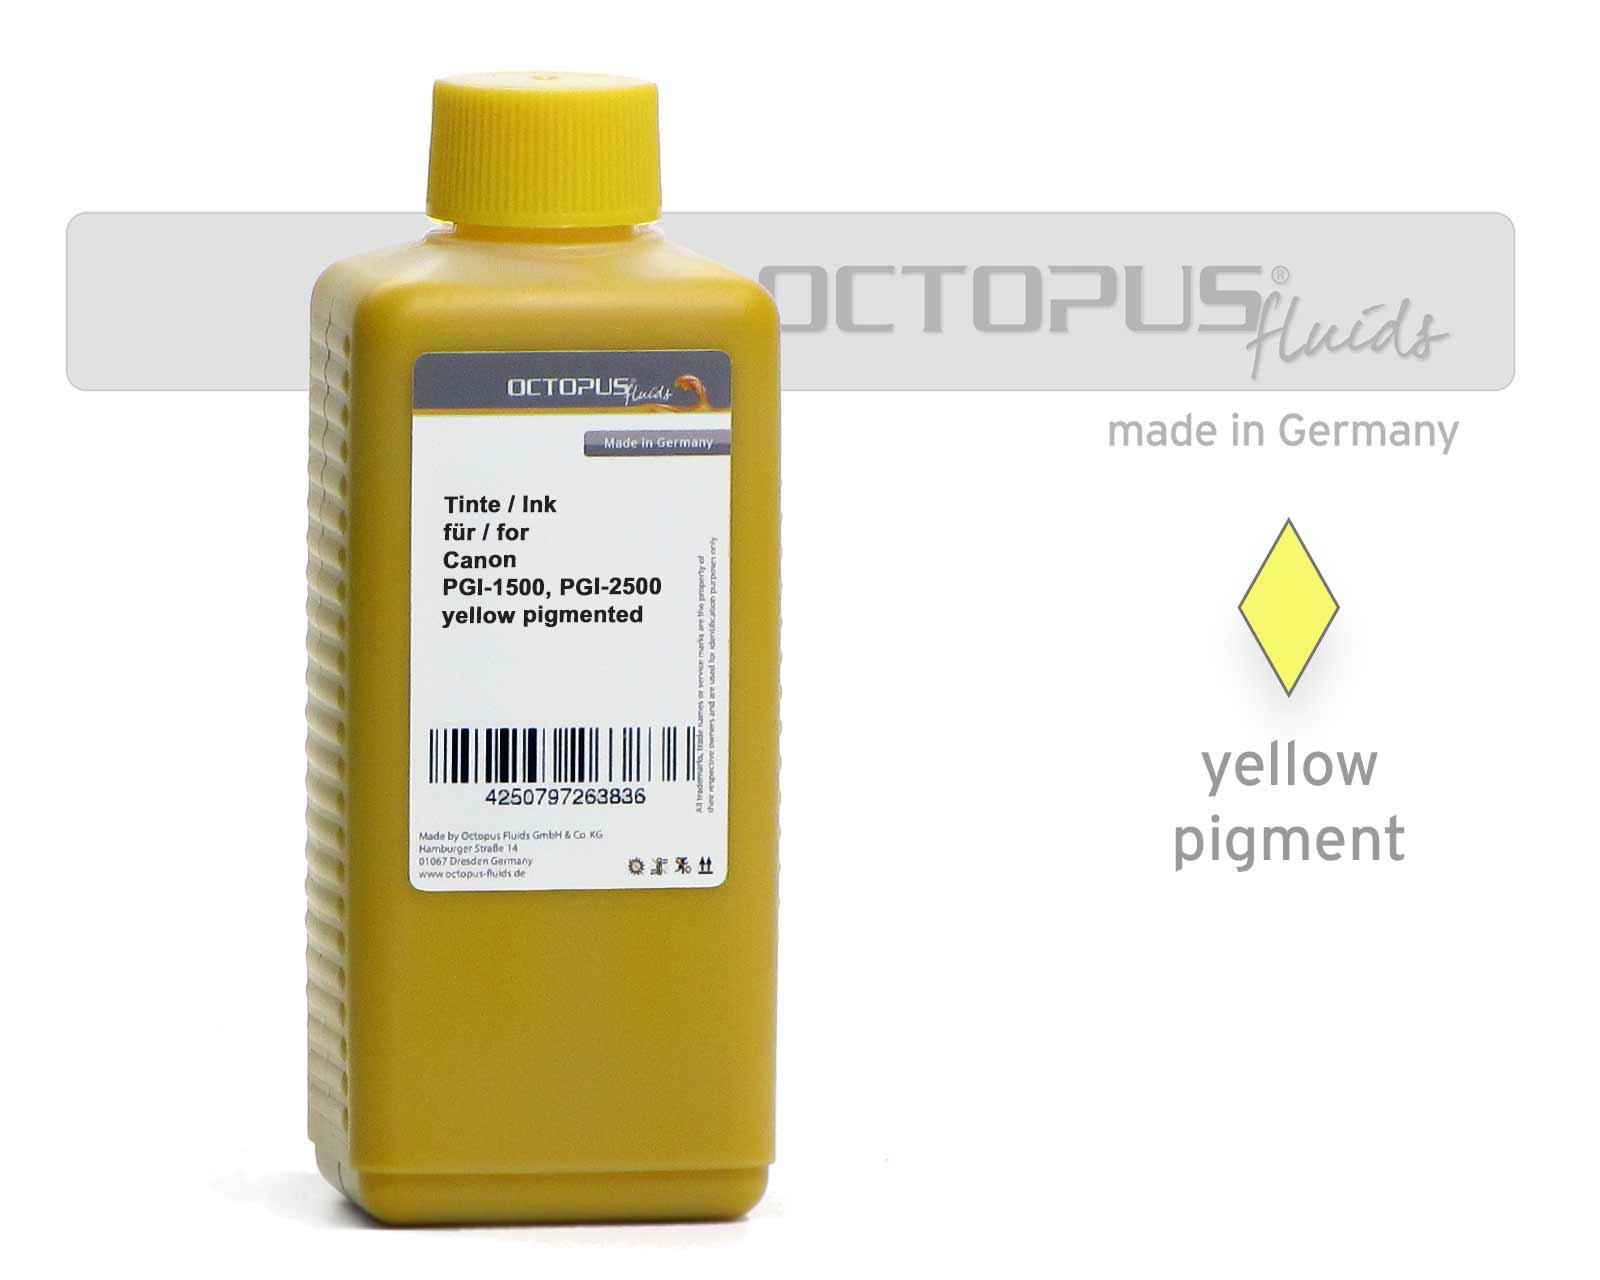
 Printer ink for Canon PGI-1500, PGI-2500 Maxify
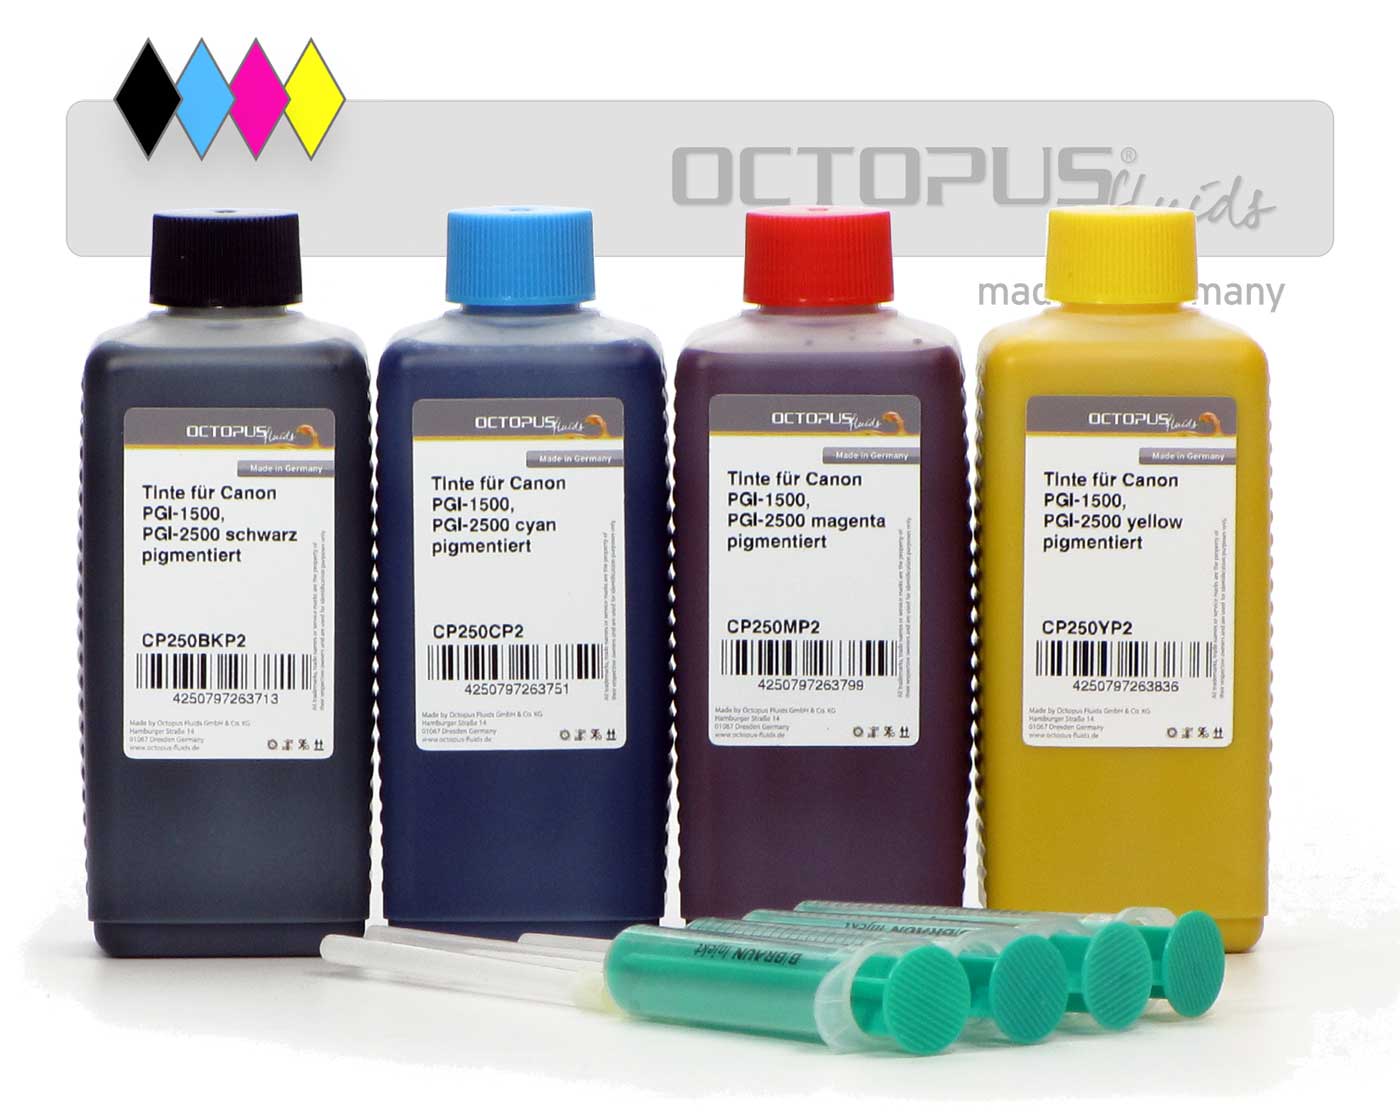
 Refill kit for Canon PGI-1500, PGI-2500 with ECO-Fill and ink
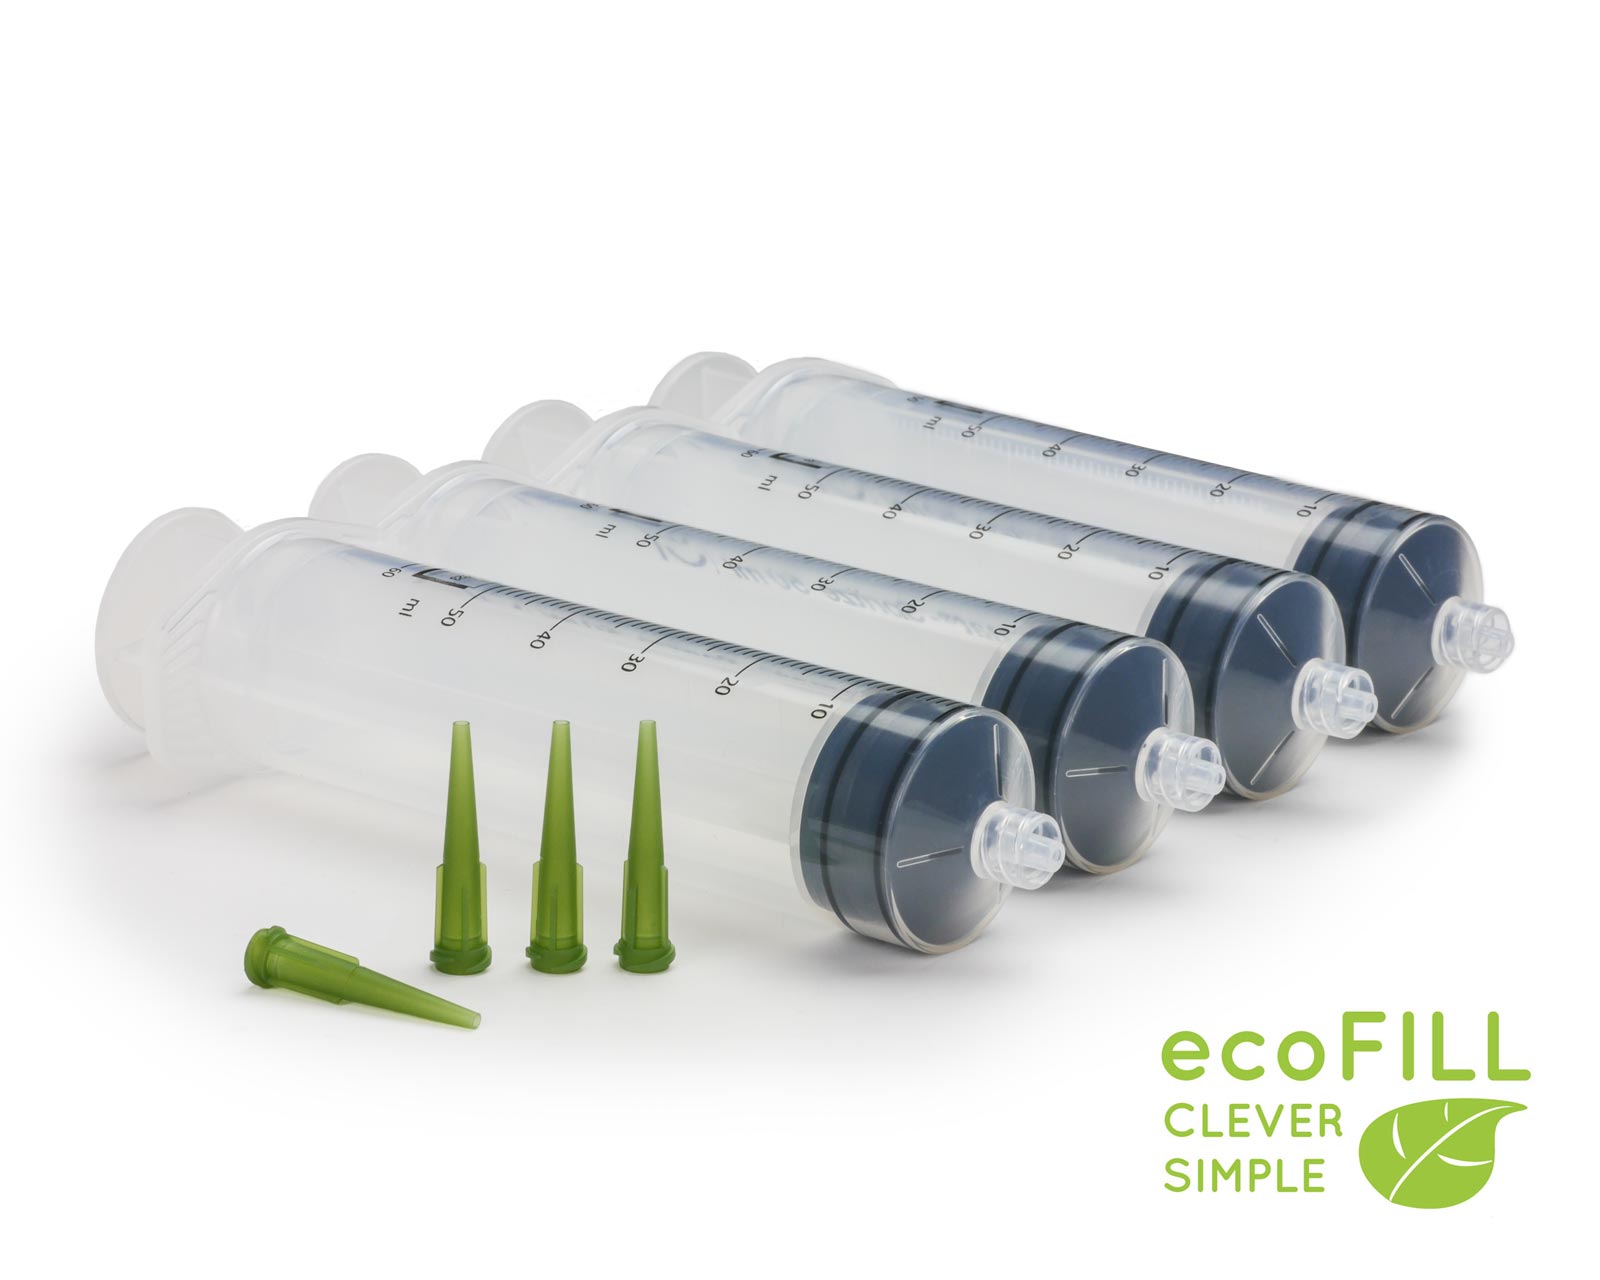 ECO-FILL set of syringes with filling tips
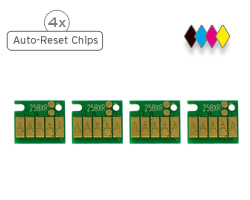 Auto reset chips for Canon PGI-2500 black, cyan, magenta, yellow


