Refill instruction for refillable cartridges for Canon PGI-550, CLI-551 with chip
The instructions show two ways to fill the Fill In carridges with ink. You can refill the cartridge with the vacuum method quickly or let the sponge absorb the ink slowly.
Filling the Fill In cartridges with ink
Recommended amount of ink:
- up to 22ml for the wide cartridge which replaces PGI-550
- up to 11ml for the narrow cartridge which replaces CLI-551
Option 1
This method is exceedingly good if you fill the cartridge for the first time. The condition of the cartridge on delivery is with sealed vent holes, which makes it so easy to create a vacuuminside the cartridge. The vent holes are sealed with adhesive tape and the filler opening is sealed with a plug. Remove this plug an press the syringe firmly into the filler opening sealing it airtight.
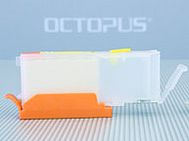
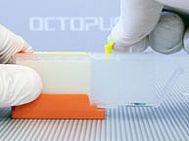
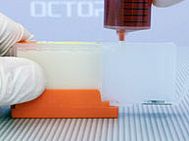
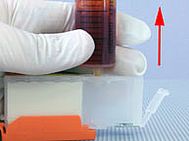
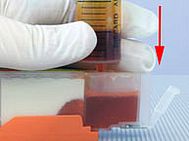
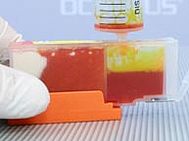
A vacuum inside the cartridge is created when you pull the plunger of the syringe up and hold it there for some seconds. The air from the cartridge rises through the ink inside the syringe. Let go of the Plunger when the air bubbles stop rising. The ink is automatically sucked into the cartridge and absorbed by the sponge. It is not necessary to push the plunger down. Simply repeat the process of pulling it up and letting go until the amount you intended is filled in.
Reseal the filler opening with the removed plug. For the use of the cartridges inside a printer all vent holes need to be free of adhesive tape.
Option 2
This method uses the absorbing quality of the sponge inside the cartridge. You insert the ink with syringe and needle directly into the ink chamber below the filler opening and wait until the sponge did its work.
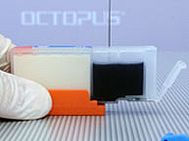
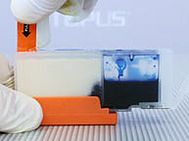
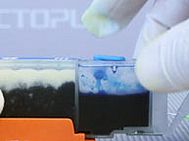
Remove the sealing plug from the filler opening and insert ink into the ink chamber using a syringe with needle. The sponge inside the second chamber absorbs the ink. It is faster if you remove the adhesive tape from the vent holes already. Continue inserting ink into the ink chamber until you reached the amount you intended. Reseal the filler opening with the recently removed plug.
Using the Fill In cartridges in your printer
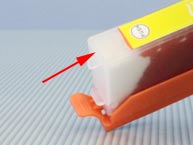
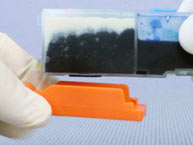
No matter which option you chose you need to remove the adhesive tape from the vent holes. Also you need to remove the cap from the lower side of the cartridge which seals the ink outlet. Save these caps you need them to refill the cartridges outside of the printer.
Functionality of Autoreset Chips
The current design of Fill In cartridges that replace Canon PGI-550 and CLI-551 is with Autoreset Chips. With this type of chip you have an ink filling level indicator for every printing cycle.
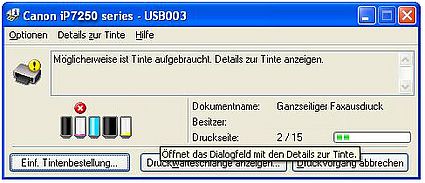
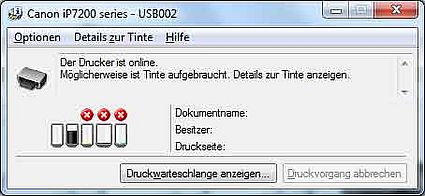
The printer creates two warning signals concerning the ink filling level. The first is "nearly empty" which is indicated with an exclamation mark inside a yellow circle. The second signal is "completely empty" which you can recognize by the white cross inside a red circle.
With this status you can reset the ink filling level by simply removing the cartridge from the printer. When you refilled it and insert it back into the printer the filling level is up to "full" again.
Functionality of permanent Chips
The older design of Fill In cartridges that replace Canon PGI-550 and CLI-551 is with permanent chips. With these chips you have a correct filling level indicator for the first printing cycle. Afterwards you continue printing by deactivating the filling level indicator.

The printer creates two warning signals concerning the ink filling level. The first is "nearly empty" which is indicated with an exclamation mark inside a yellow circle. The second signal is "completely empty" which you can recognize by the white cross inside a red circle. By confirming these signals you can continue printing with this filling level until you are asked to deactivate the filling level. Usually you can deactivate it by pressing the "Continue" button a little longer.
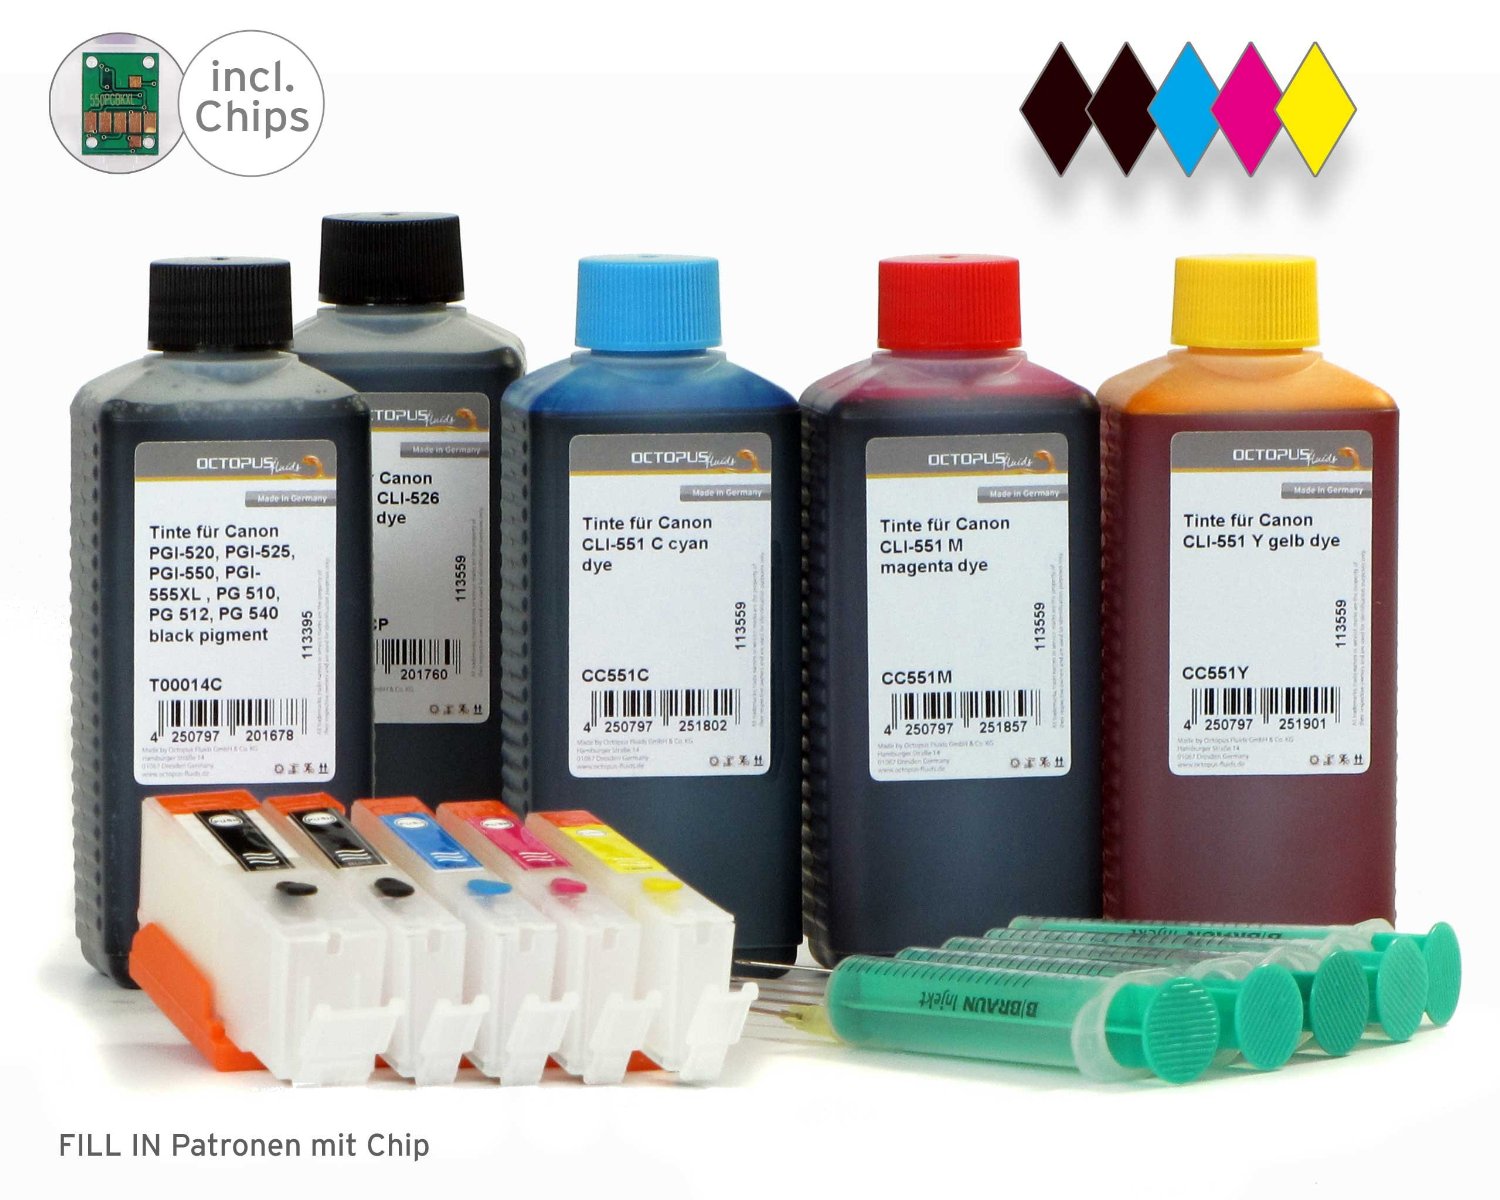 Refillable cartridges Canon PGI-550, CLI 551 with 5x ink
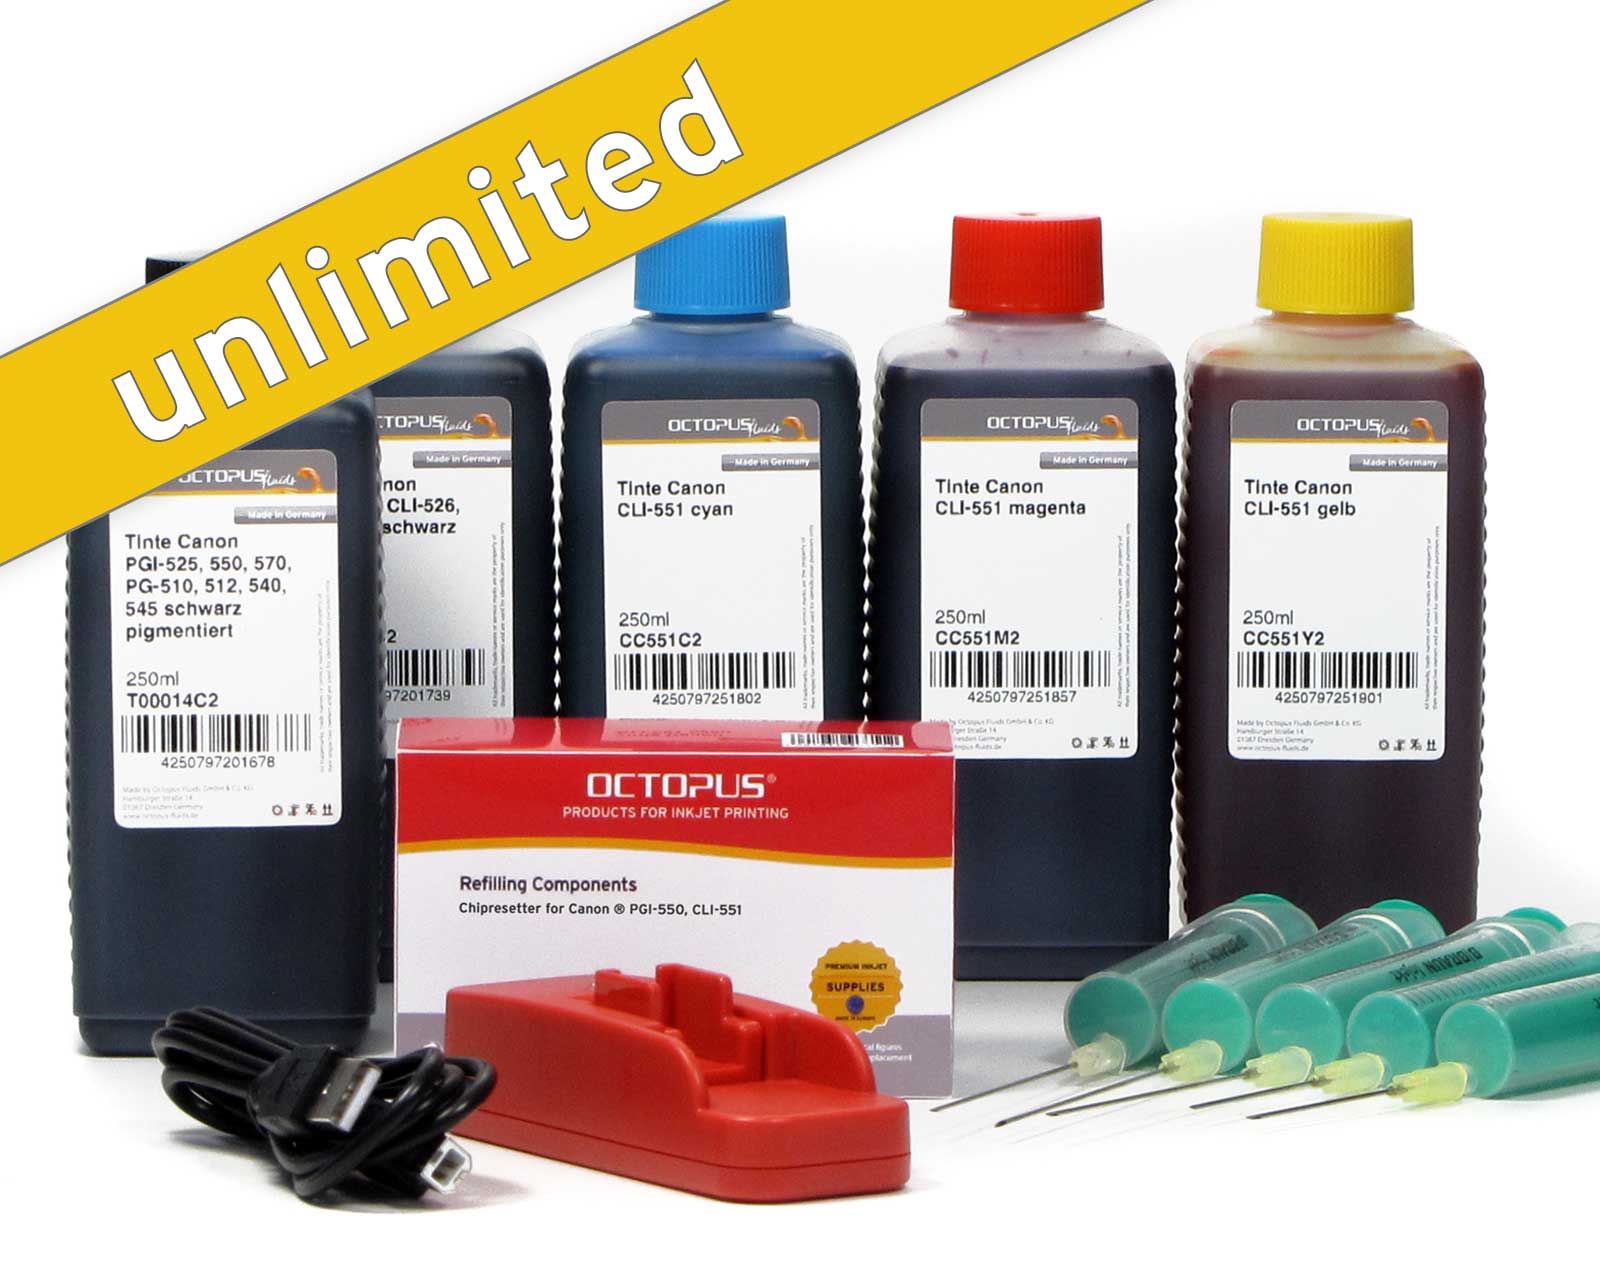 Chipresetter for Canon PGI-550, CLI-551 inkjet cartridges with 5x refill ink
 Ink refill kit Canon CLI-551, CLI-551XL color
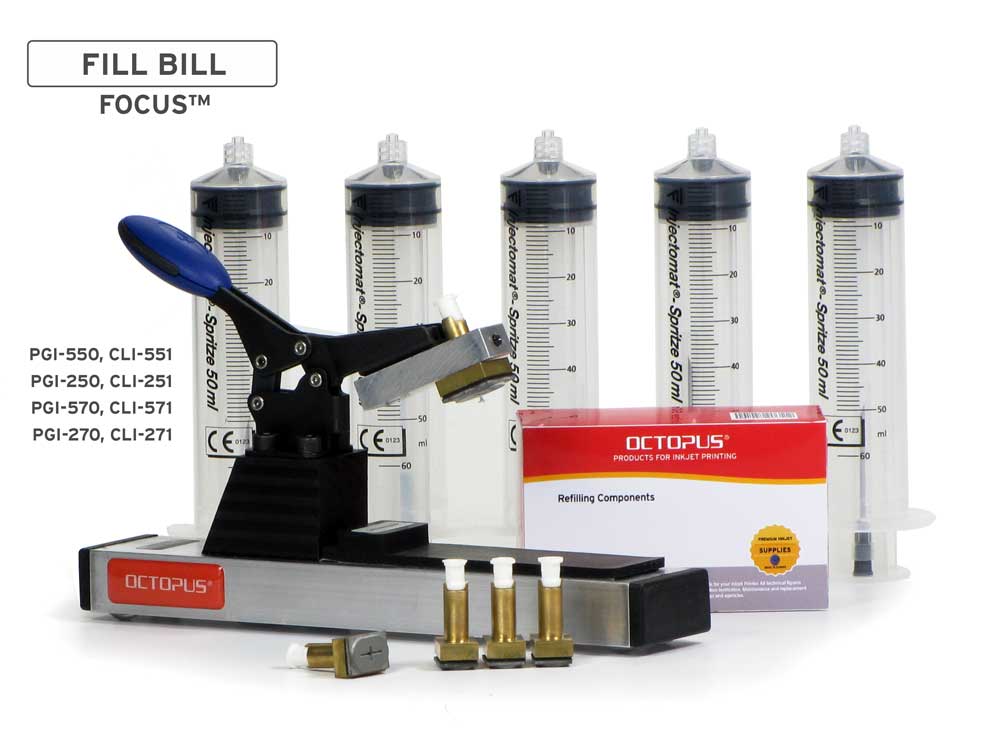 Fill Bill FOCUS CP550 for Canon PGI-550, 570, 580 and CLI-551, 571, 581 cartridges


