Preparation for refill:
You will need the following tools:
- a small drill
- 5 syringes with needles
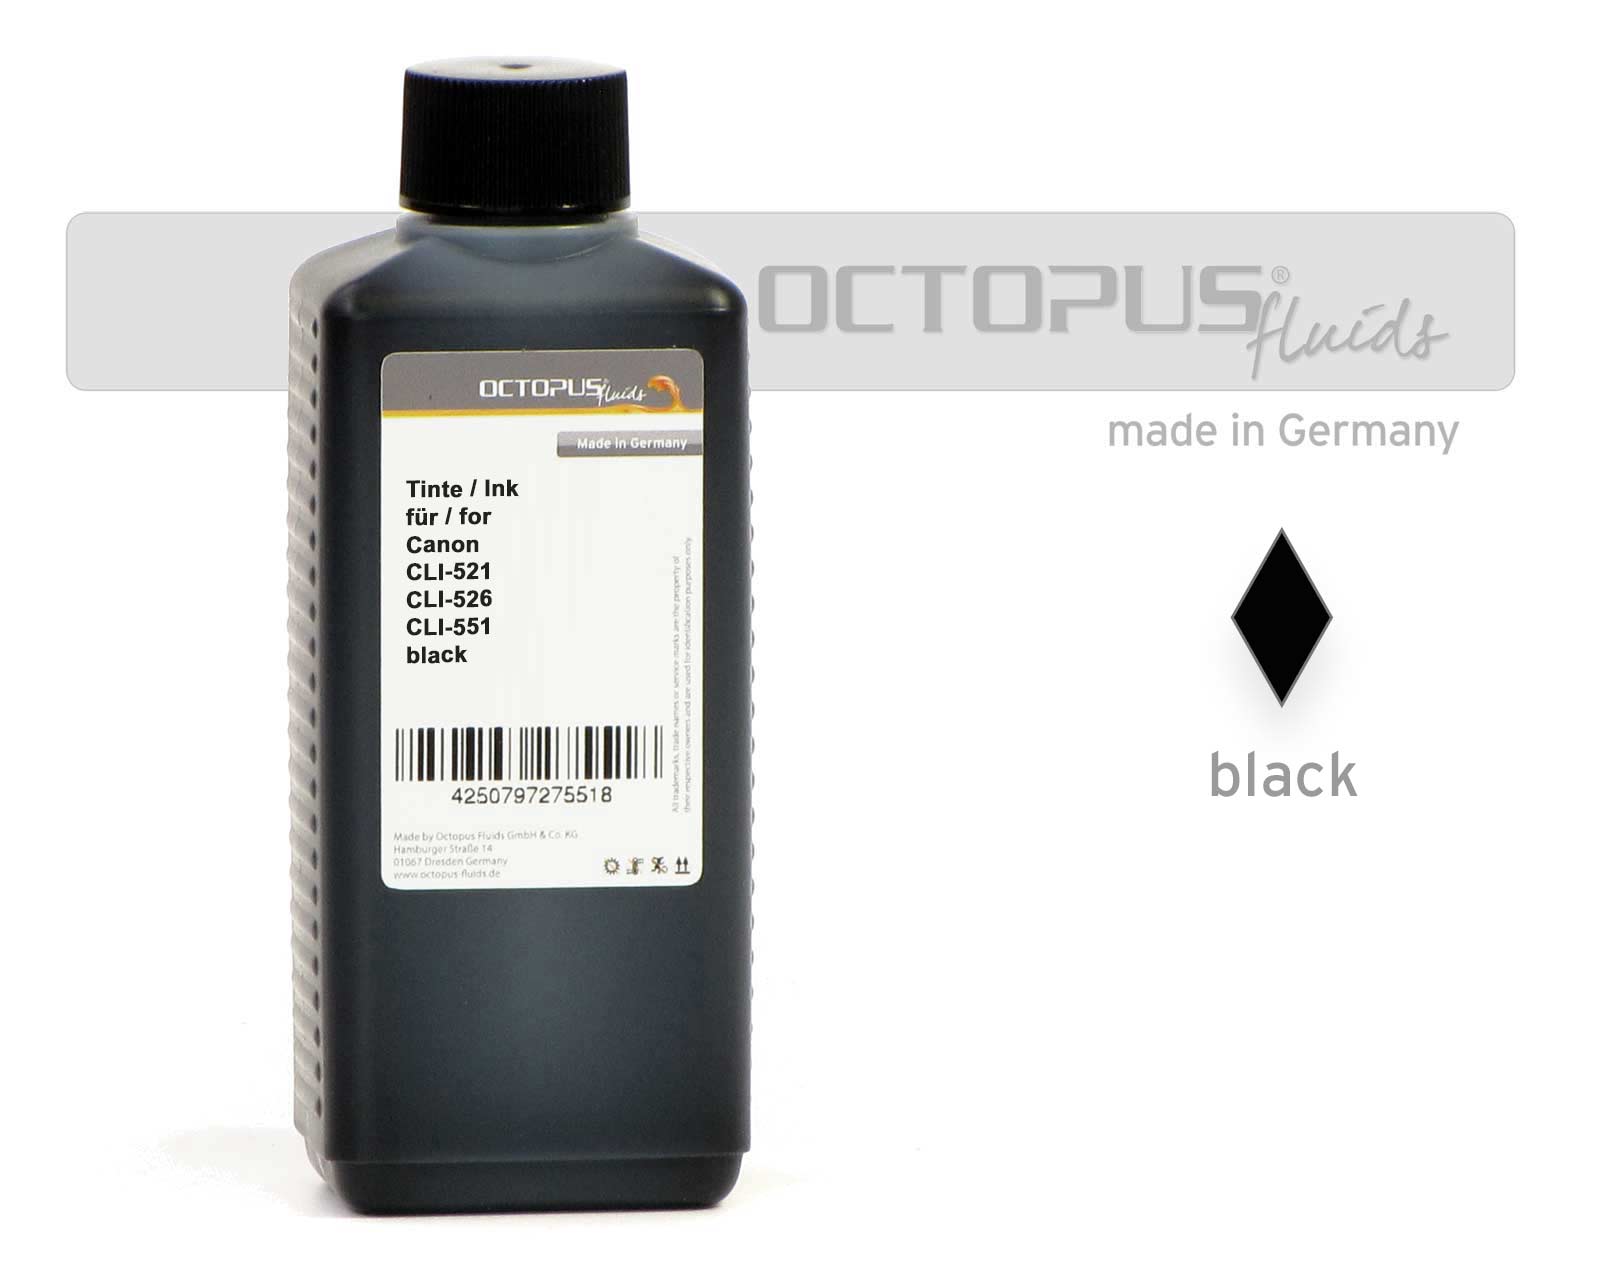
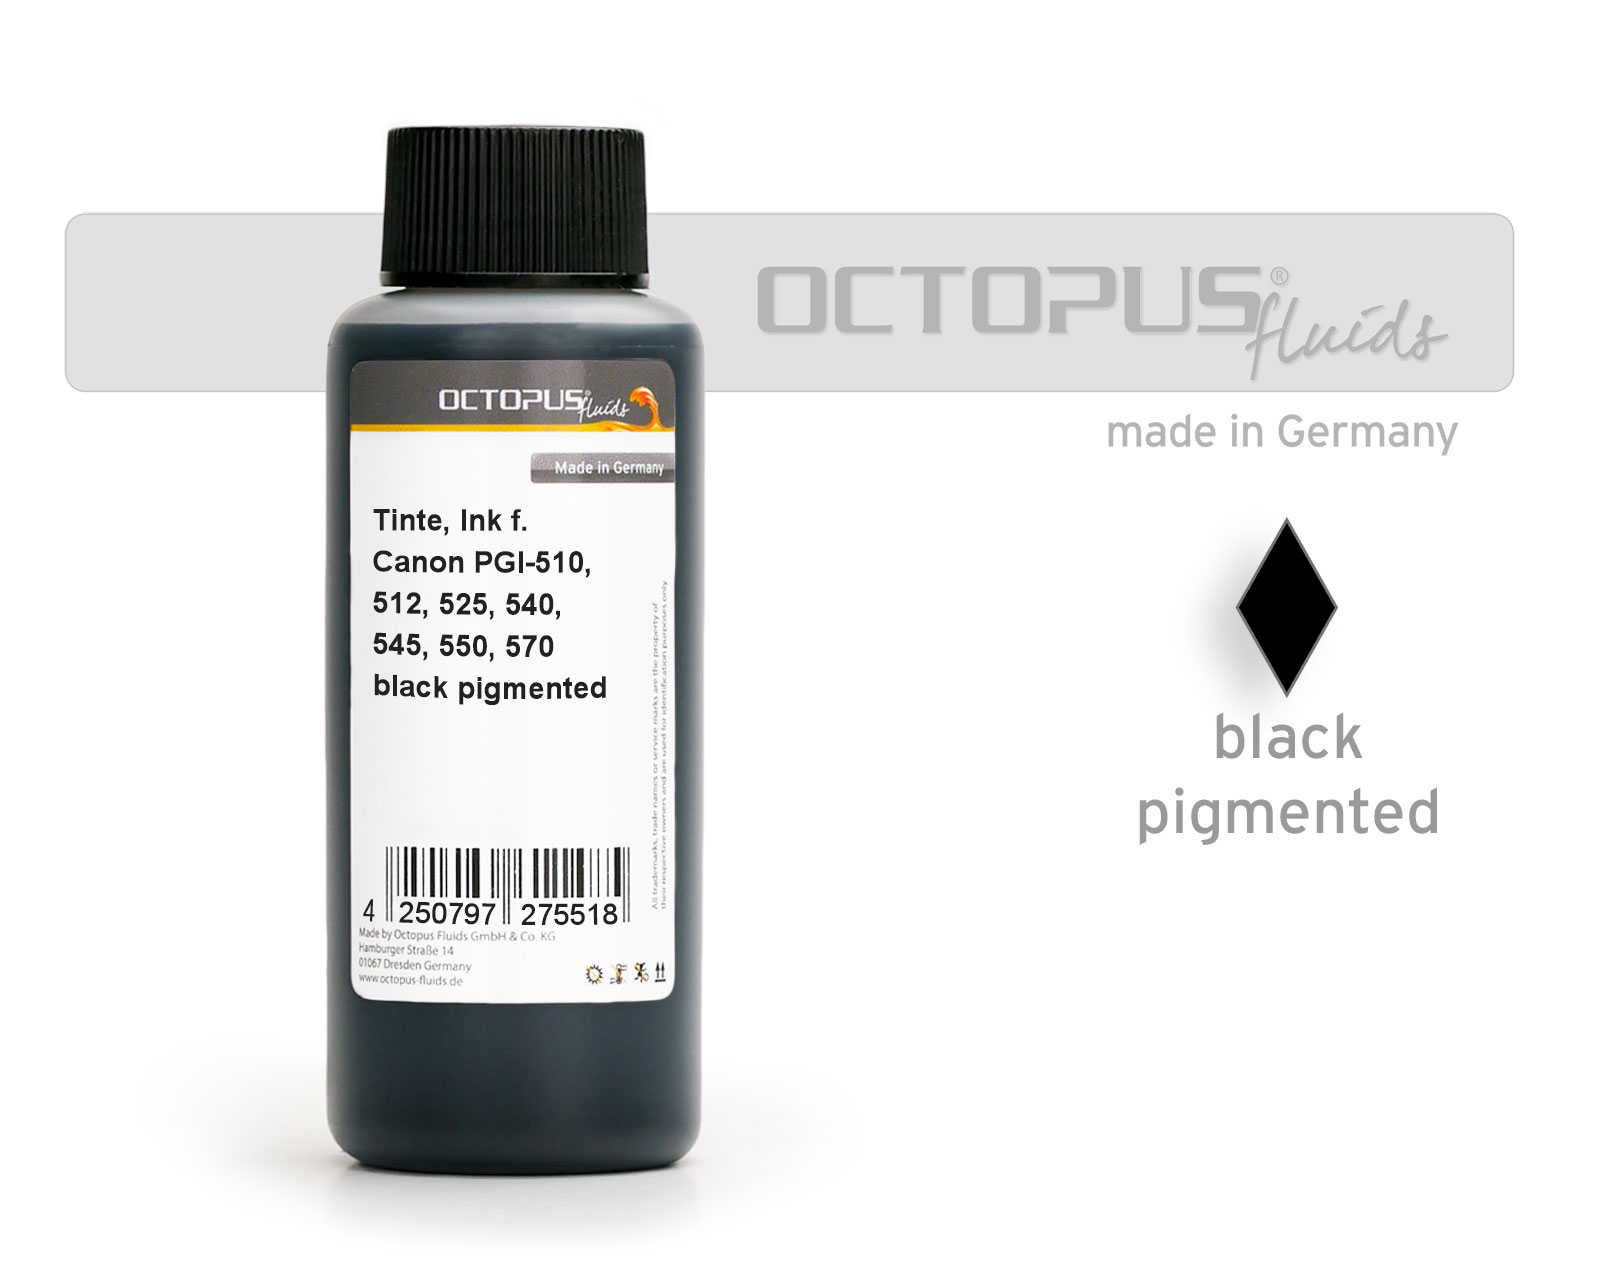
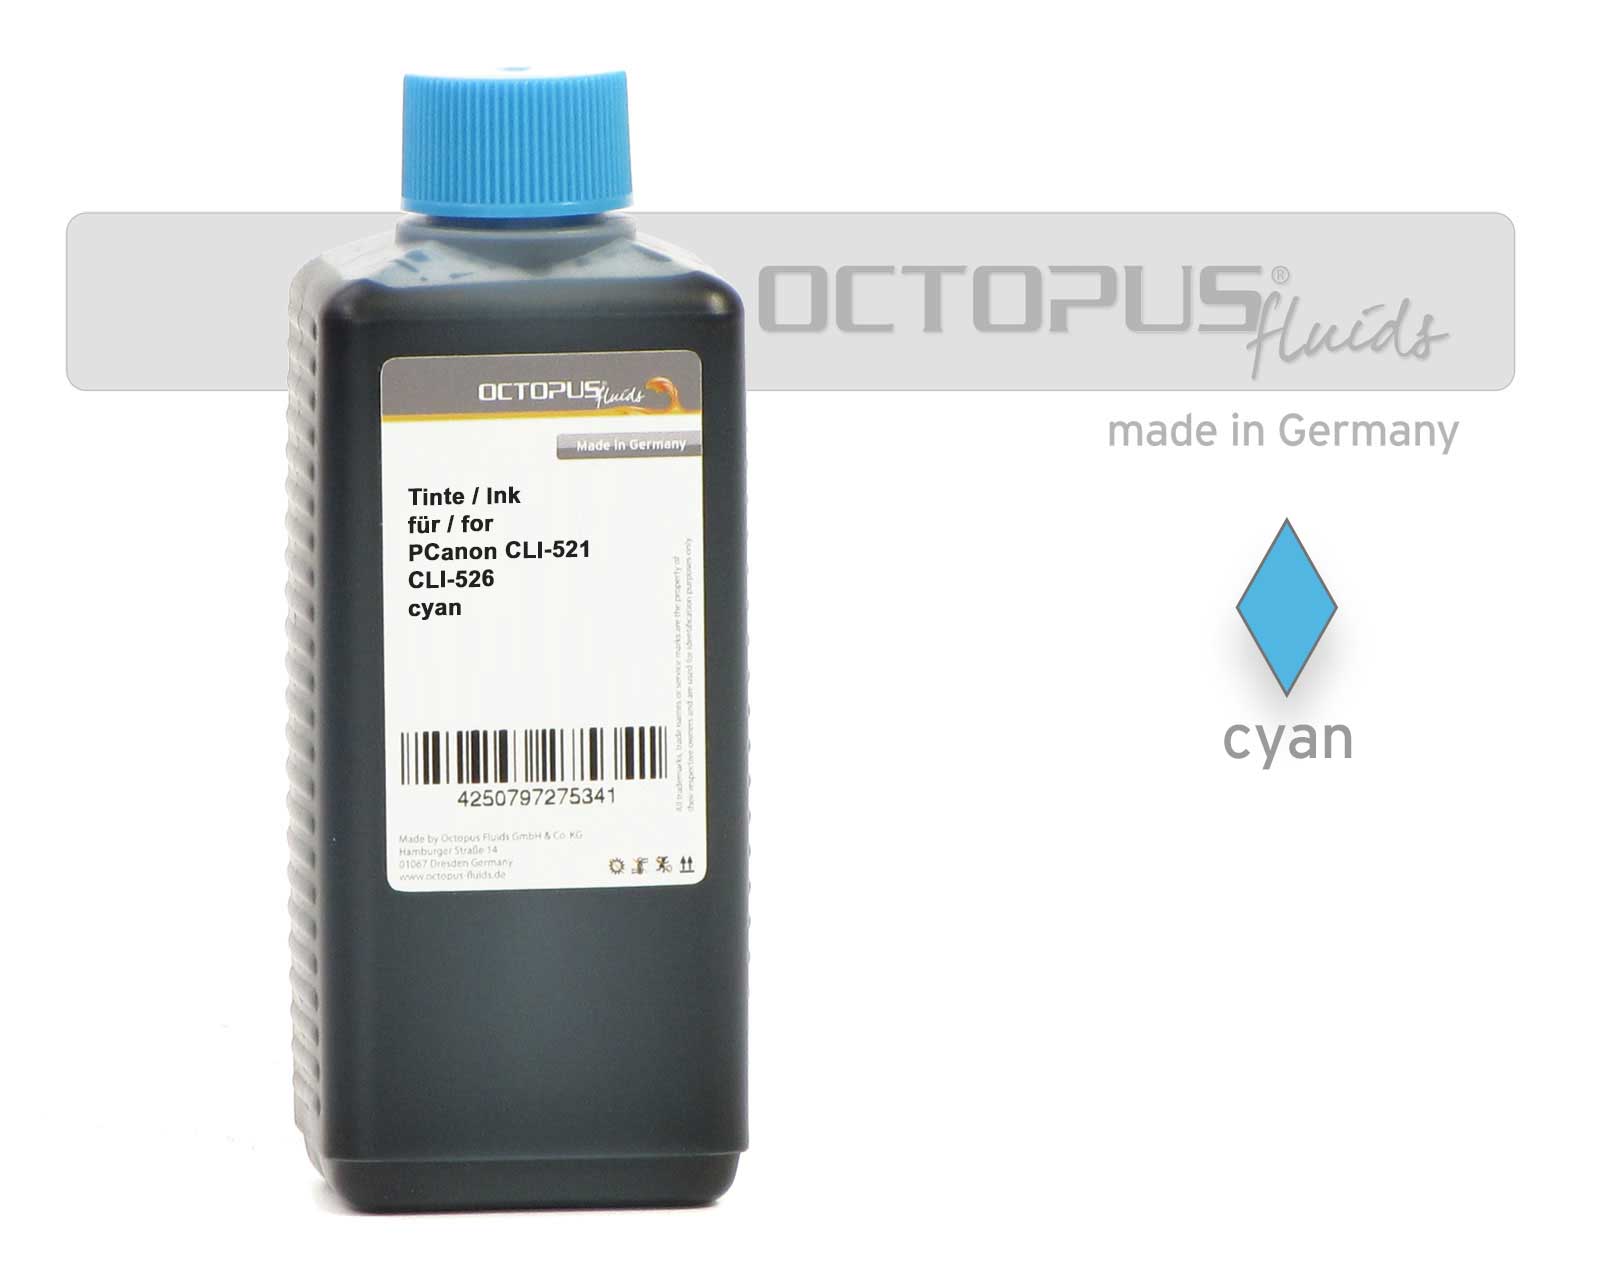
- ink (2 x black, 1 x cyan, 1x magenta, 1x yellow)
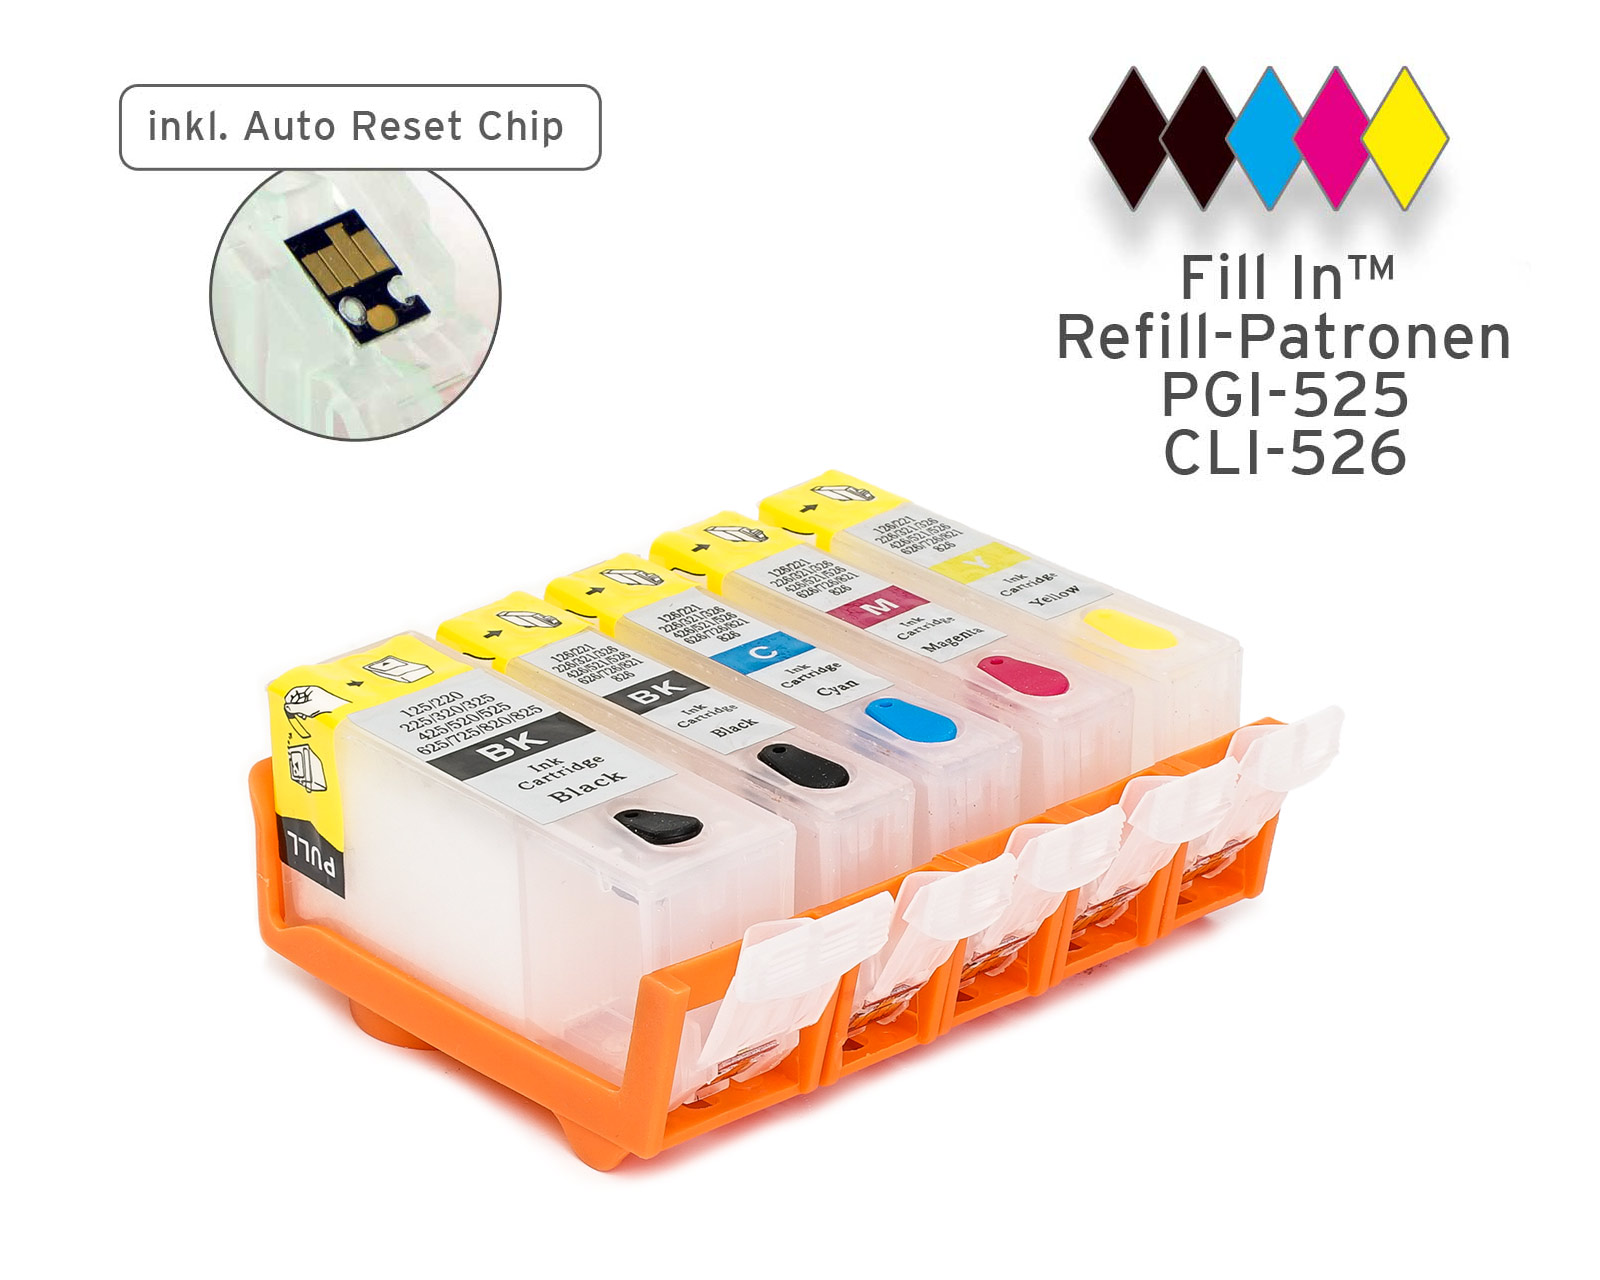
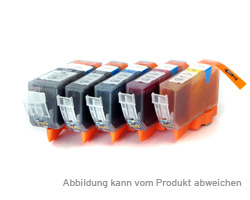
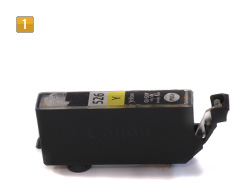
Remove the Canon PGI-525, CLI-526 cartridge from your printer and put it in front of you, as shown in fig. 1.
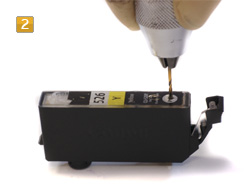
In the rear part of the cartridge there is a supplementary tank. Drill a hole into this tank, the spot to place the drill is marked in fig. 2. Please use a small drill, the diameter should not exceed 1,5 mm.
Alternatively you can melt the hole into the cartridge with a heated needle. Afterwards draw up the required quantity of ink with a syringe. The capacity of the big black cartridge Canon PGI-525 is about 10 ml, whereas the capacity of the smaller cartridges Canon CLI-526 is 6 ml of ink each.
Refilling of Canon PGI-525, CLI-526:
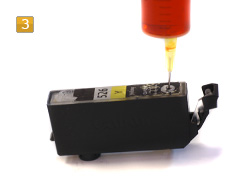
Insert the refill syringe, containing the right type of ink, into the drilled hole (see fig. 3) and fill the supplementary tank of your cartridge slowly. If some ink should overflow, please wait a moment until the ink is absorbed by the sponge inside of the cartridge. If necessary, repeat this process a few times.
This type of Canon cartridges does not have any observation windows anymore.
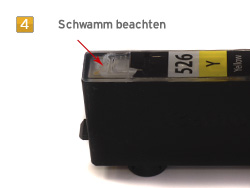
Therefore you should focus your attention especially to the upper section of your cartridge. There you can see the sponge inside the cartridge (see fig. 4). Please hold the cartridge a little tipped forwardly while filling ink into the cartridge.
At the upper section you can see if the sponge is saturated with ink. When the sponge and the supplementary tank are filled with given amount of ink, close the drilled hole with some hot glue. Alternatively you can also use some tape.
Now you just have to reset the chip of the cartridge with a chip resetter. An instruction you can find in this category as well.
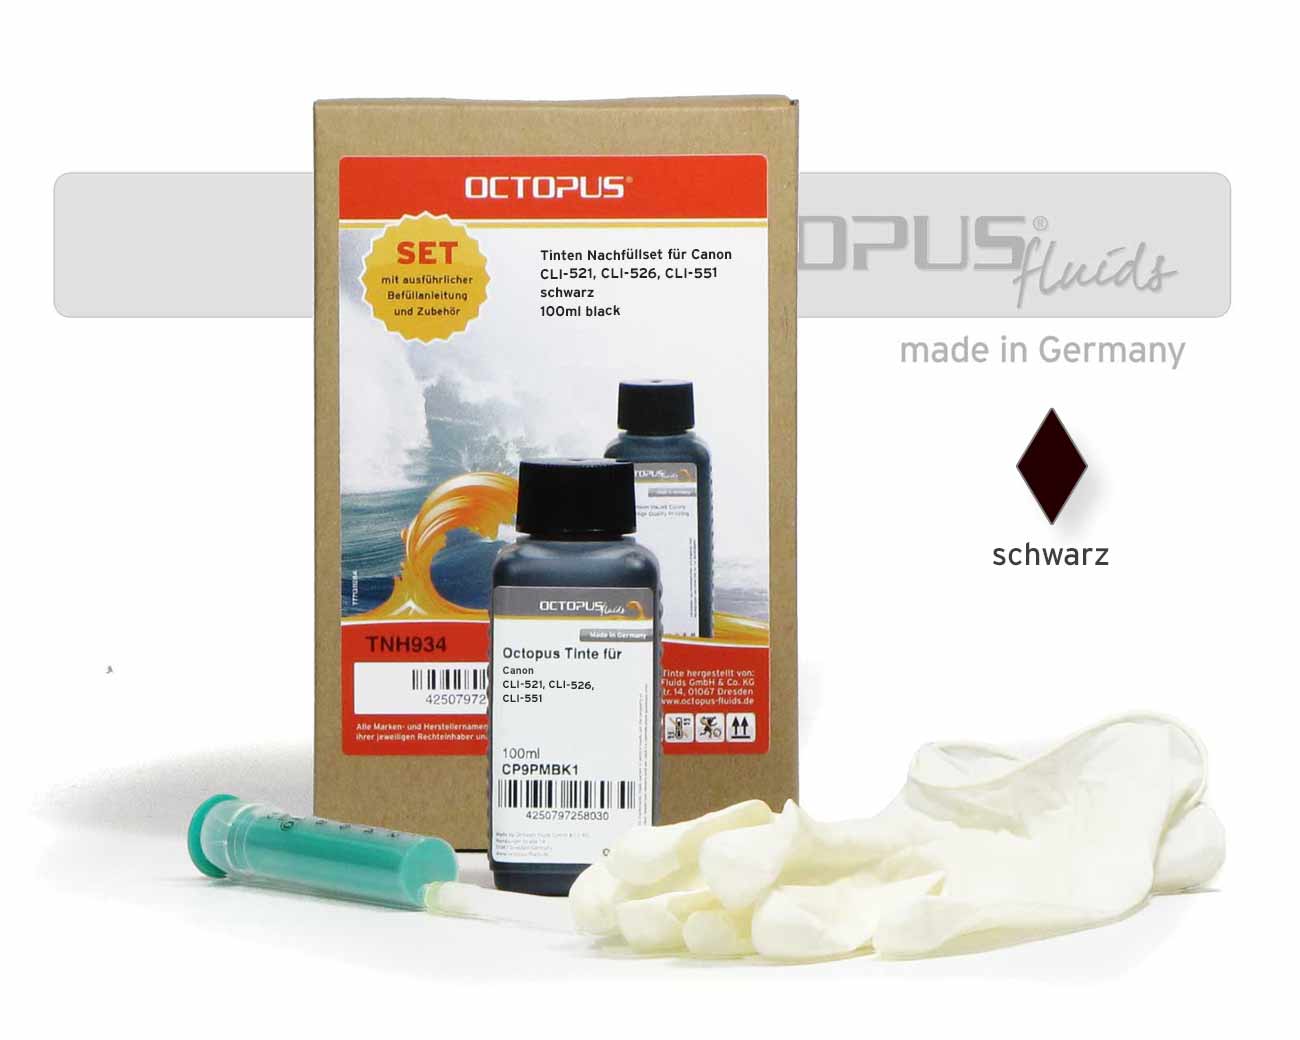 Ink Refill Kit for Canon CLI-521, CLI-526, CLI-551 black
 Chip Resetter for Canon PGI 525, CLI 526, IP 4850, MG 6150 with USB
 Fill Bill FOCUS™ CP525 for Canon PGI-520, 525 and CLI-521, 526


