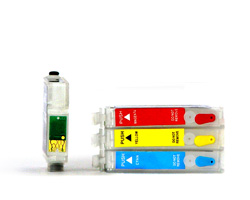
Refill instructions for refillable Epson T0711 - T0714 cartridges
Please note that the entire set of cartridges has to be replaced.
You need the following supplies:
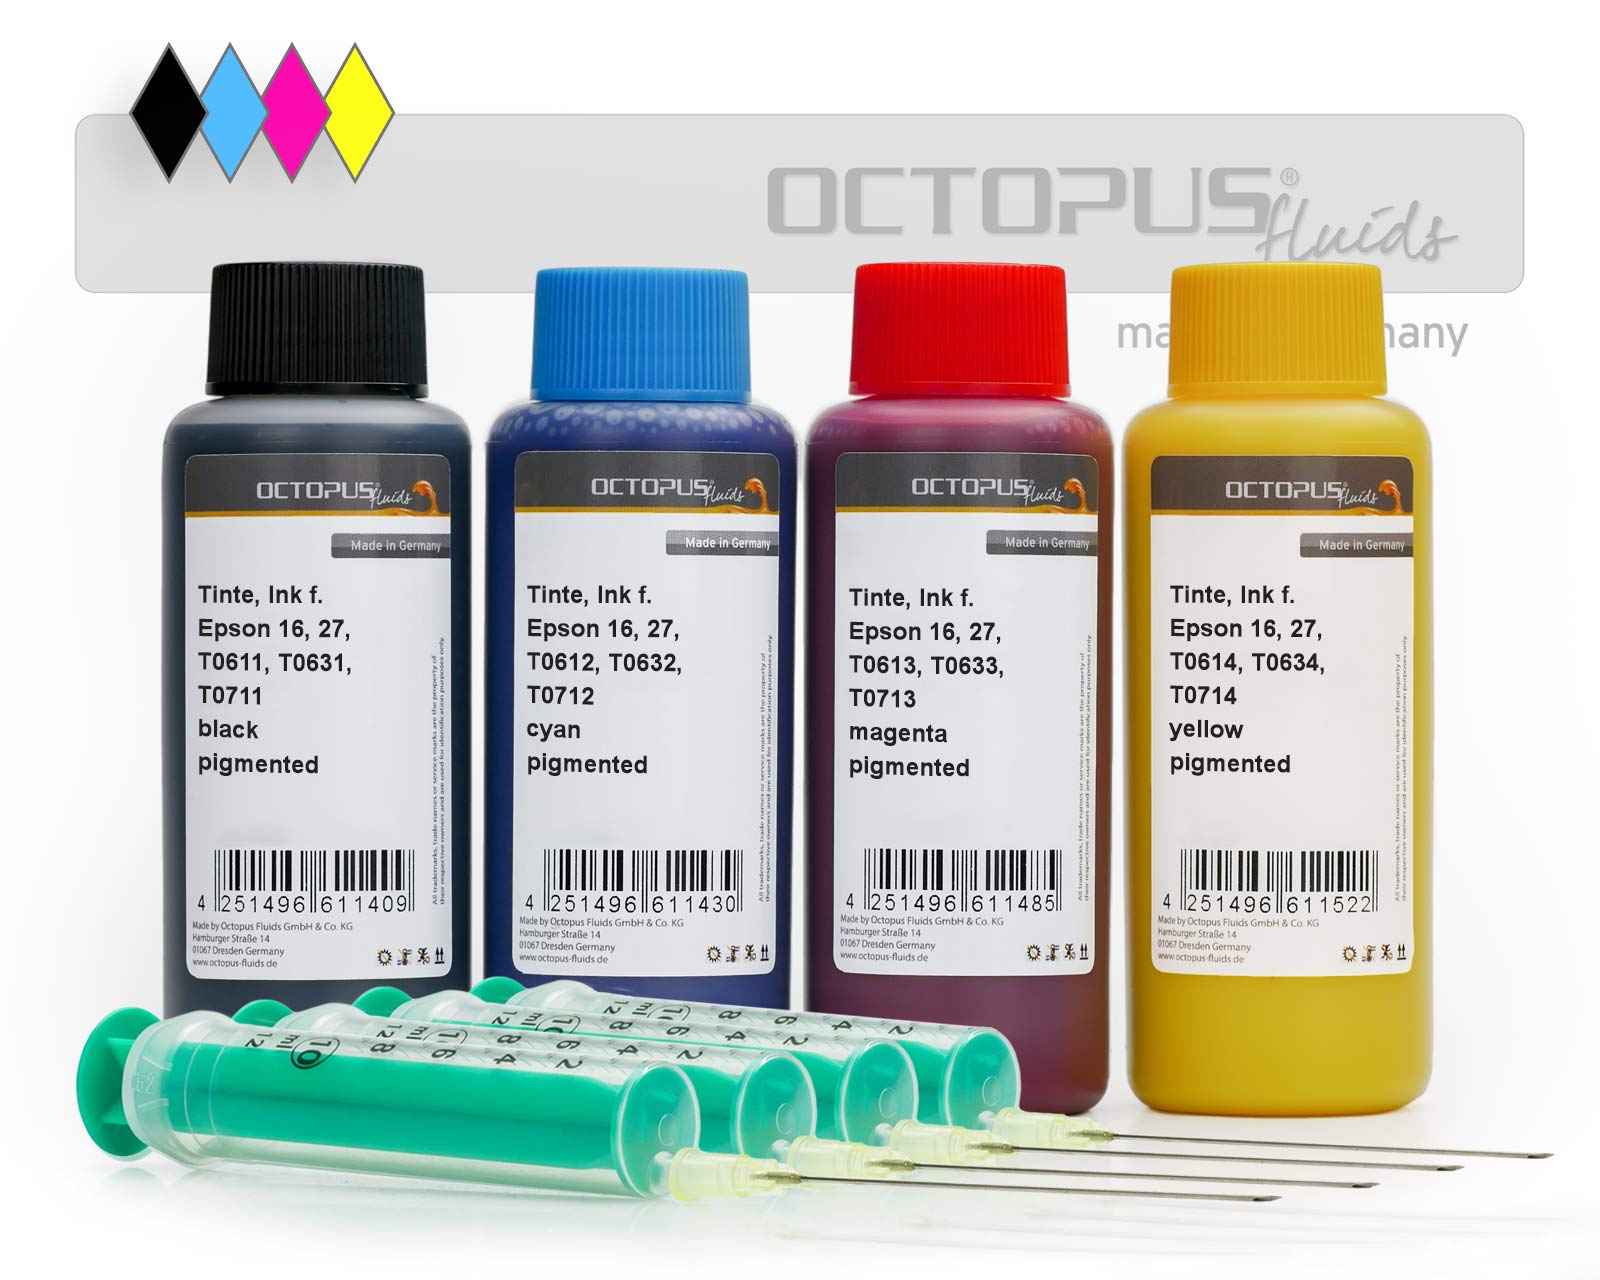
- 4 syringes with needles
- 4x 13ml of ink (black, cyan, magenta, yellow)
- kitchen towels or newspaper as underlay
Before refilling:
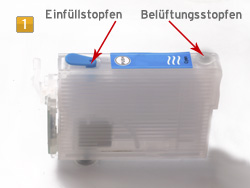
Hold the cartridge as shown in picture 1 and identify the filler opening. It is plugged with a rubber plug (coloured or transparent, depending on the type of cartridge) and located above a large ink chamber in the cartridge. This is where you fill in the ink.
The ventilation opening, on the other hand, is located above a system of small chambers. Do not fill in ink here! The plug from this opening has to be removed later for pressure equalisation during the printing process.
Remove the plug from the filler opening.
Please make sure that you pulled the correct plug to avoid mistakes. Depending on the type of cartridge, the position of the openings may vary.
Refilling Epson cartridges:
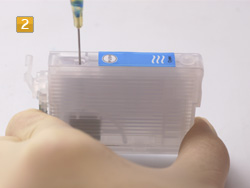
Draw ink into the refill syringe and carefully pierce the cartridge body (picture 2). The interior of the cartridge is laminated with plastic films that must not be damaged.
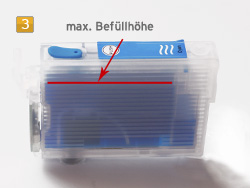
Now fill in ink until you have reached the "maximum filling level" shown in picture 3.
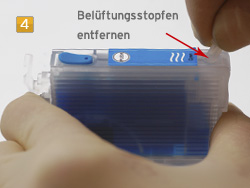
Once the cartridge has been filled, reinsert the plug into the filler opening and pull the ventilation plug. This plug has to be removed in order to enable pressure equalisation during the printing process.
After refilling:
You can now insert the printer cartridges into your printer. Attention: First insert the yellow cartridge, then magenta, then cyan, and then the black cartridge. Make sure that the cartridge is securely locked in the printer when you insert it.
Make sure that the ventilation plug is removed from each cartridge. It is not possible to print with the ventilation plug in place.
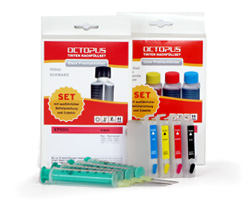 Refillable Cartridges T0711, T0714 with Ink Refill Kits (non-OEM) for Epson
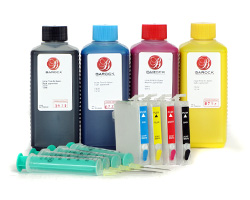 Refillable Cartridges T0711, T0714 with Ink (non-OEM) for Epson
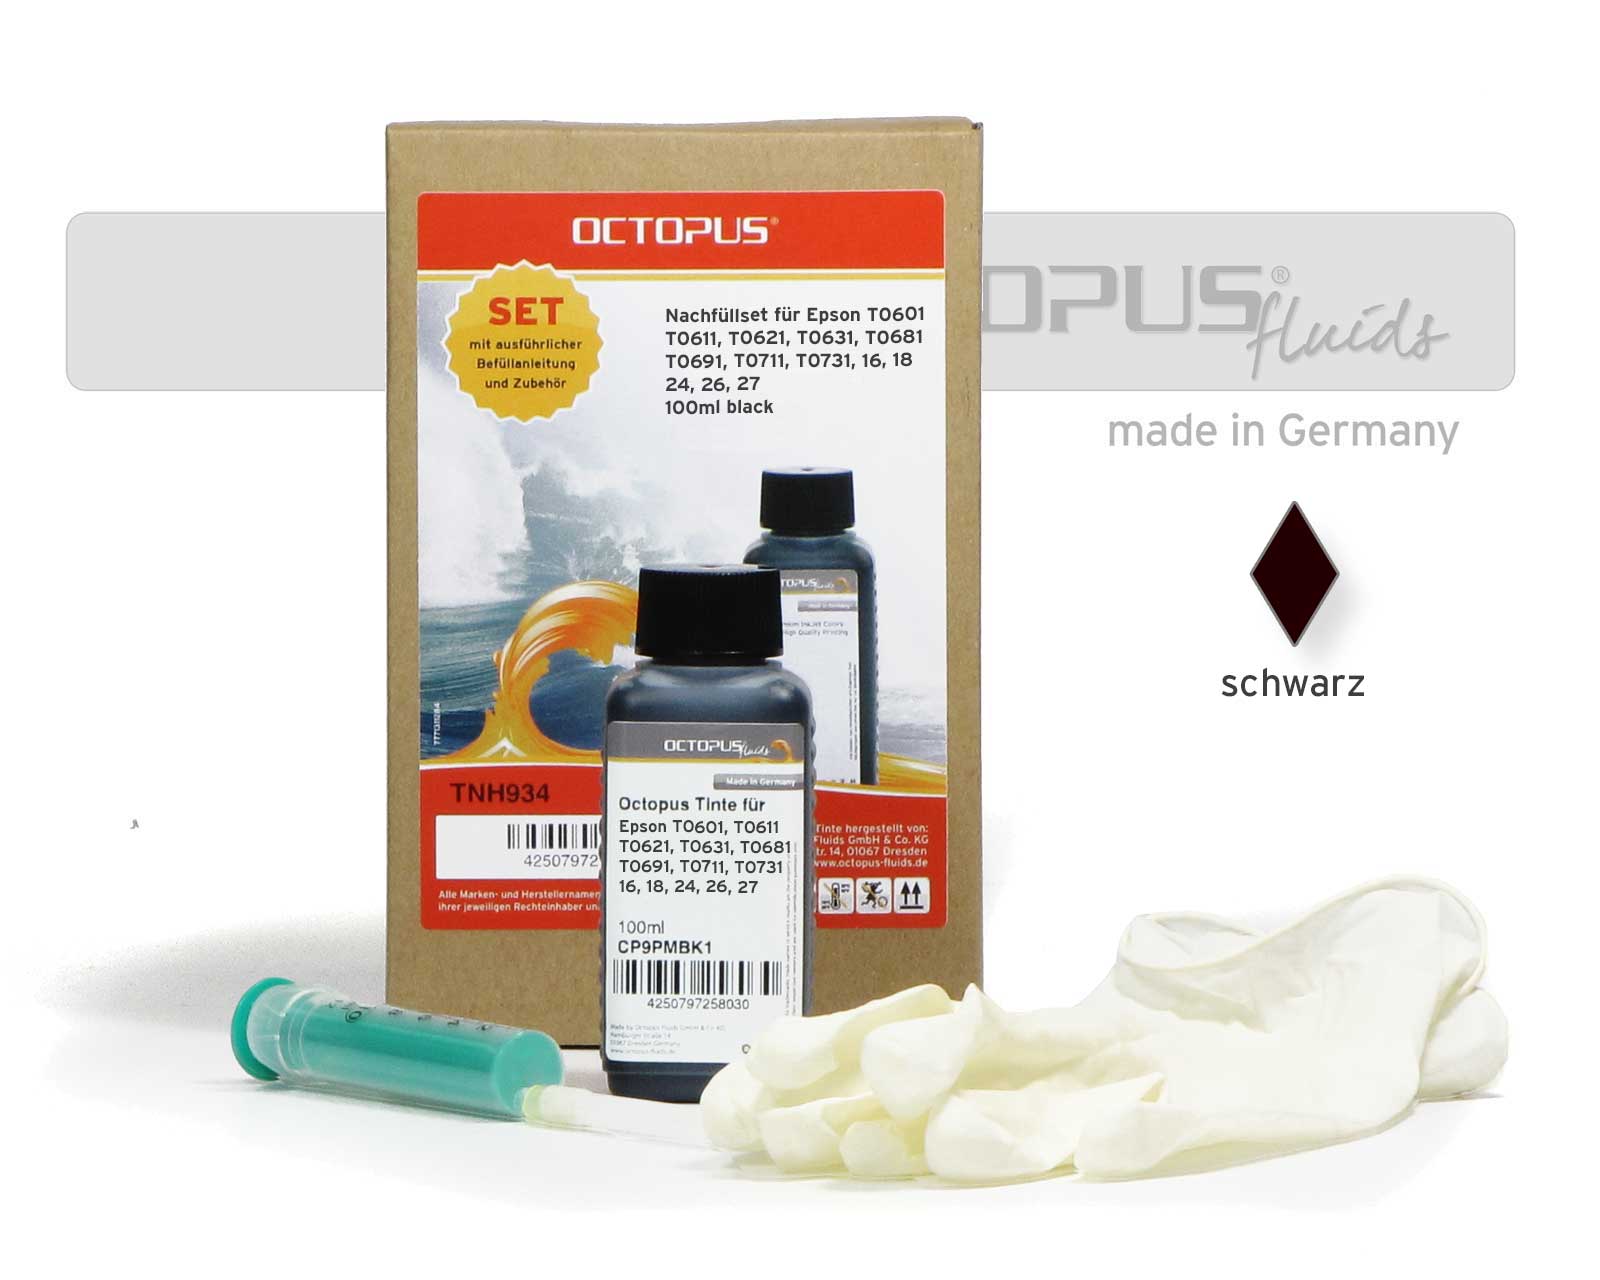 Ink Refill Kit (non-OEM) T0611, T0711, 16, 18, 26, 27 pigmentiert black for Epson
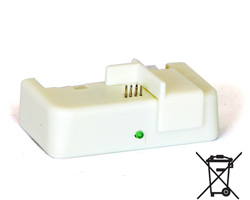 Activ Universal Chip Resetter for Epson printers
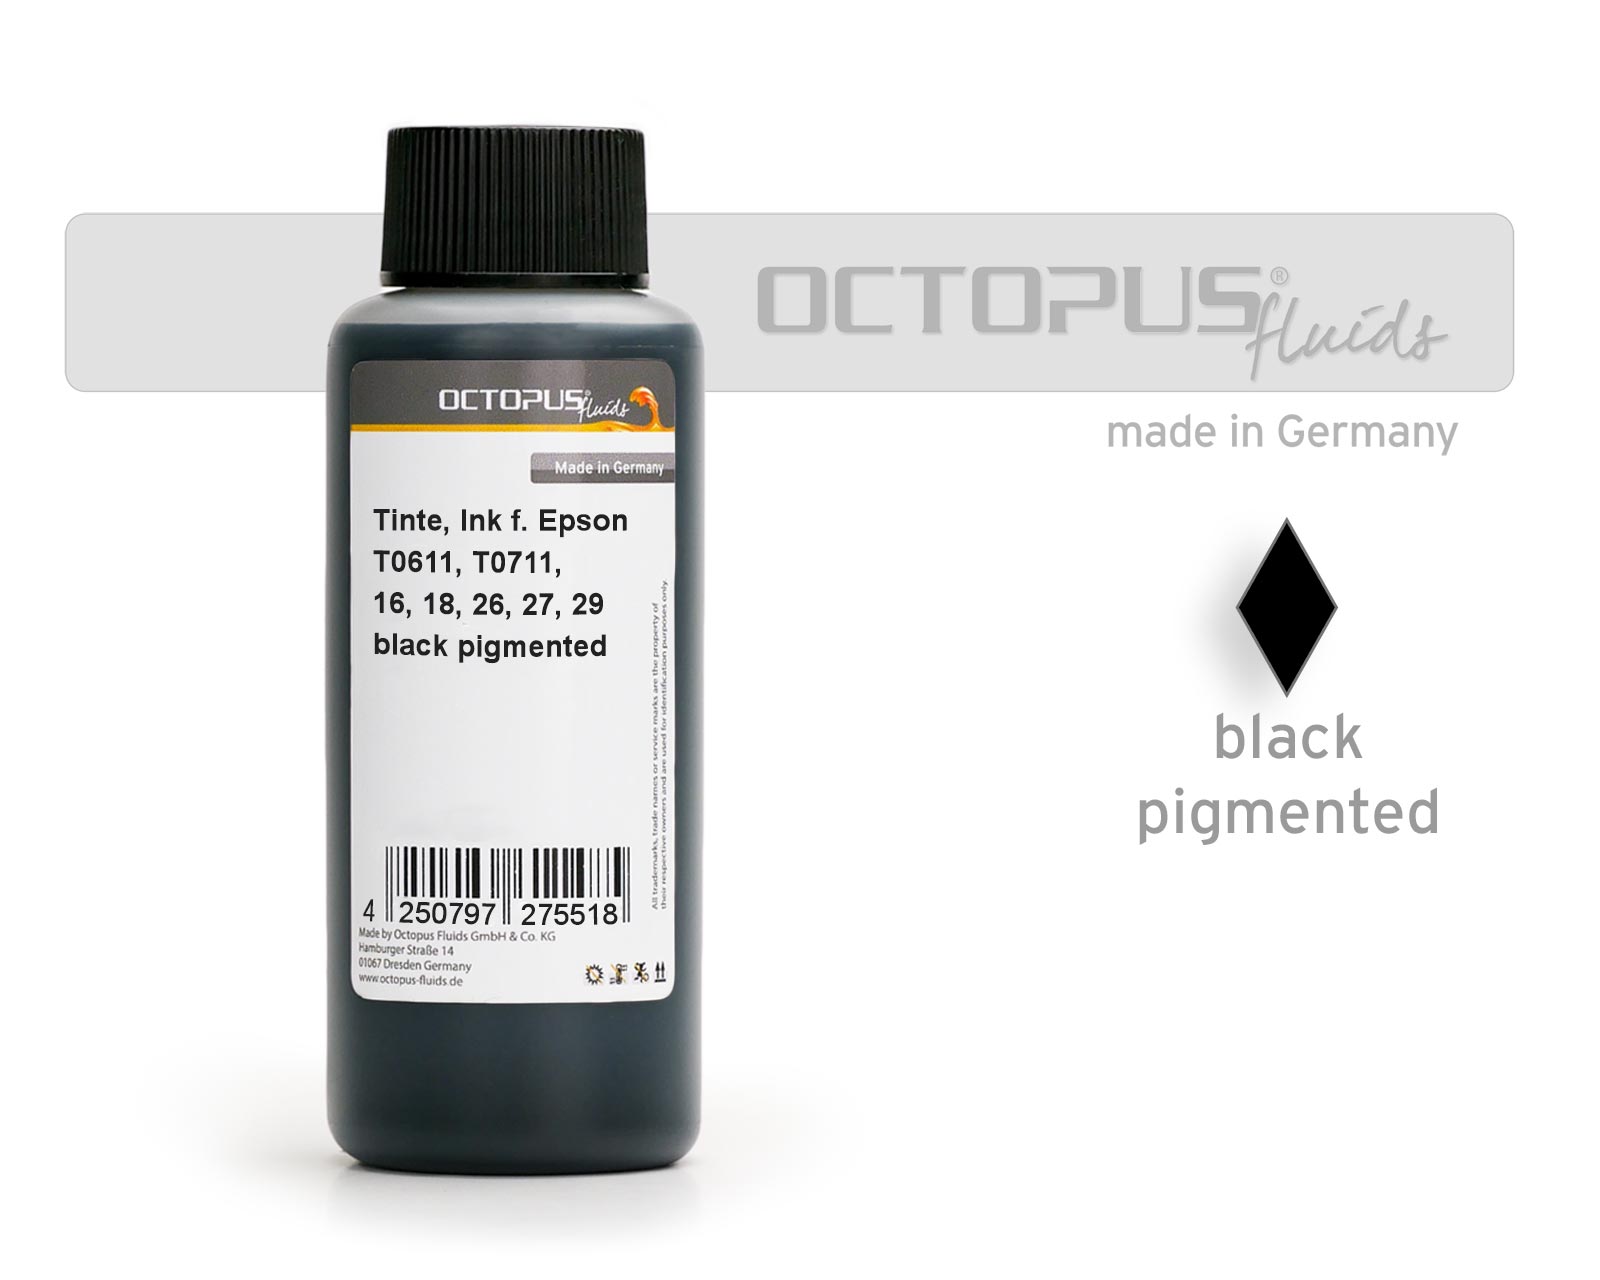 Octopus Refill Ink for Epson T0611, T0711, 16, 18, 26, 27, 29 pigm. black


