How to print pictures, photos using invisible inks in a desktop printer?
A picture file or a photo file requires some adjustments to be printed with invisible inks on a desktop printer. We explain how to implement these settings on a sample file using an image editing software.
As example we are using a test file by the Photoindustrie-Verband e.V. to explain the required adjustments. To be able to implement these setting You are required to have an image editing software. In our case we use an old version of Photoshop. For private uses You can download an version from the internet for which the support is discontinued.
The first editing step is to increase the value of the picture´s color hue. The navigation to this function in the software is Picture -> Adjust -> Color Hue / Saturation.
The value for the color hue needs to be increased to 140. Increasing this value leads to a higher application of the invisible printer inks on the respective areas in the picture file during printing. After applying the setting the picture file is shown in a different color scheme. No worries, don´t get irritated by this - after implementing all adjustments, printing this file will achieve the wanted print result.
The second necessary adjustment to print this picture using the invisible printer inks is to invert the picture to a negative. The navigation to this function in Photoshop is Picture -> Adjust -> Invert. After applying this function on the picture file it is available as negative. This version can be sent as a print job to a desktop printer that is equipped with inkjet cartridges filled with invisible printer inks.
We want You to understand why these settings are necessary. Therefore here is a bit more background information for explanation. When comparing the original image file to the negative version the most obvious detail is that the light areas in the picture have been converted to dark colors. Light colored fonts in the original version of the picture (arrow 1) now are in dark colors (arrow 2). And on the opposite formerly dark areas (arrow 3) are in light color in the negative (arrow 4). When printing this negative picture using our Octopus Fluids® invisible printer inks the dark areas in the negative are printing by the black inkjet cartridge which is filled with the white invisible ink. This ink glows white when ultraviolet lights shines on it. In the light areas in the negative file no invisible ink is applied on. Therefore these areas stay dark when the UV-light source is pointed on the print.
As example you can see here these fonts - light in the original version of the picture and also shining light when the UV-light is pointed on the print out.
When looking on the whole print out you can see that also the other colors appear under ultraviolet light. The darker the rom and the stronger the UV-light source the stronger the shine effect of the invisble inks is. The best kind of UV-light source for bringing out the shine of our invisible inks is ultraviolet light having a wave length of 365 nm.
For some applications you can combine the printing of invisible pictures with prints using conventional printer inks. As example You can see here an invisible mark of authenticity, which has been printed first and the print using the normal printer inks has been printed on the same paper afterwards. This is a possible way to recognise Your DIY vouchers and avoid receiving false copies.
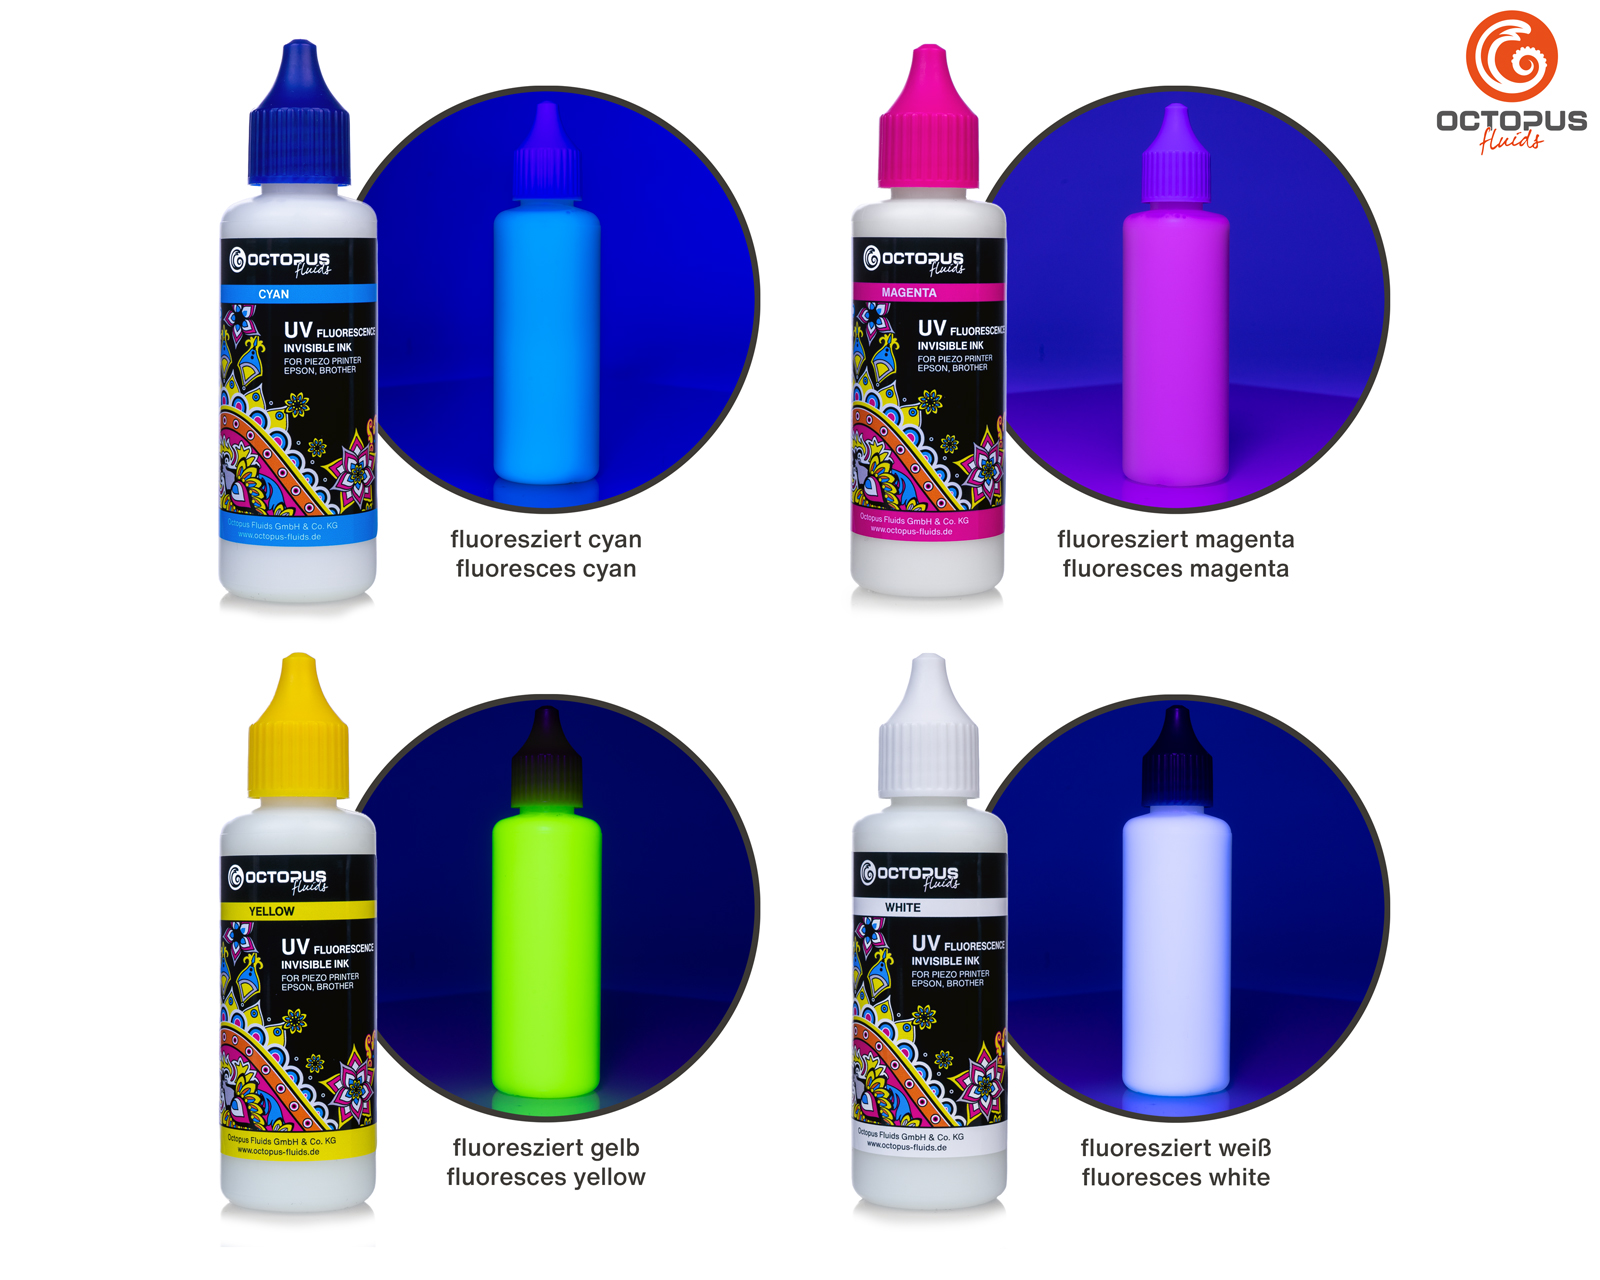 Set of 4x 50ml UV fluorescence invisible ink for Epson and Brother print heads: white, cyan, magenta, yellow
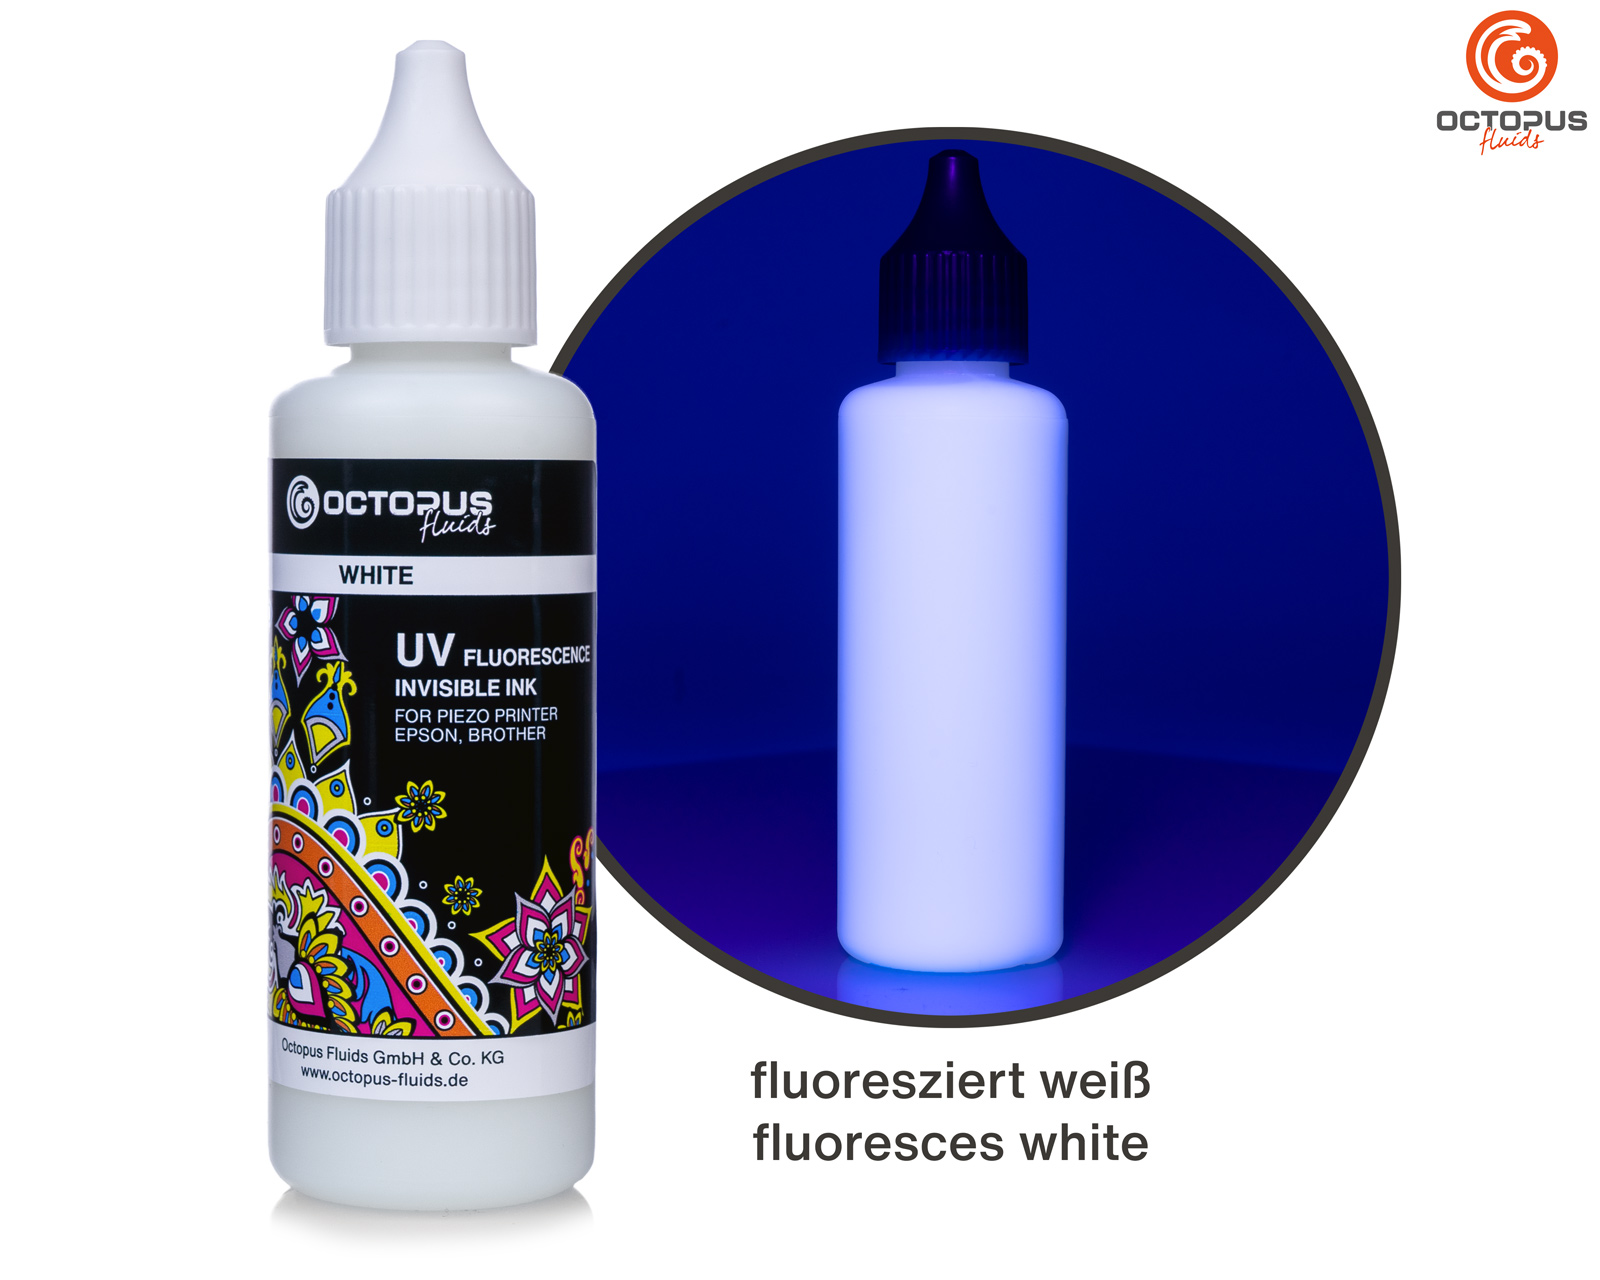 UV fluorescence invisible ink for piezo print heads Epson, Brother, white
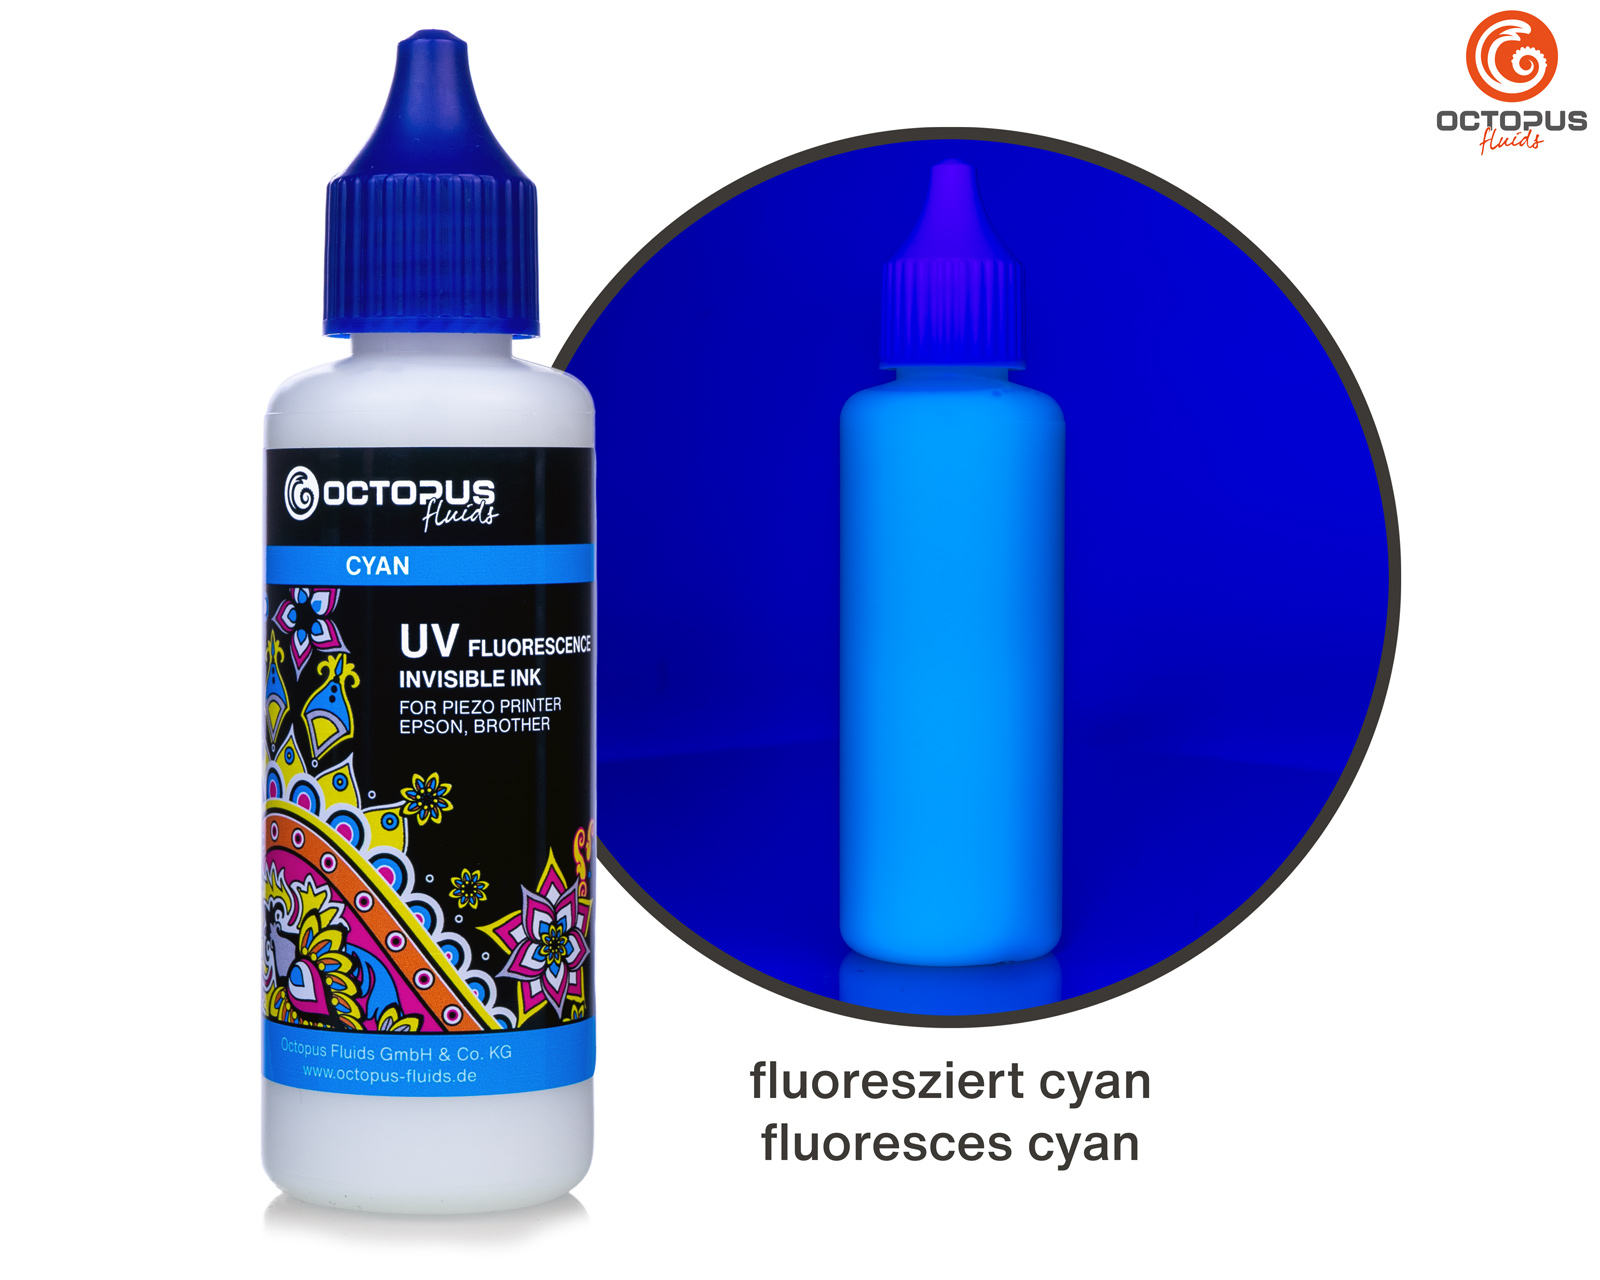 UV fluorescence invisible ink for piezo print heads Epson, Brother, cyan
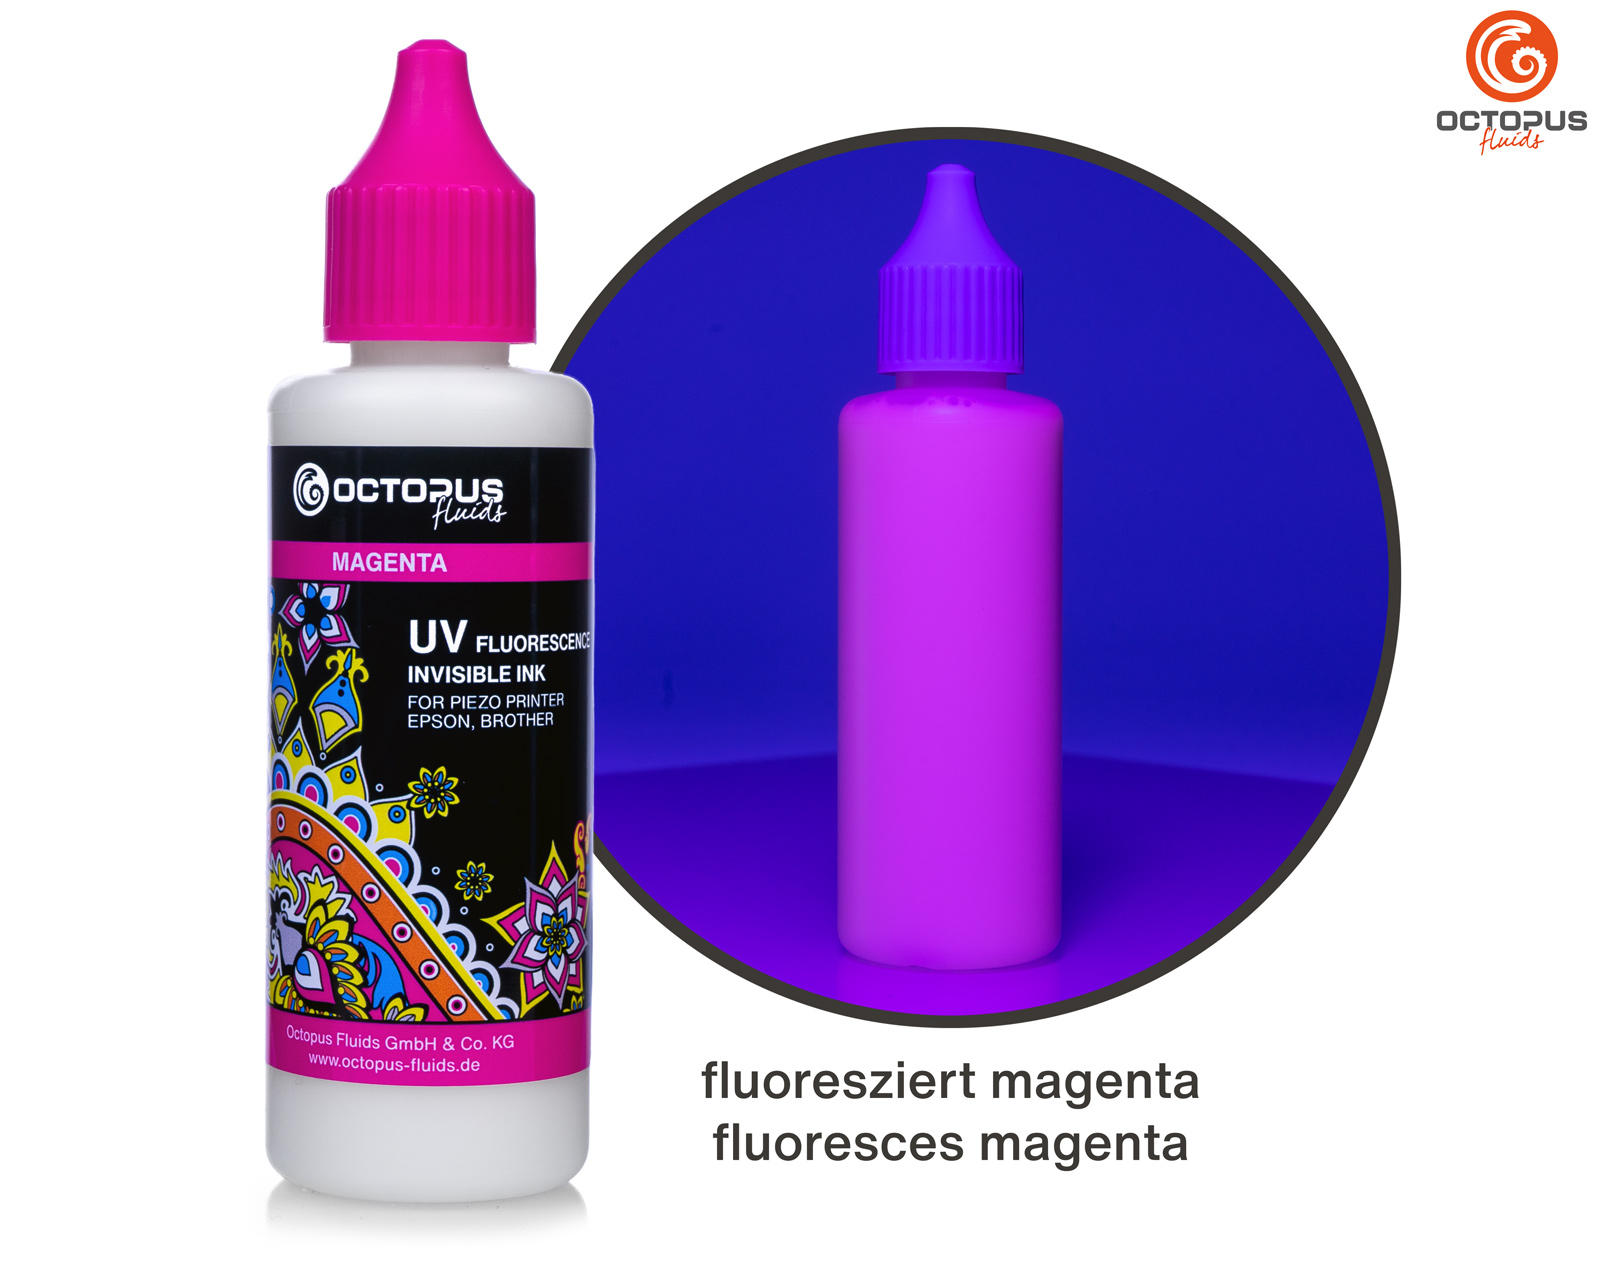 UV fluorescence invisible ink for piezo print heads Epson, Brother, magenta
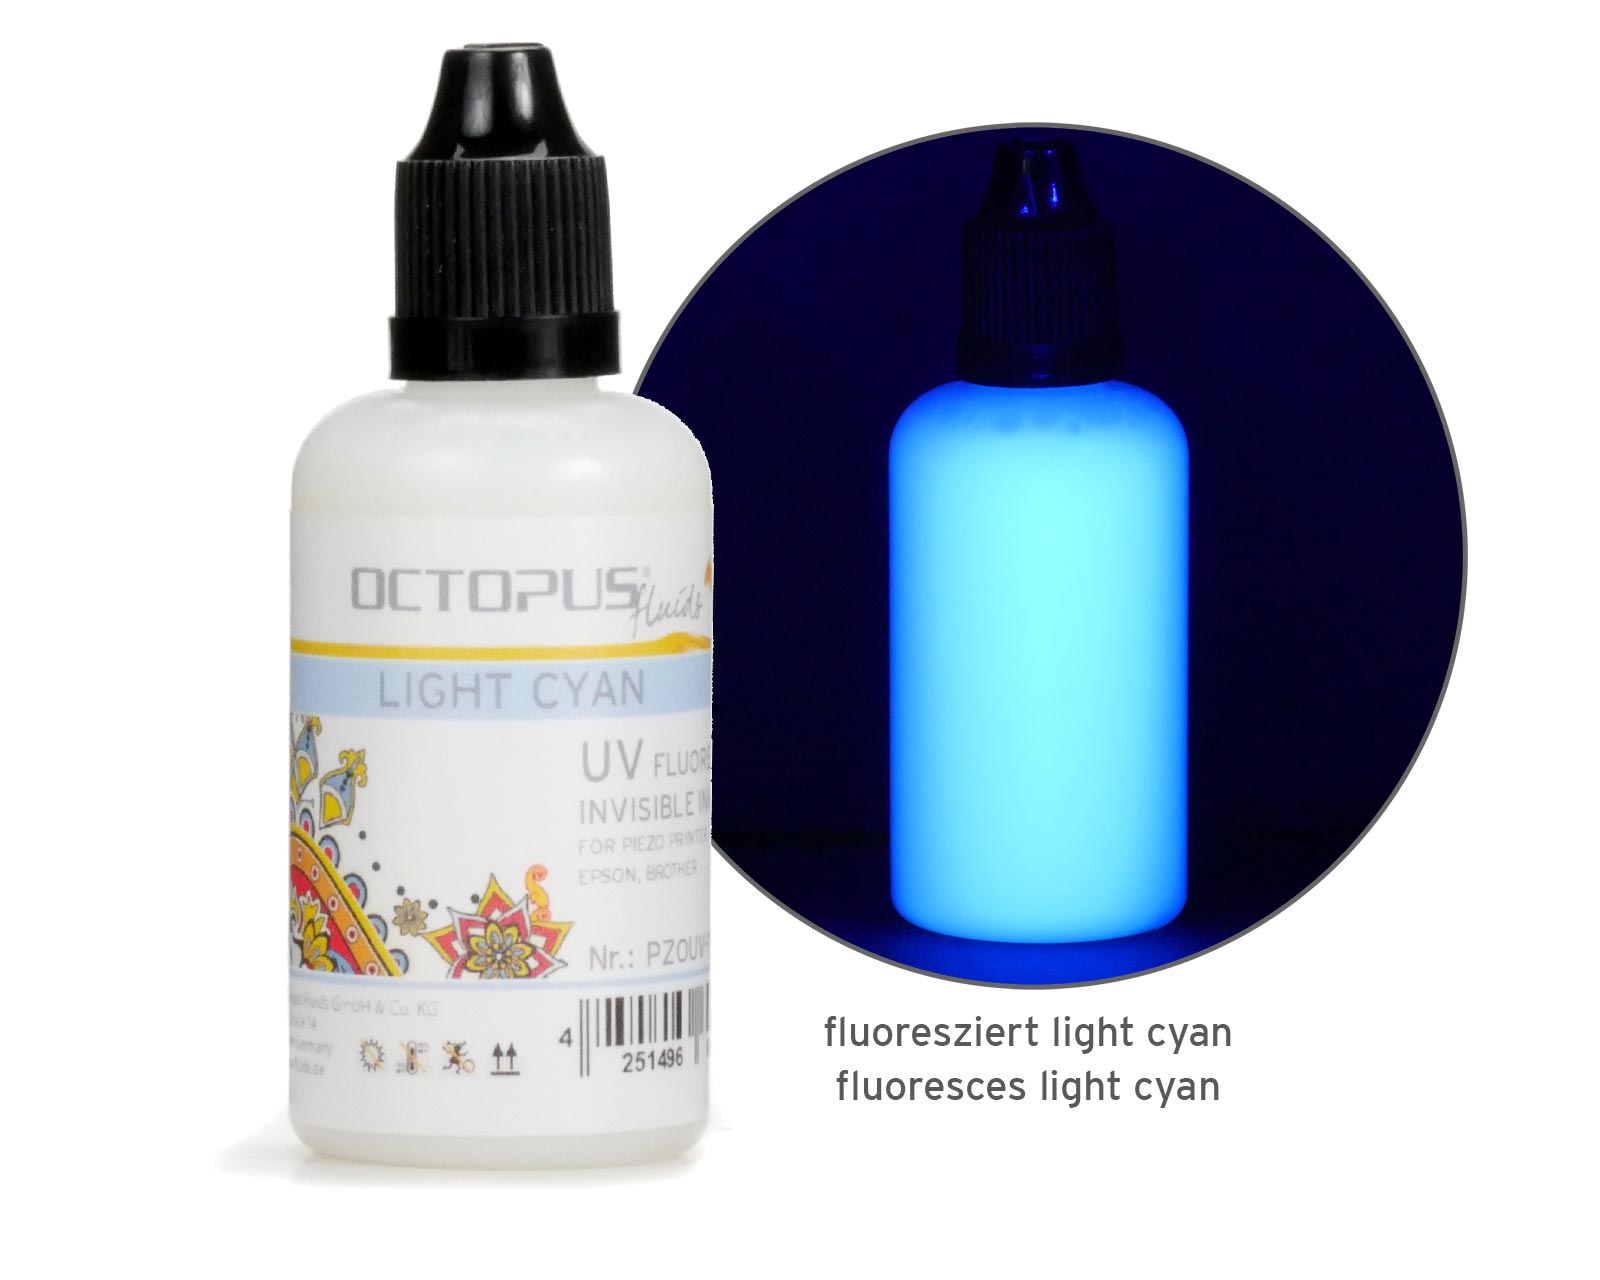 UV fluorescence invisible ink for piezo print heads Epson, Brother, light cyan
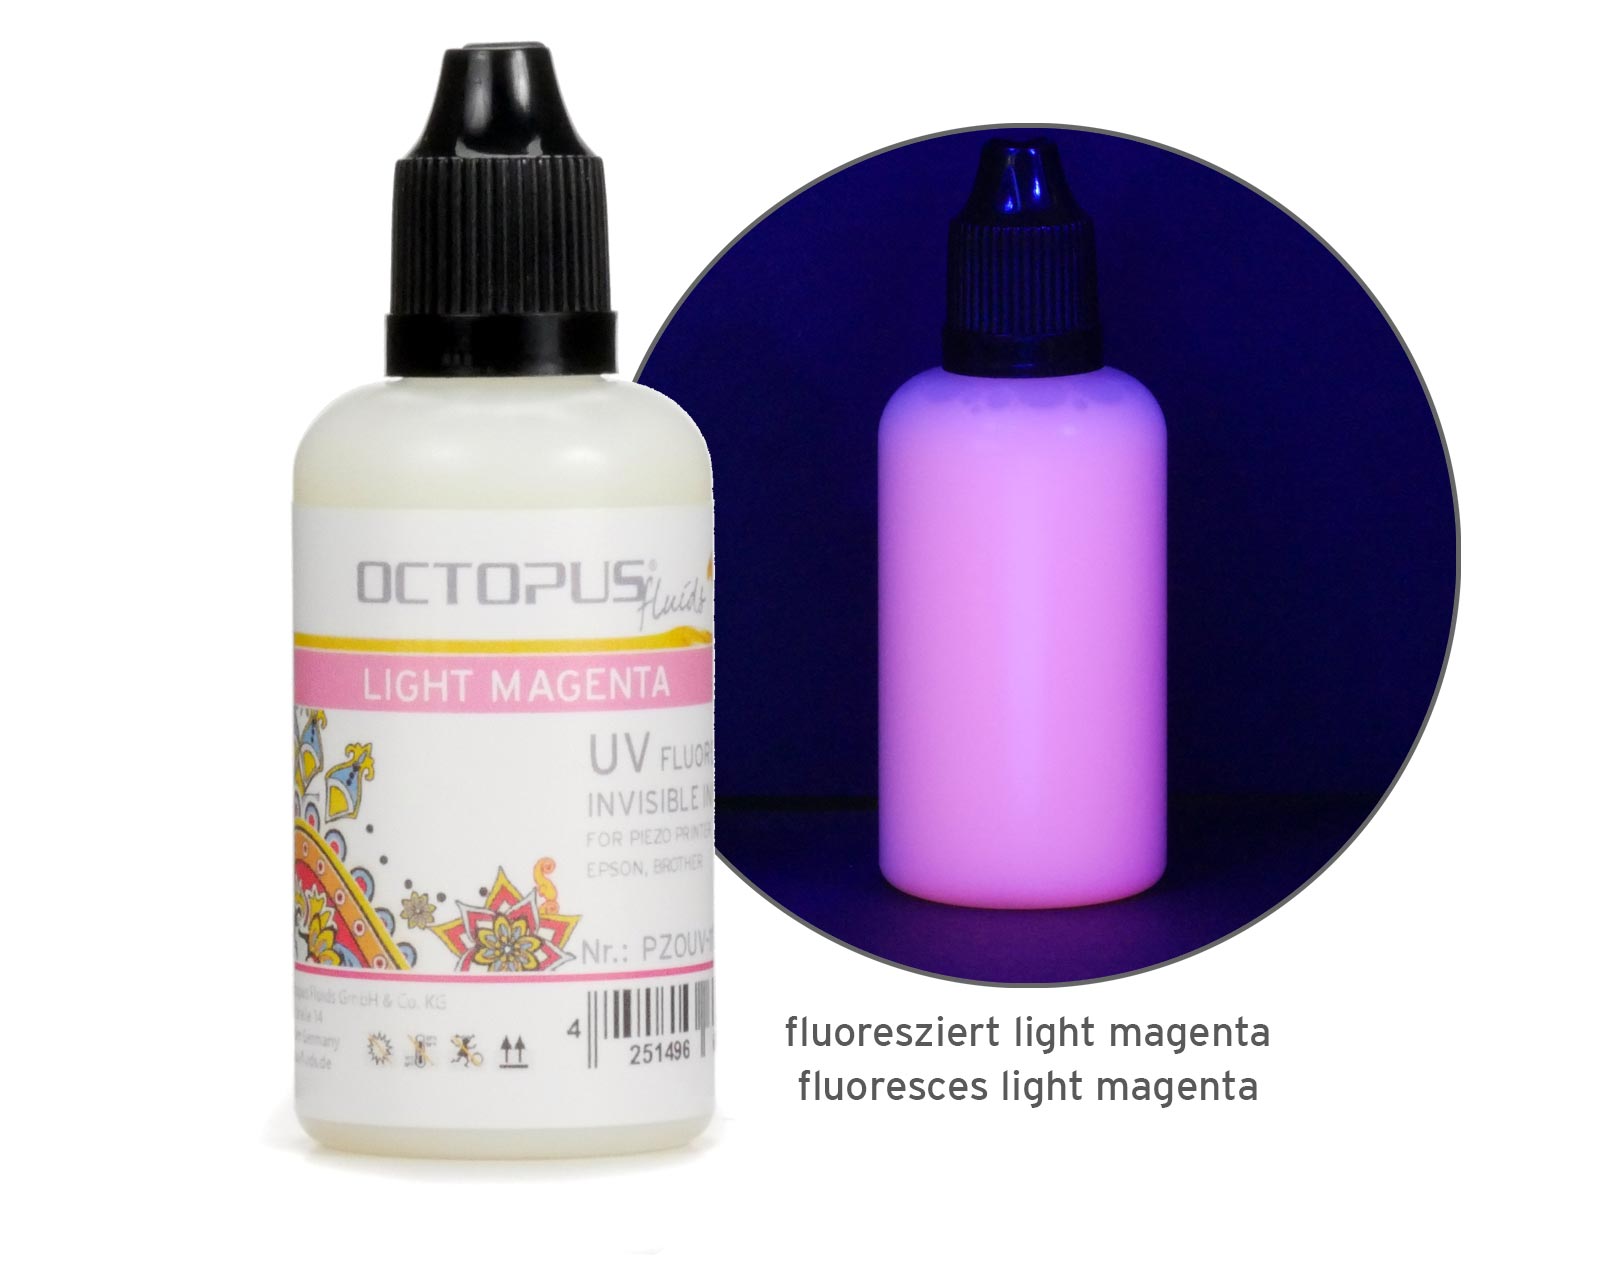 UV fluorescence invisible ink for piezo print heads Epson, Brother, light magenta
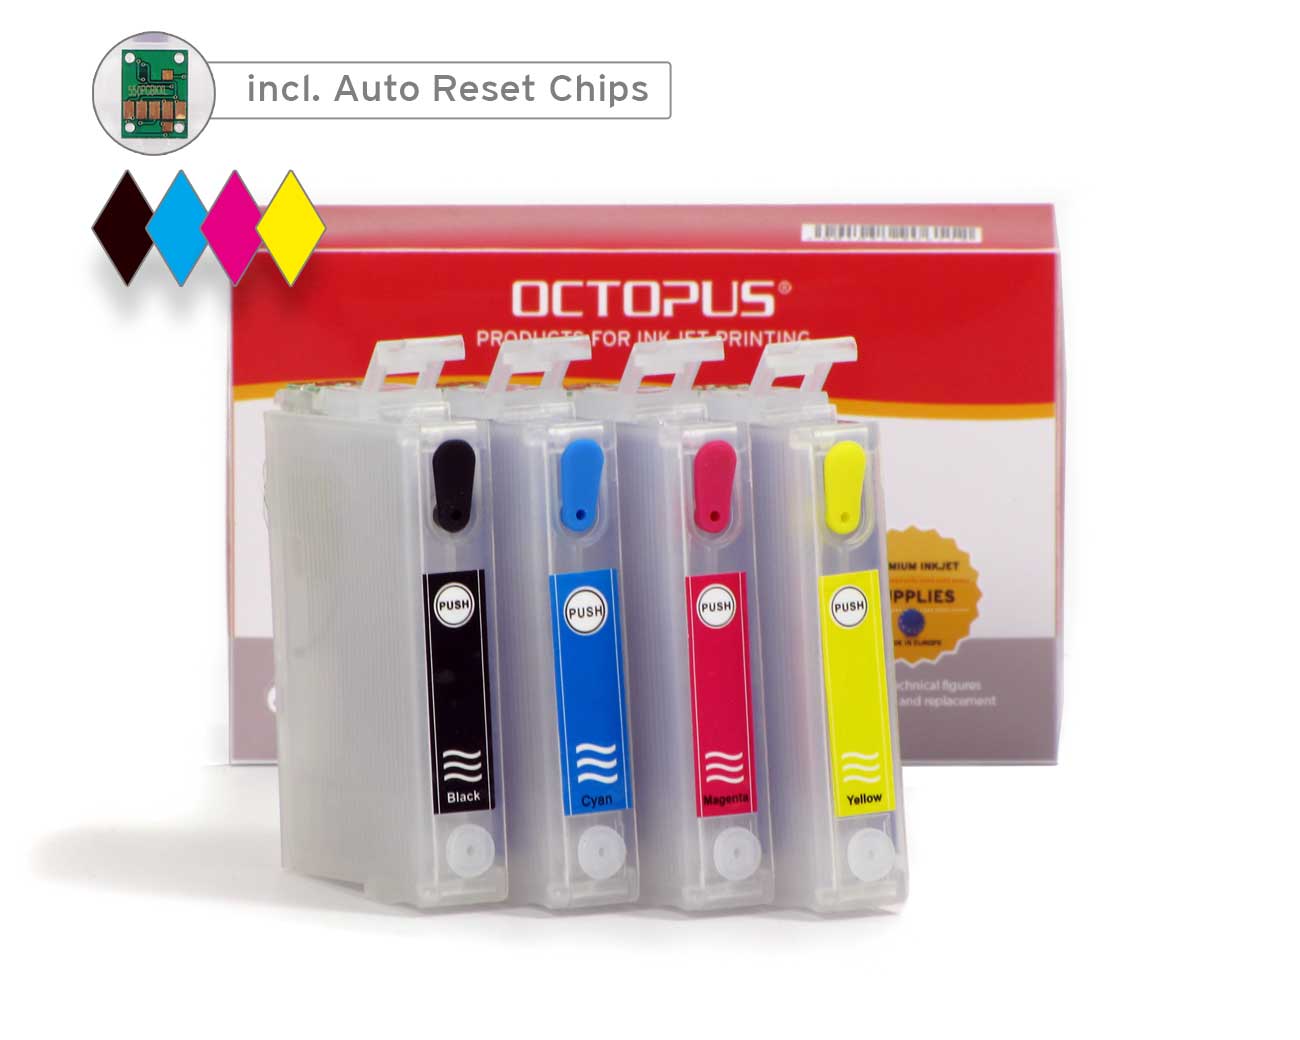 Refillable ink cartridges for Epson 27 inkjet cartridges (non OEM)
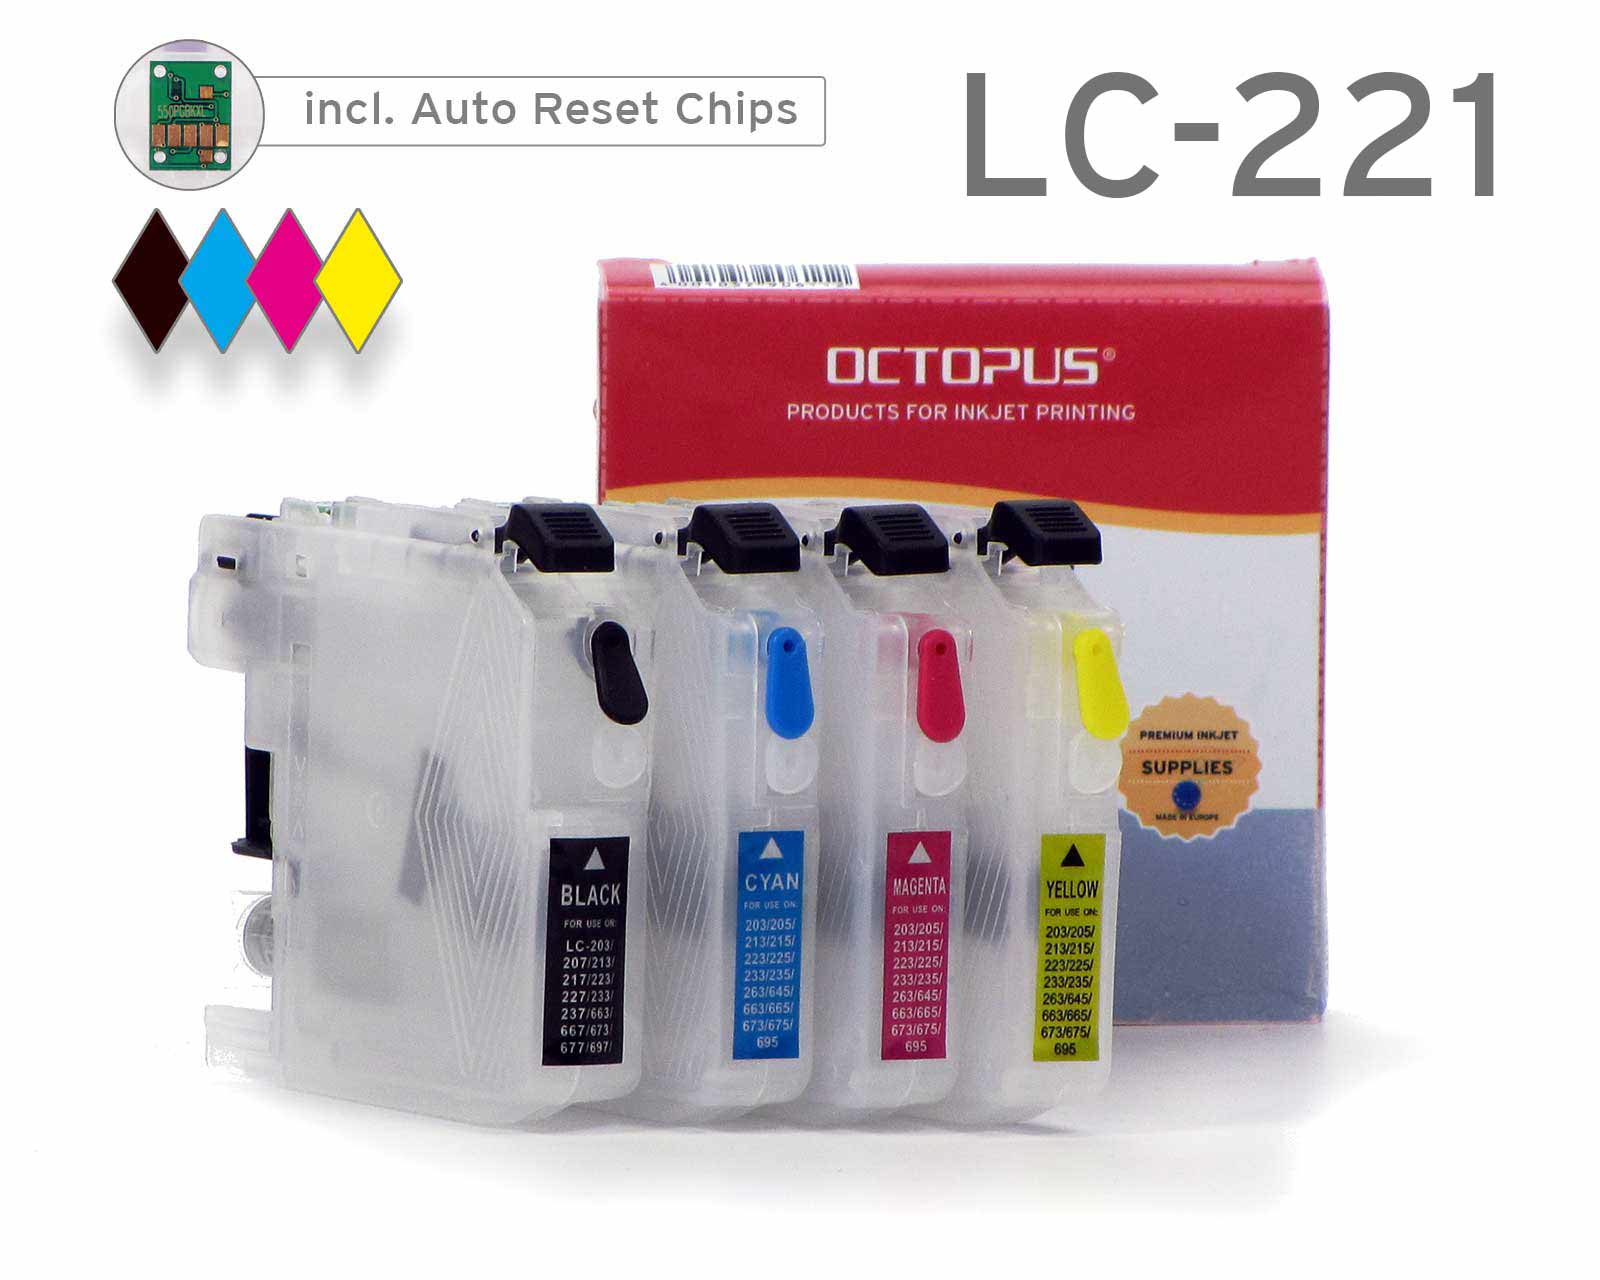 Refillable cartridges compatible with Brother LC-221 with autoreset chip
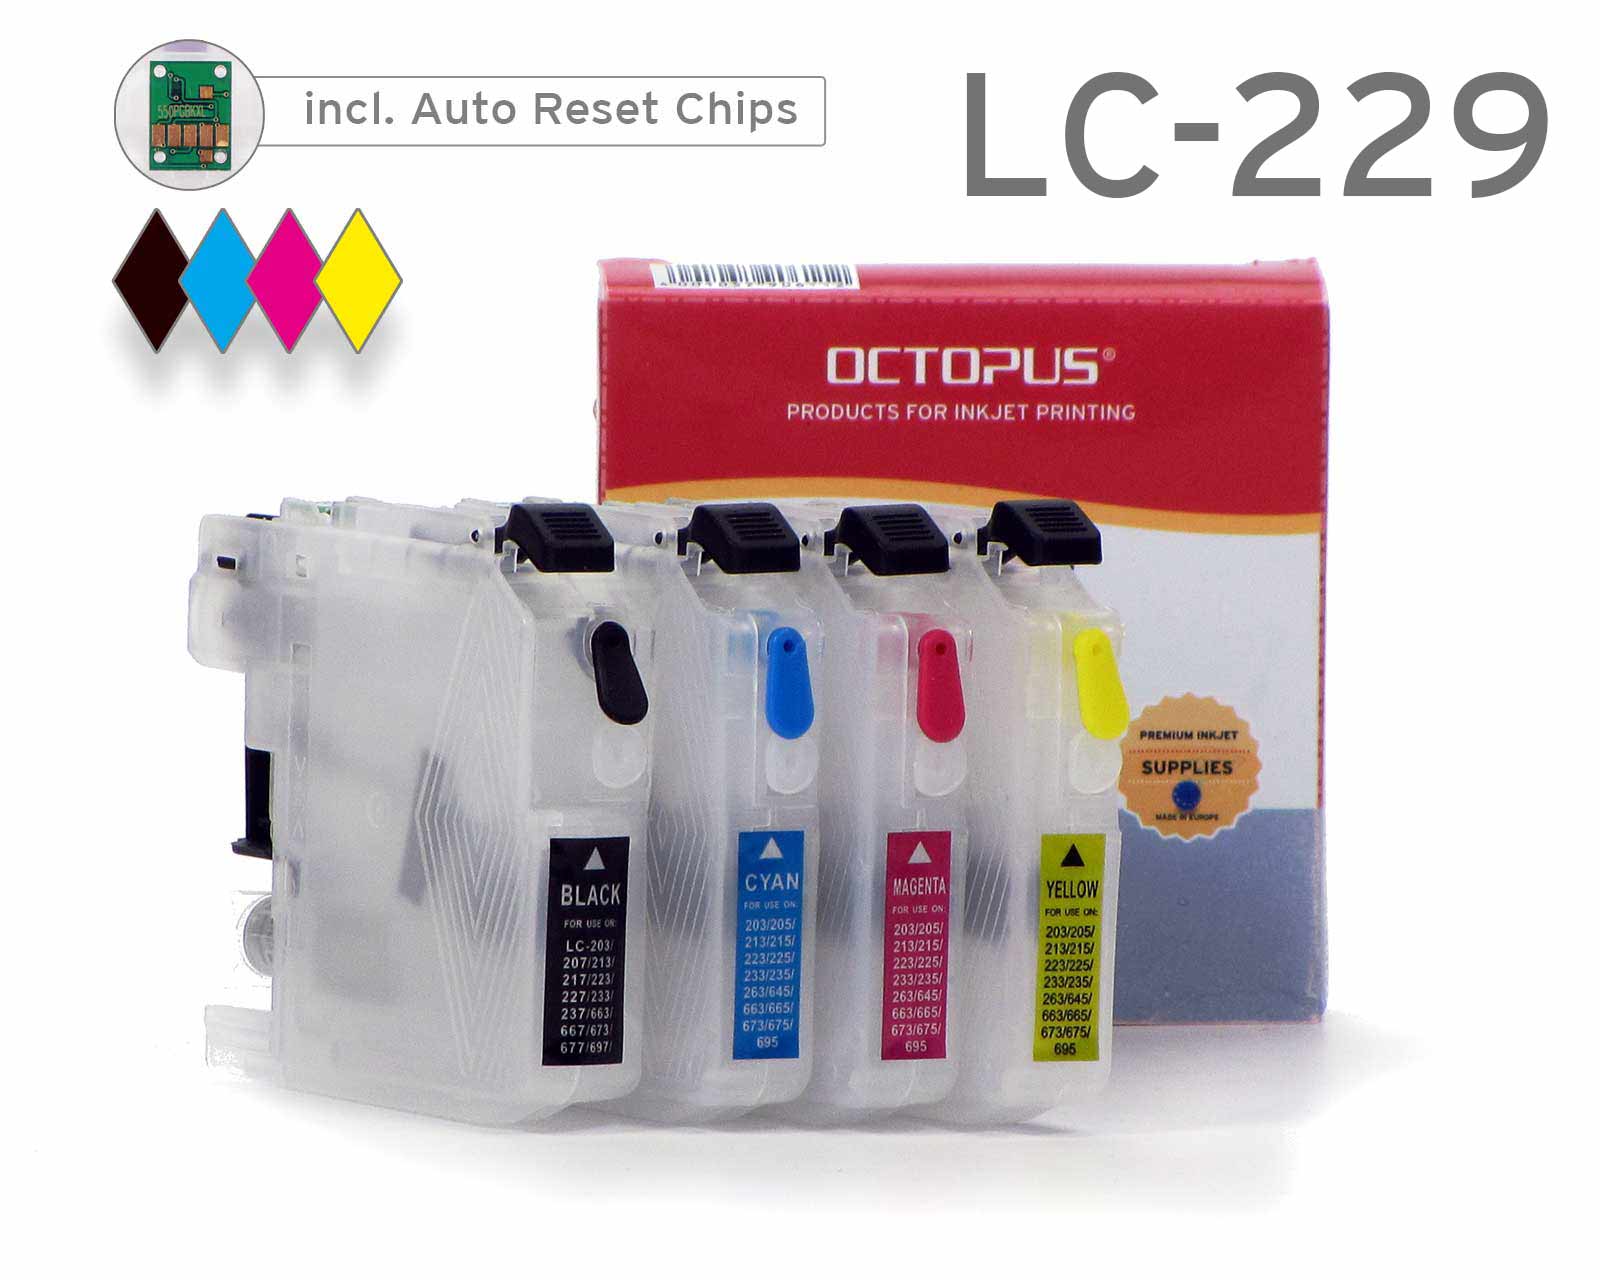 Refillable cartridges compatible with Brother LC-229, LC-225 with autoreset chip
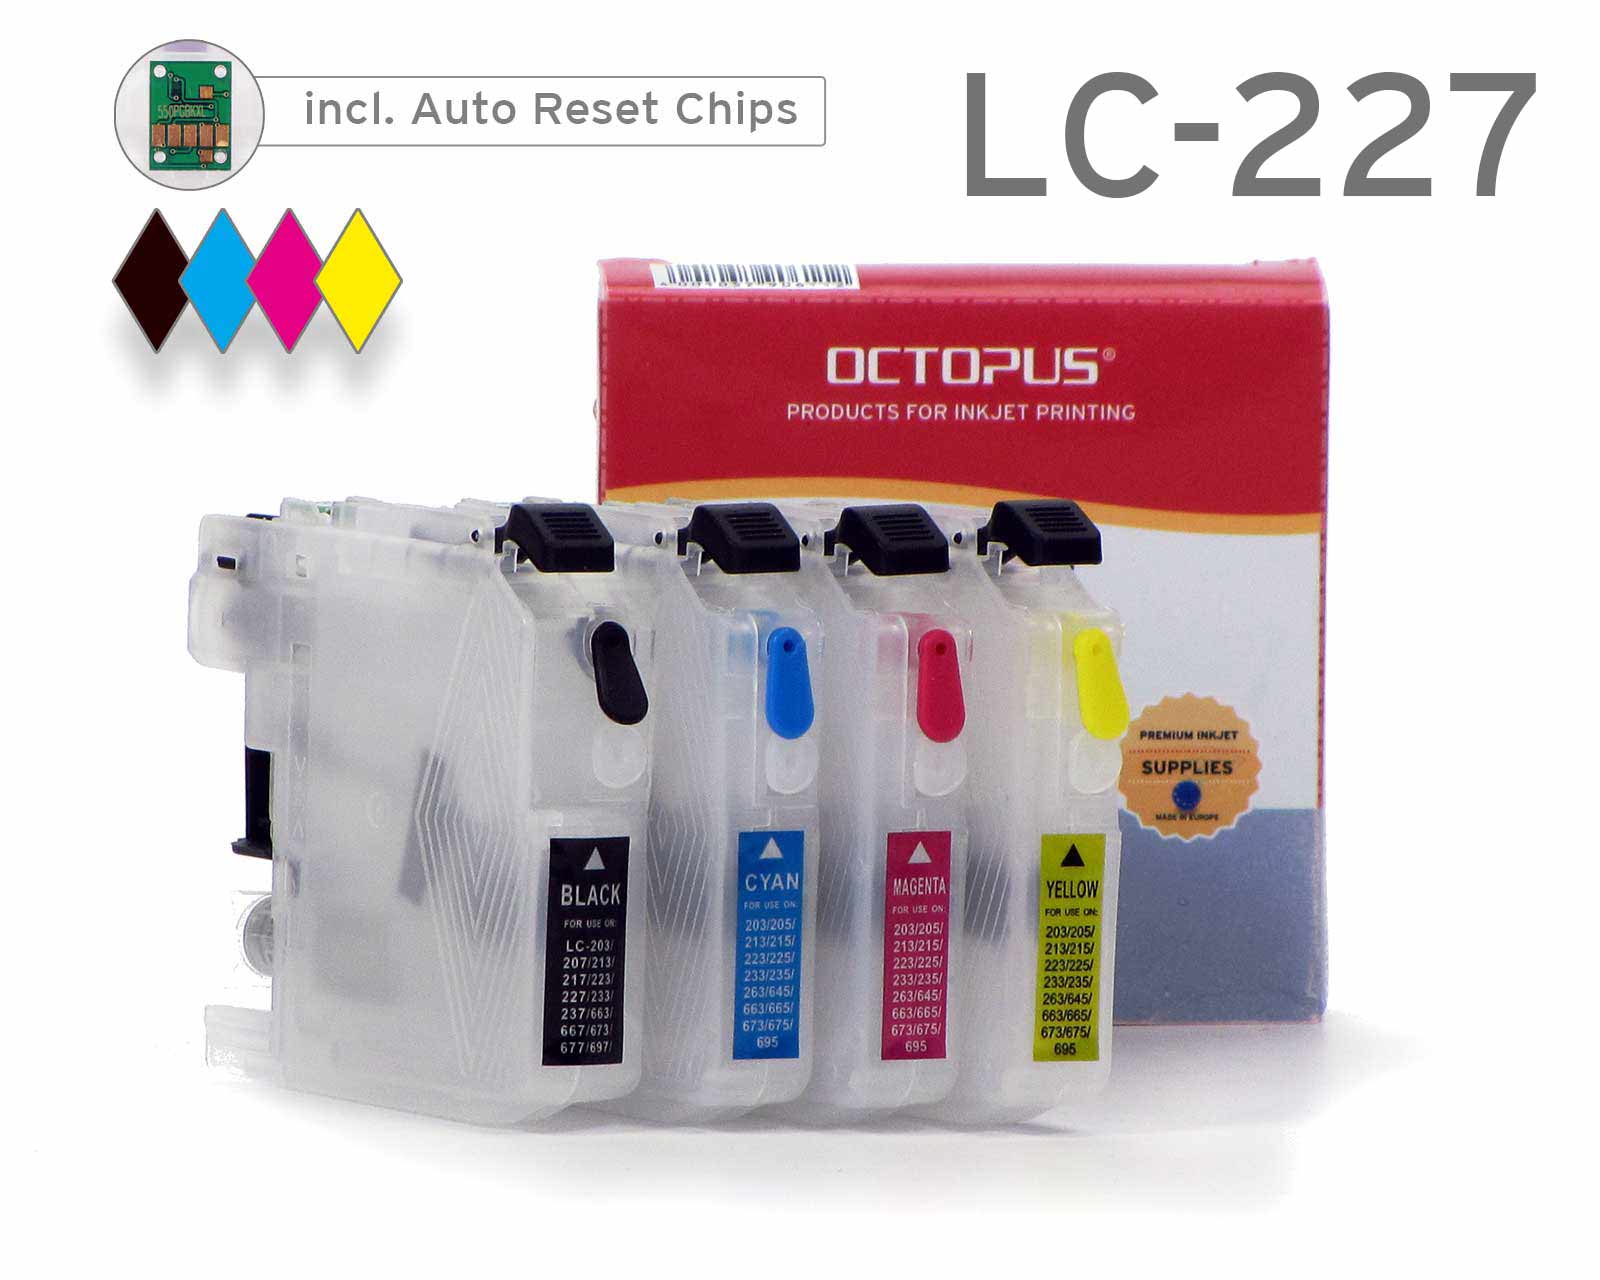 Refillable cartridges compatible with Brother LC-227 BK, LC-225 with autoreset chip


![[Translate to Englisch:] Testdatei für unsichtbaren Fotodruck](https://www.octopus-office.de/info/fileadmin/_processed_/d/9/csm_testdatei-fotodruck-unsichtbar_6f243d3bd9.jpg)
![[Translate to Englisch:] Anpassung Farbton mittels Bildbearbeitungssoftware](https://www.octopus-office.de/info/fileadmin/_processed_/a/5/csm_anpassung-farbton-photoshop_ef463a299b.jpg)
![[Translate to Englisch:] Funktionsmenü Farbton / Sättigung bei Photoshop](https://www.octopus-office.de/info/fileadmin/_processed_/7/f/csm_farbton-wert-140_186b767a90.jpg)
![[Translate to Englisch:] Ergebnis Anhebung Farbton 140 bei Testbild unsichtbarer Druck](https://www.octopus-office.de/info/fileadmin/_processed_/d/d/csm_ergebnis-angehobener-farbton_369673e339.jpg)
![[Translate to Englisch:] Bildvorlage umwandeln invertieren in Negativ mit Photoshop](https://www.octopus-office.de/info/fileadmin/_processed_/a/6/csm_umwandlung-fotovorlage-negativ-invertieren_e1e1ad9e72.jpg)
![[Translate to Englisch:] Bildnegativ für Druck mit unsichtbaren Tinten](https://www.octopus-office.de/info/fileadmin/_processed_/b/3/csm_result-inverting-picture-negative_f6412a76dd.jpg)
![[Translate to Englisch:] Vergleich Vorlage und Negative Fotodruck unsichtbare Tinte](https://www.octopus-office.de/info/fileadmin/_processed_/f/0/csm_druck-unsichtbare-tinte-helle-bereiche_81a55dabd5.jpg)
![[Translate to Englisch:] Leuchtender Text mit unsichtbarer Druckertinte](https://www.octopus-office.de/info/fileadmin/_processed_/4/0/csm_unsichtbarer-bilddruck-text_d4d5a27aea.jpg)
![[Translate to Englisch:] Bild mit unsichtbarer Druckertinte unter UV-Licht](https://www.octopus-office.de/info/fileadmin/_processed_/2/1/csm_unsichtbares-bild-ultraviolettes-licht_dfc1842994.jpg)
![[Translate to Englisch:] Unischtbar eingedrucktes Echtheitsmerkmal unter ultraviolettem Licht](https://www.octopus-office.de/info/fileadmin/_processed_/0/3/csm_unsichtbar-gedruckt-echtheitsmerkmal__6a1c31d76b.jpg)
