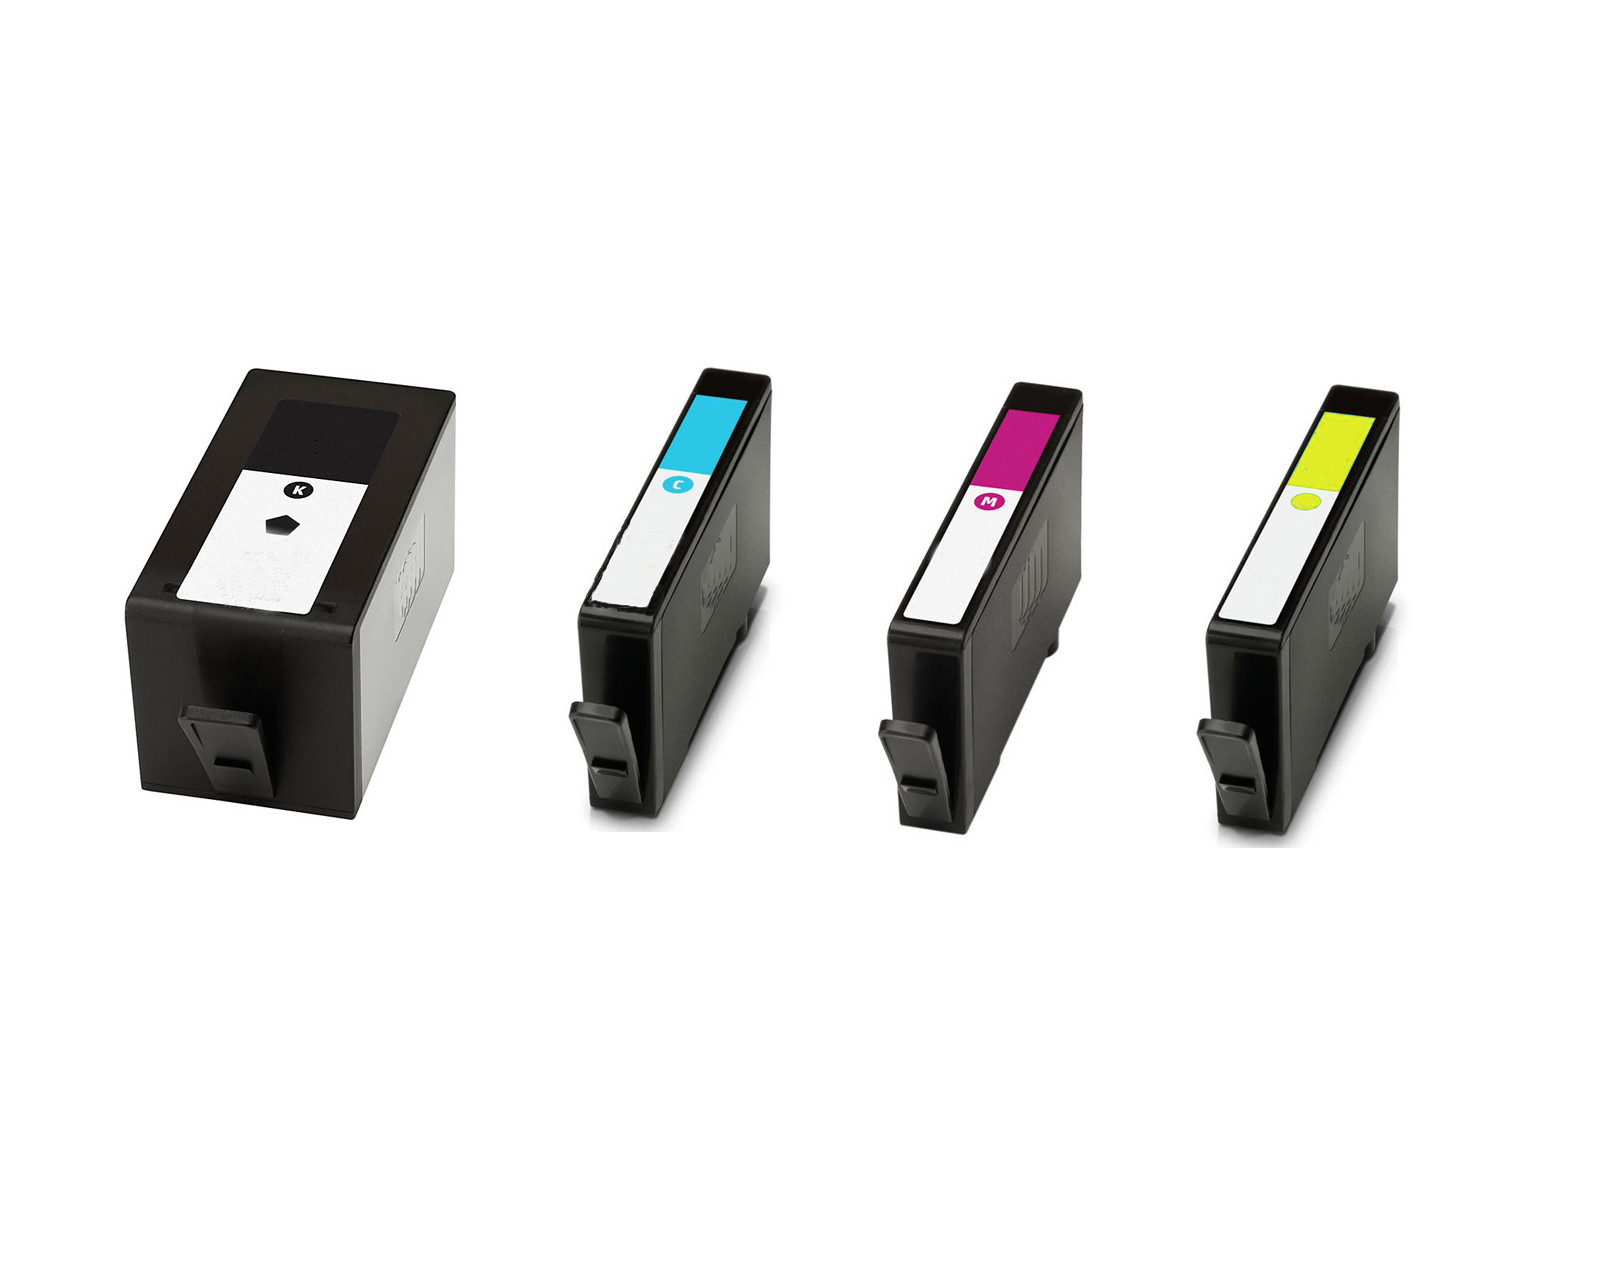
To refill HP 912 cartridges, you need the following supplies:
- 5 syringes with needles
- ink: 6ml of black and 3ml each of cyan, magenta and yellow ink
- paper towel or newsprint as underlay
- a cutter knife or a plain screwdriver
Preparation:
Put the needles on the syringes, then fill one of the syringes with approximately 6ml of ink for the big black cartridge and 3ml for the small coloured cartridges respectively. Put the prepared syringes aside.
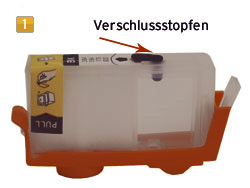
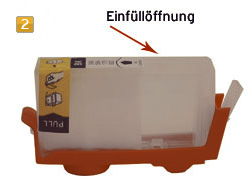
Place the cartridge to be refilled into the orange storage clip as shown in picture 1. This clip is included in the delivery. Remove the plug (picture 2), but keep it as you will need it after refilling to close the cartridge.
Refilling HP 912 cartridges:
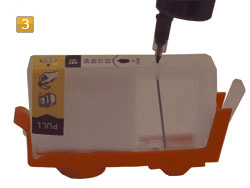
Take the syringe with the ink and introduce it into the ink outlet. The needle should touch the bottom of the cartridge (see picture 3). Now carefully fill the ink into the cartridge. The ink is then absorbed by the sponge. When the cartridge is filled, reinsert the plug.
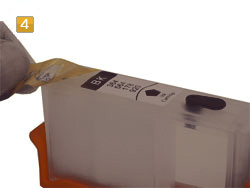
If you are refilling the HP 912 cartridge for the first time, you have to remove the yellow label at the front end of the cartridge (see picture 4). It serves as ventilation for the cartridge after being peeled off.
Exchanging the chip:
HP 912 cartridges are equipped with a chip that monitors the amount of ink left in the cartridge. You have to carefully remove the chip and place it on the new refillable HP 912 cartridge.
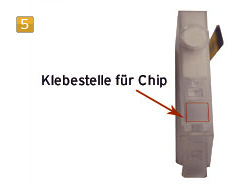
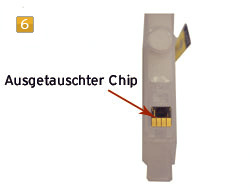
Take a small, plain screwdriver or a cutter knife and carefully slip it underneath the chip. It is only attached with an adhesive layer so it should be easy to remove. Put the chip you just removed in the marked position on the new cartridge (see pictures 5 and 6).
Attention: The chip has to be glued on! It cannot be locked in position.
Please be sure not to confuse the chips. To be safe, exchange the chip of each cartridge separately.
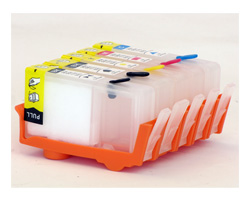 Refillable Fill In, QuickFill printer cartridges for HP 912 with chip
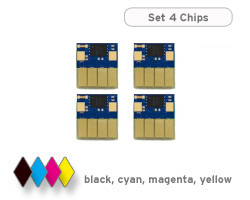 HP 912 auto reset chips for black, cyan, magenta and yellow ink cartridges
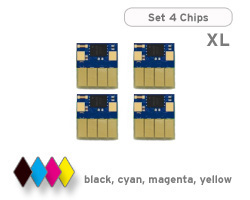 HP 912XL auto reset chips for black, cyan, magenta and yellow ink cartridges


