HP 912 ink cartridges in single tank design with chip
The HP 912 ink cartridge has the design of a single ink tank. There is a separate printer cartridge for each ink color. The print head is not built into the HP 912 cartridges, but is located inside the movable print head carriage inside the printer. The individual ink tanks are inserted into this print head carriage. There is an ink chip on each of the HP 912 cartridges. Our instructions for this cartridge type explain how to refill the HP 912 ink cartridges and how to use the ink chip or deactivate the ink level.
Here are step-by-step instructions for refilling your HP 912 ink cartridges:
Preparation
- Prepare a clean, wipe-clean work surface
- Put on rubber gloves to protect your hands
- Have paper towels handy
Materials needed
- HP 912 ink cartridge
- Refill ink in the appropriate color
- Syringe with needle
- Adhesive tape
Refill instructions
1. Prepare the cartridge
- Carefully remove the label on the top of the cartridge. There is a small opening underneath.
2. Expose the filling opening
- Clean the area around the opening with a paper towel.
3. Fill in ink
- Fill the syringe with the appropriate ink.
- Carefully insert the needle into the opening.
- Slowly inject about 4 - 5 ml of ink.
- Stop when you feel slight resistance.
4. Close the cartridge
- Close the opening with a small piece of tape.
At the end, carefully remove any excess ink with a piece of kitchen paper and put the cartridge back in the printer.
Important notes
- Do not overfill the cartridge as this may cause unwanted ink leaks.
- The printer's ink level indicator may not update.
- For best printing results, use high-quality refill ink designed for HP printers.
Refilling your HP 912 ink cartridges can help you save money while helping the environment. If done carefully, you will continue to get high-quality prints.
Deactivate ink level notification
To deactivate the ink level on an HP printer that uses HP 912 ink cartridges and to be able to continue printing with refilled cartridges, there are the following options:
Deactivating cartridge protection
- Open the printer menu and navigate to the "Estimated ink levels" item.
- There, deactivate the "Cartridge protection" option or a similarly named setting.
- Important: This deactivation must be done before inserting a new original cartridge. Otherwise, the chip will already be written with the printer information and protected.
Dealing with error messages
When inserting a refilled cartridge, you will probably see the following messages:
- "Original ink used up"
- "No information available on ink level"
- "Replace the cartridge or press --> more information"
Confirm each of these messages with "OK". You can then continue printing despite the warnings.
Alternative solutions
If deactivation does not work, you can consider the following alternatives:
- Replacing the original chip: Replace the chip on the cartridge with an alternative chip.
- Using refill cartridges: Use special refill cartridges, often offered by third-party manufacturers.
- Ignoring the warnings: Just keep printing even if the printer does not display any information about the ink level.
Note that these methods may affect the manufacturer's warranty. Always use high-quality refill ink to avoid damaging the printer.
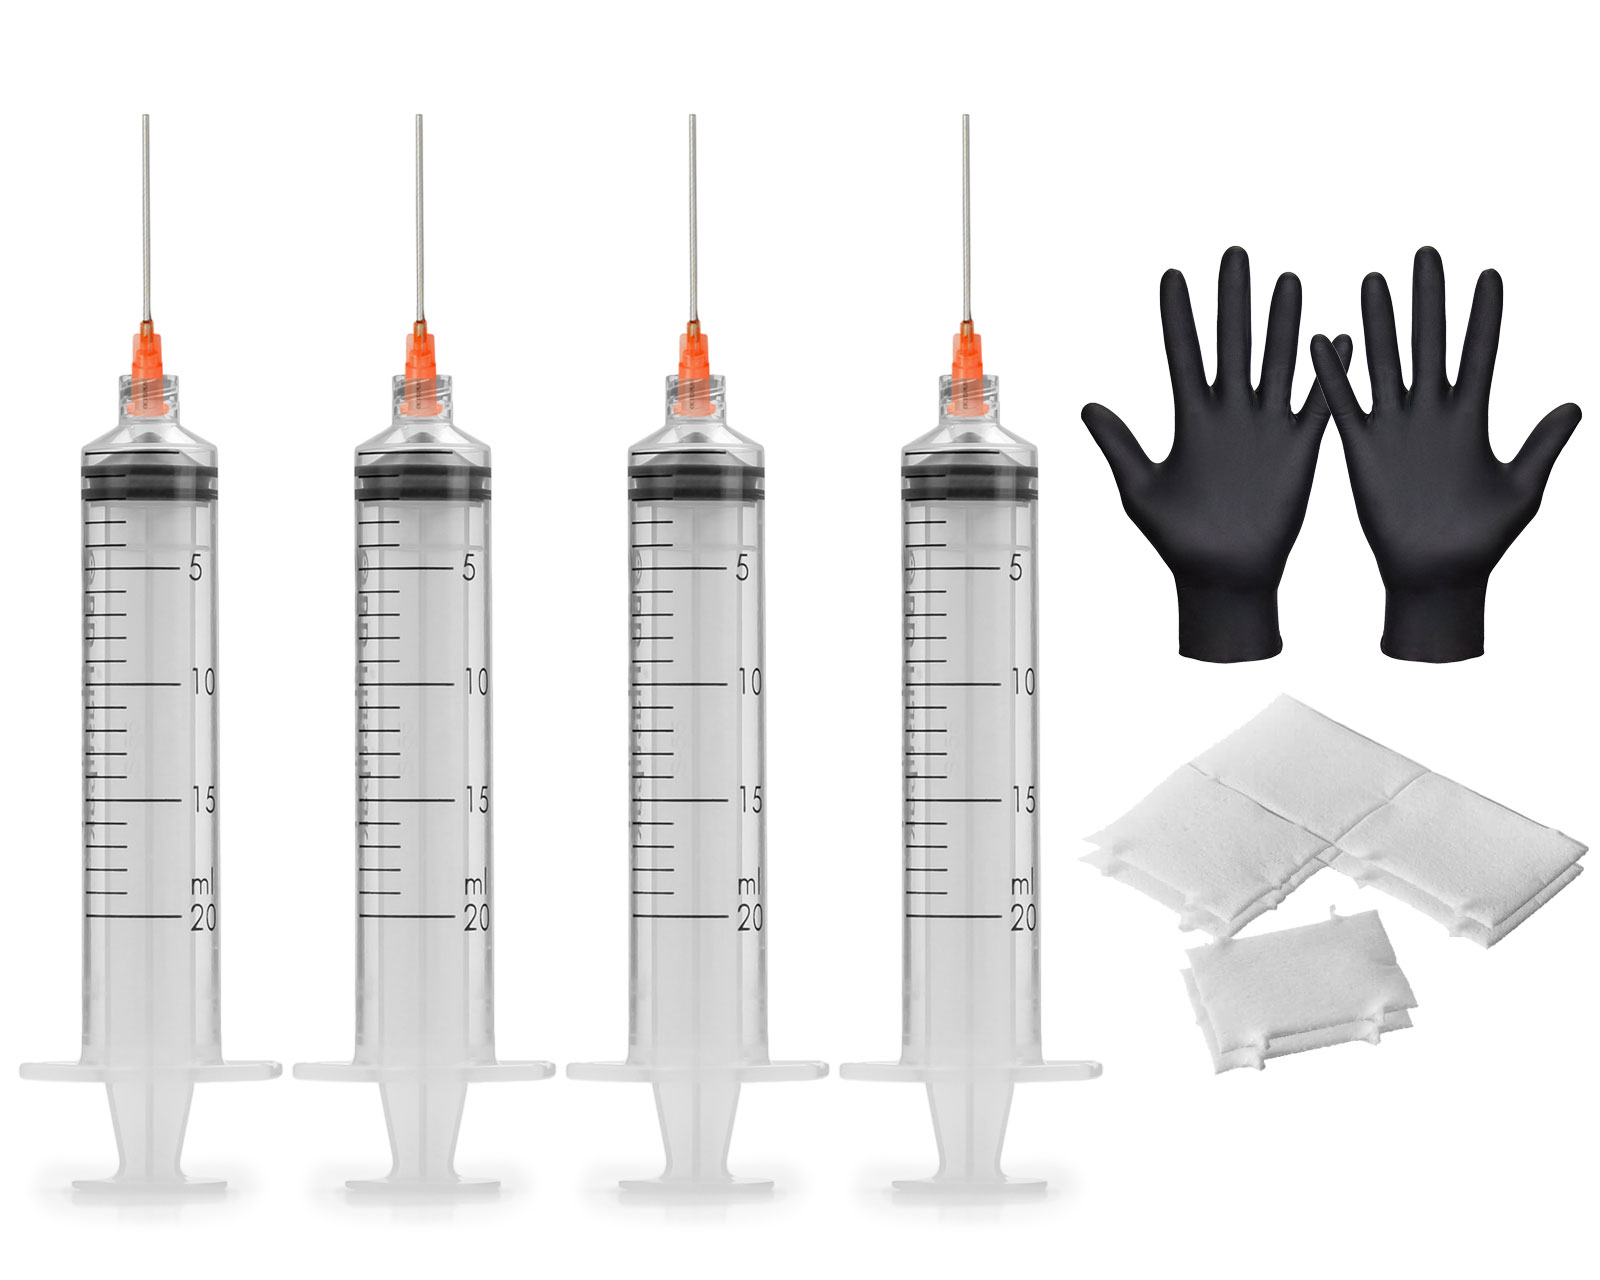
 4 Refill syringes 20 ml with blunt needles, 2x vinyl gloves and 8x cellulose swabs


