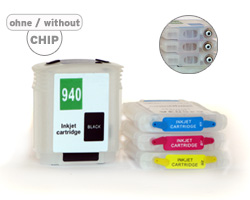
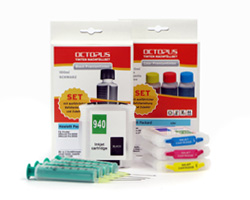
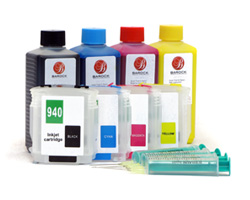
The HP 940 cartridges are equipped with a chip which monitors the filling level and sends the message "Cartridge empty" to the printer when the cartridge runs out of ink. As the chip does not "measure" the filling level but only counts the programmed number of pages printed, it keeps sending this message even after the cartridge has been refilled - the chip has to be replaced. The replacement chip for HP 940 cartridges is available in our shop (see below). This chip permanently deactivates the filling level indicator, i.e. you can refill your cartridge as often as you want.
Exchanging the chip is relatively simple.
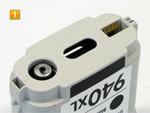
The chip is glued to the base of the cartridge. Remember the position of the chip, as the new chip has to be placed in the exact same position. Otherwise, the contact pins may not be positioned correctly and the communication between the chip and the printer would be disrupted. Remove the original chip by carefully slipping a knife underneath and using it as a lever as shown in picture 2.
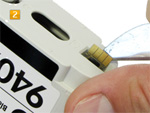
After removing the old chip you can prepare the replacement chip by placing it on double-sided adhesive tape (picture 3) and cutting off the protruding edges (picture 4). Attention: The underground has to be clean and smooth!
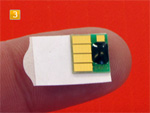
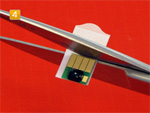
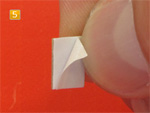
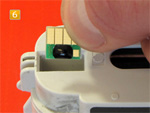
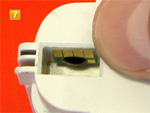
Remove any residues of the old adhesive. Make sure that the spot for the chip is clean and smooth. Remove the backing from the adhesive tape (picture 5) and insert the chip into the cartridge (picture 6). The new chip has to be placed in the exact same position as the old one. If the cartridge is not recognised after reinserting it in the printer, this might be due to contact problems. In this case, first check if the chip is well centred in its position. If you have done everything correctly, you should be able to print and refill your cartridge for 2 years without problems.
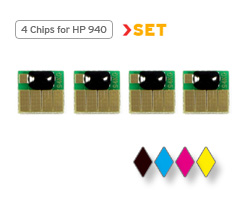 HP 940 chips for black, cyan, magenta and yellow ink cartridges
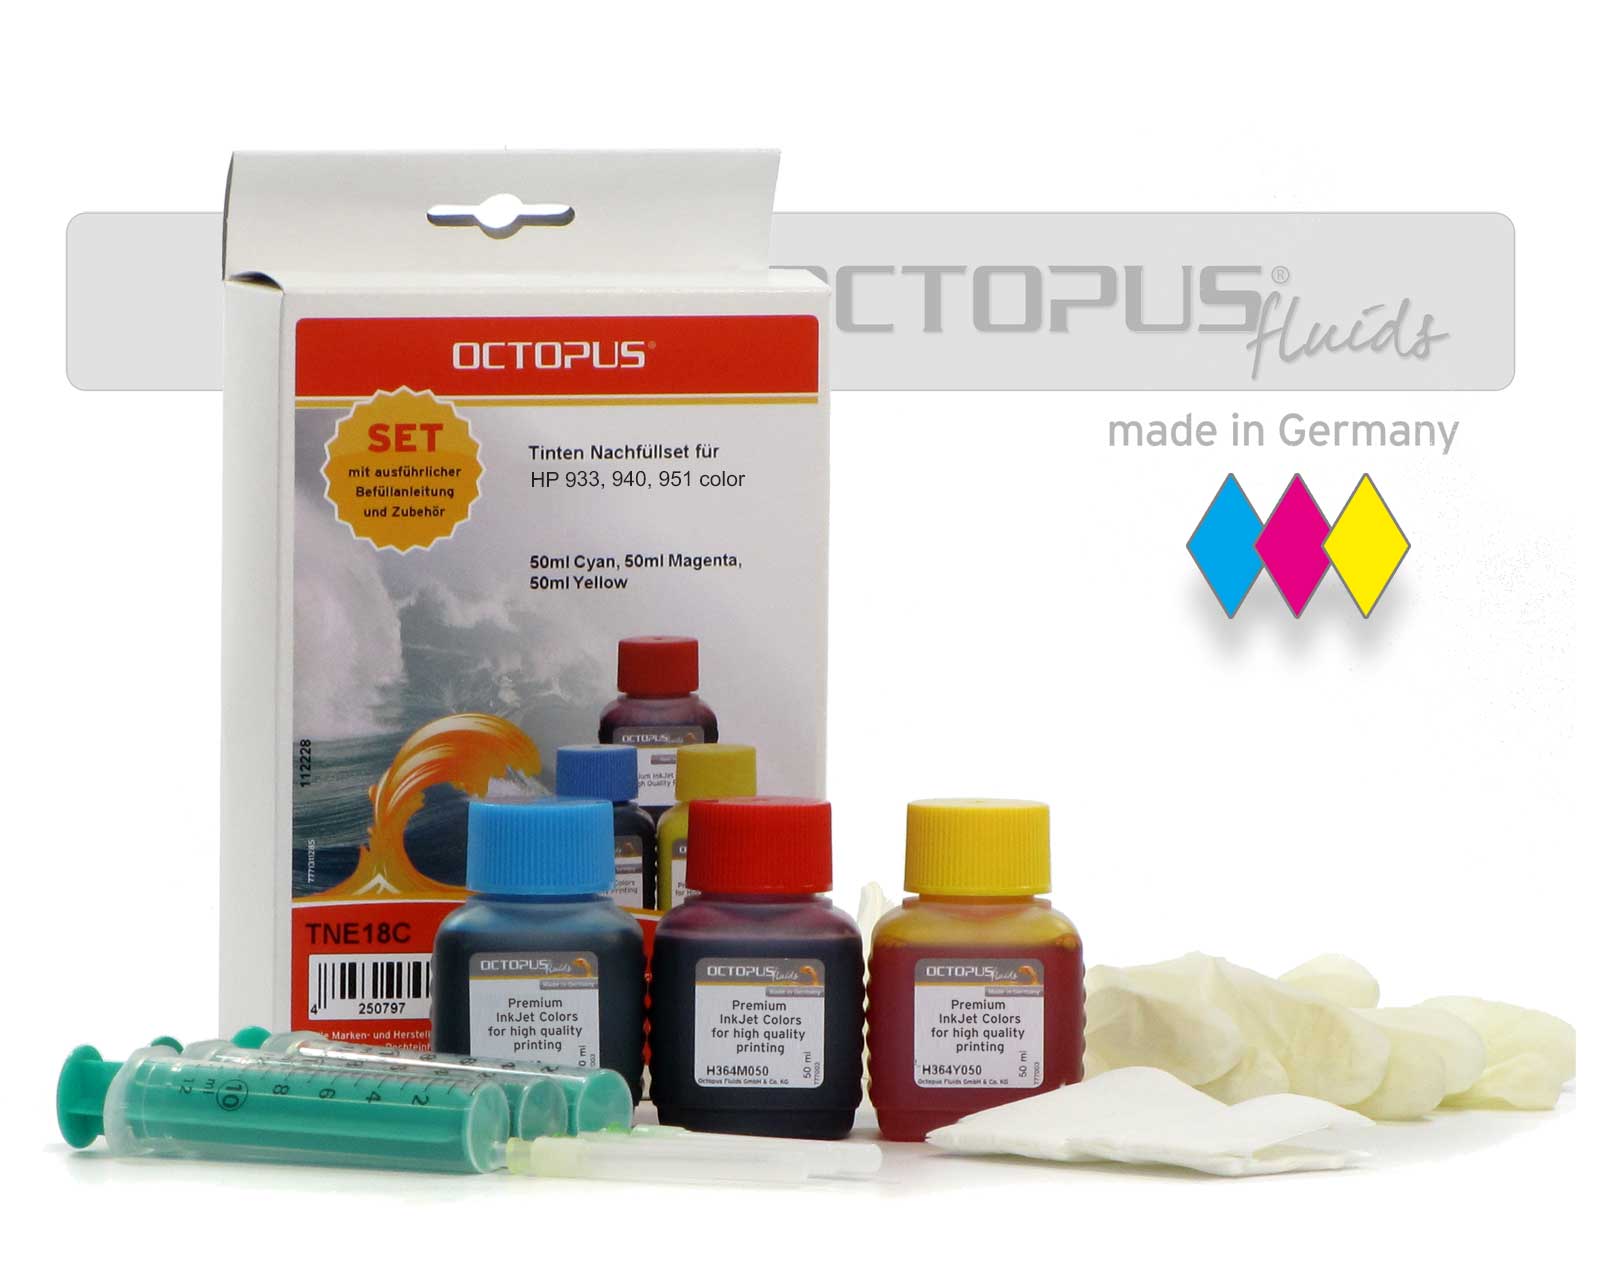 Ink Refill Kit for HP 933, 940, 951 color
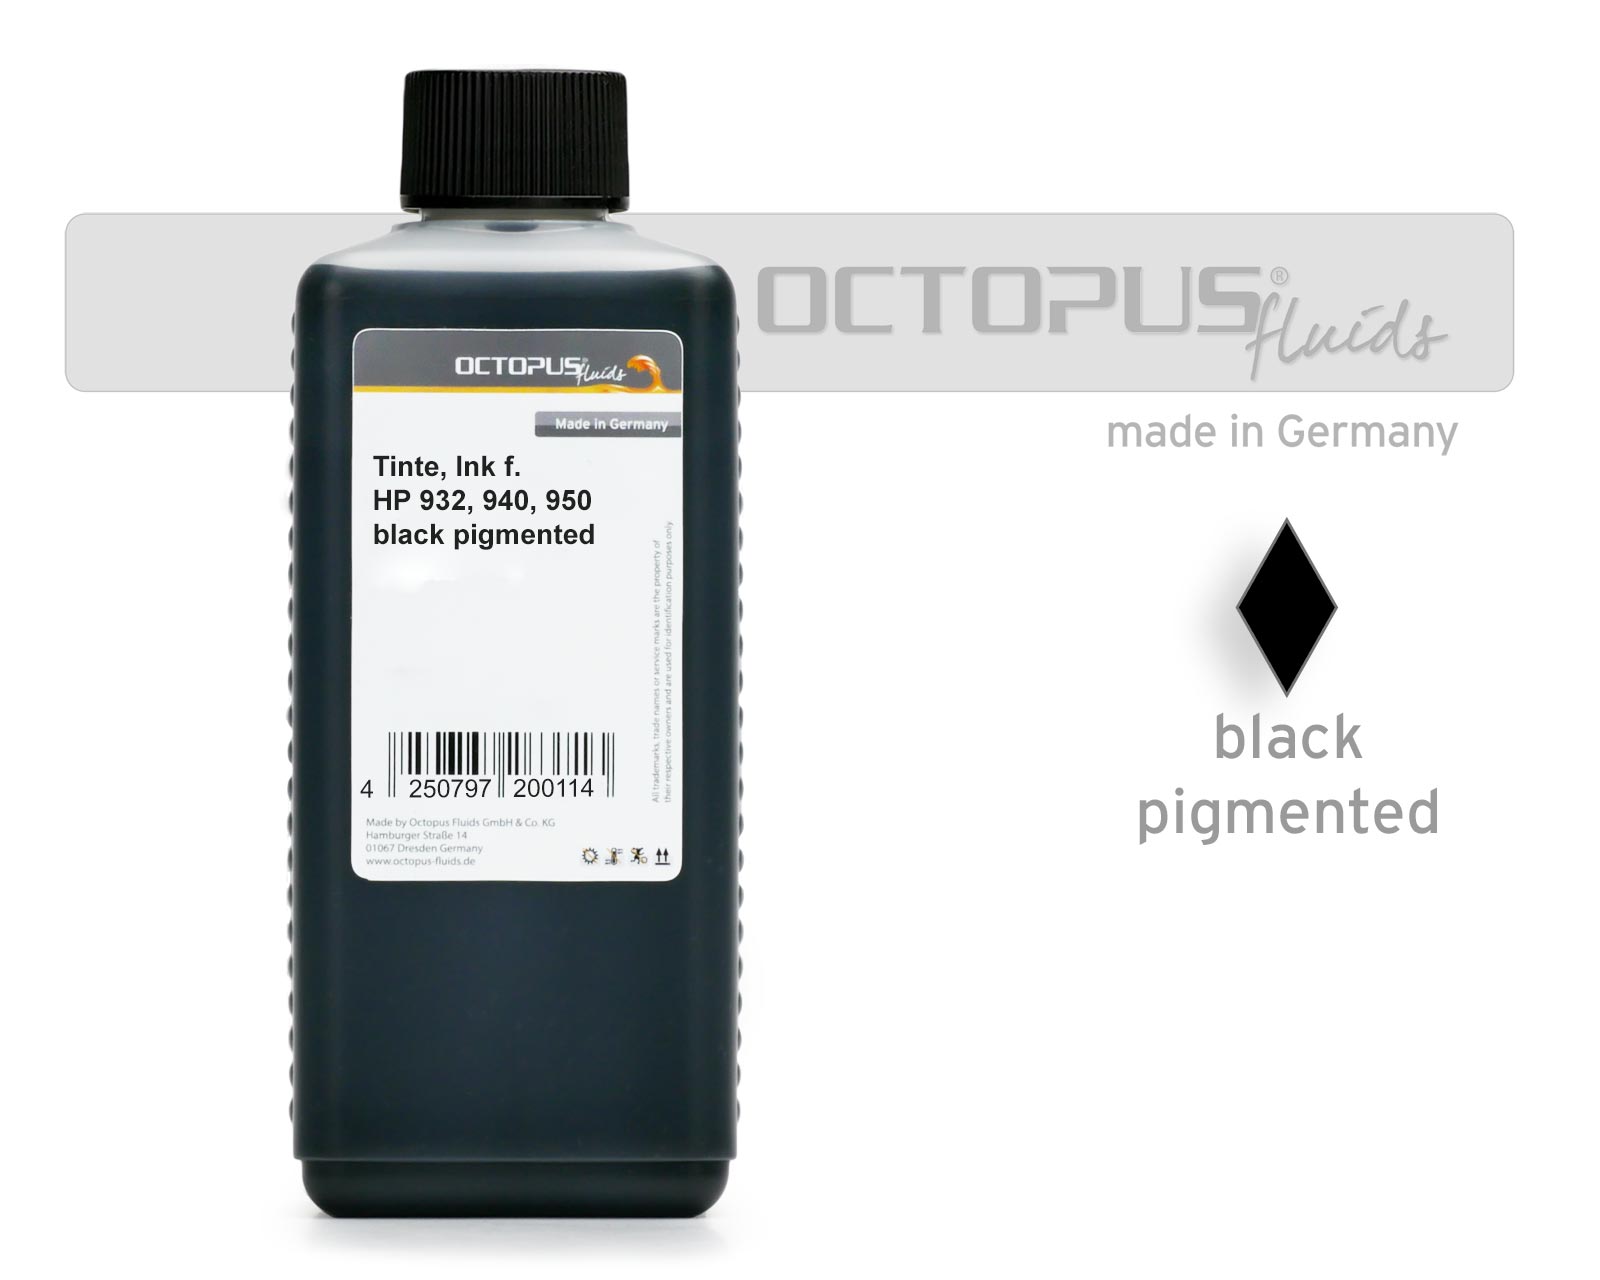 Refill ink compatible for HP 932, 940, 950 pigmented black
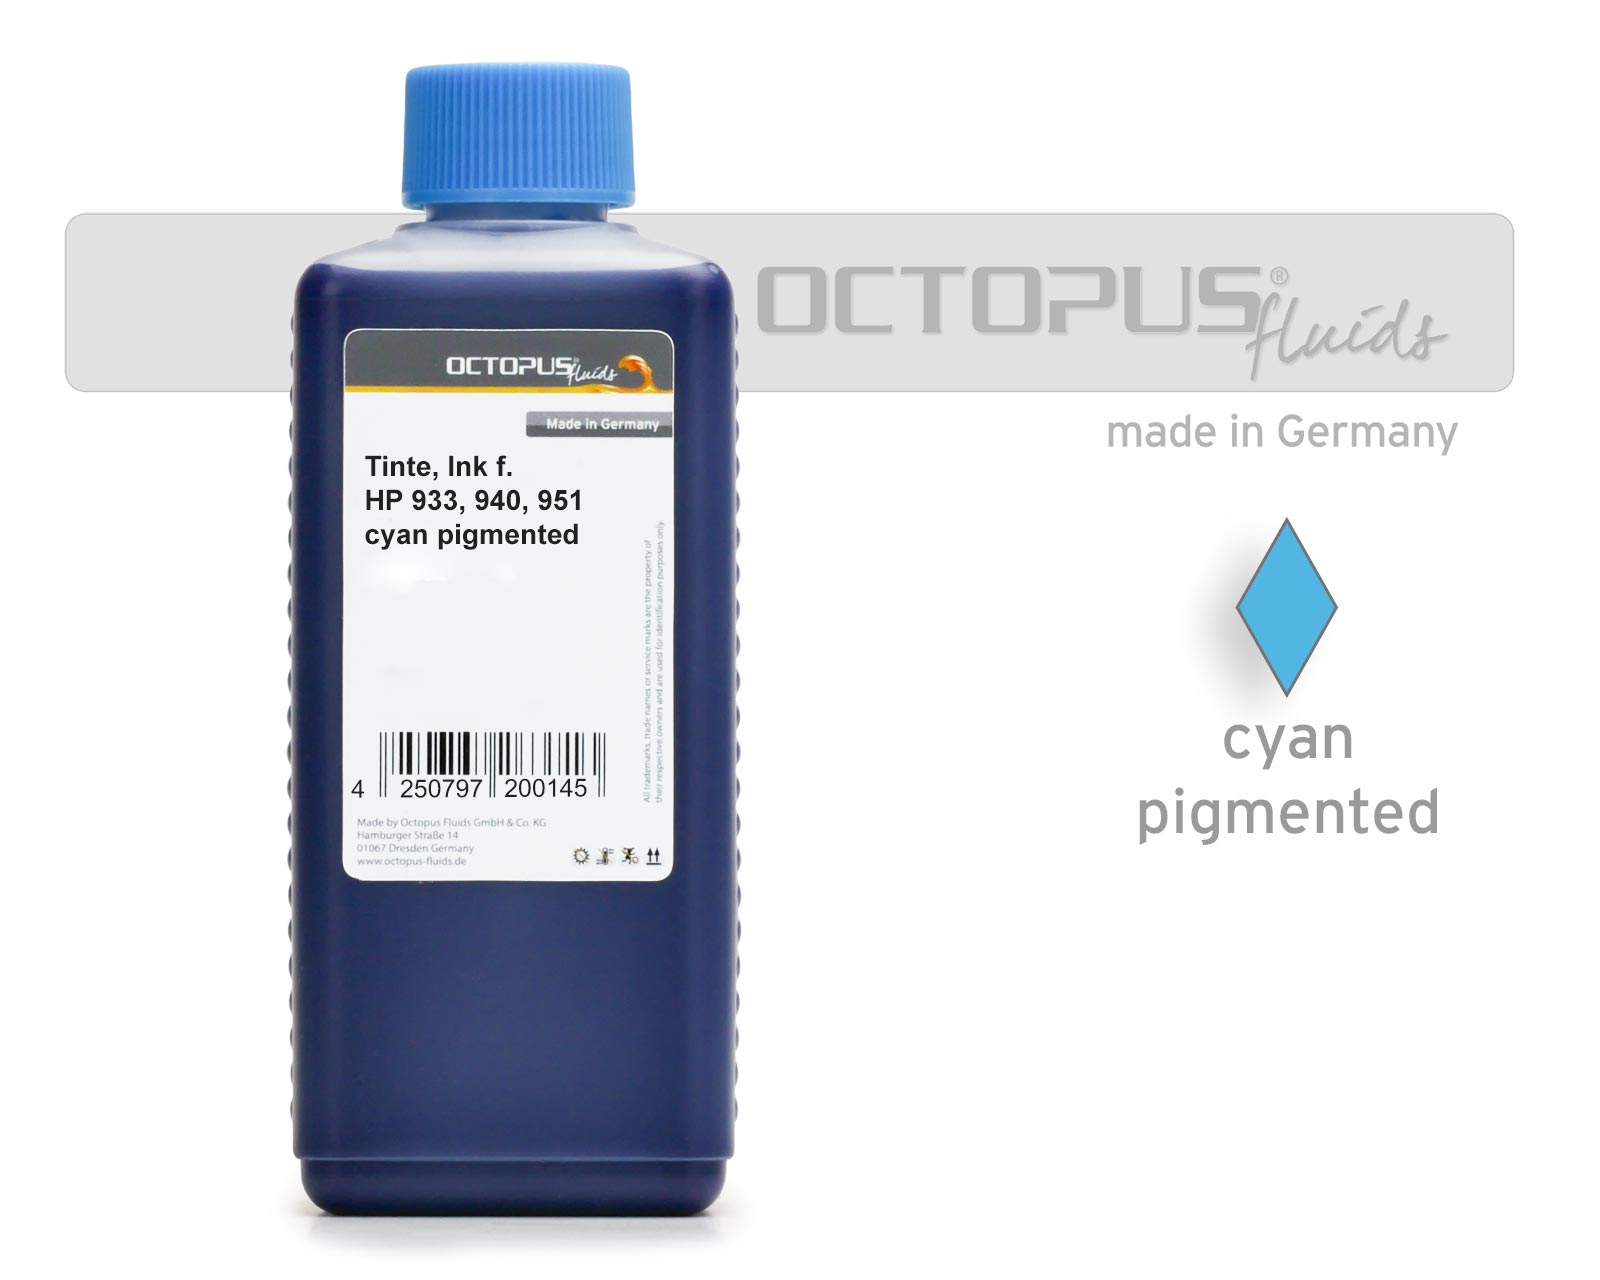 Refill ink compatible for HP 933, 940, 951 pigmented cyan
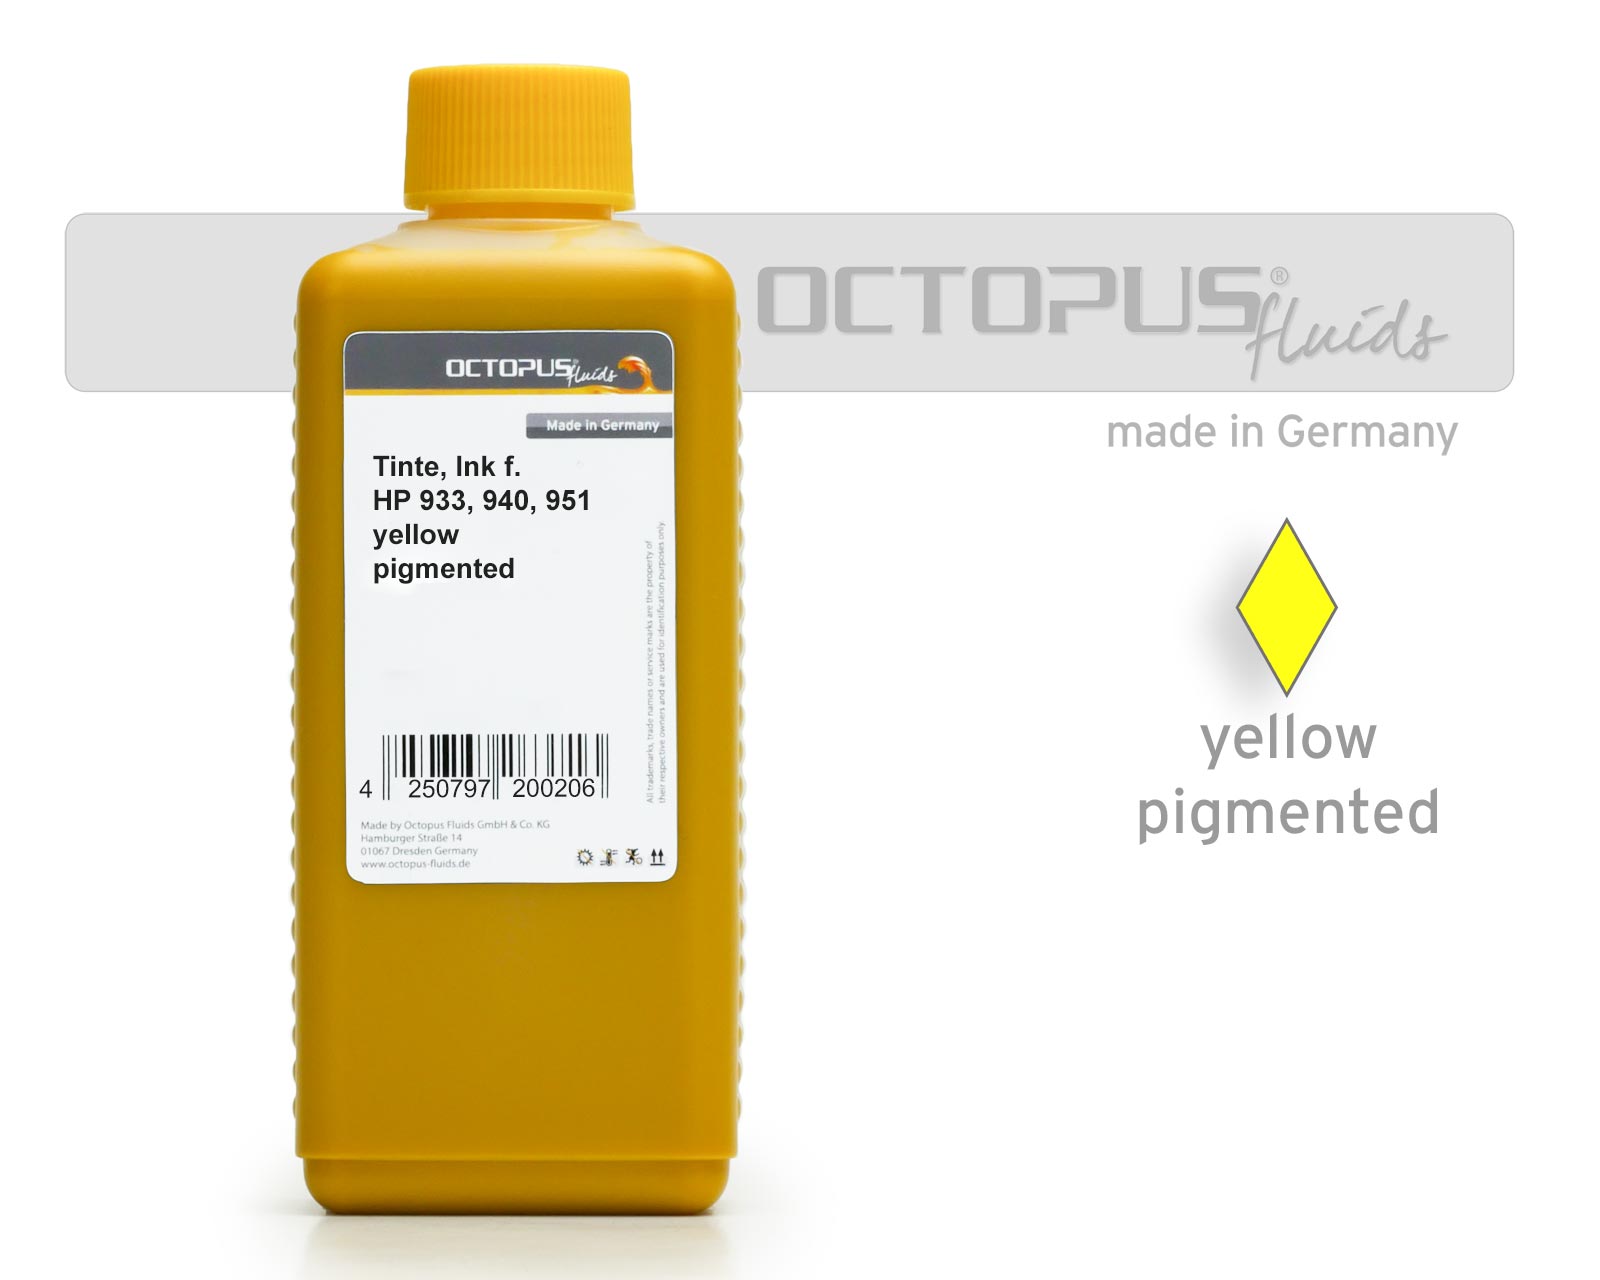 Refill ink compatible for HP 933, 940, 951 pigmented yellow


