Refill instructions for Primera LX-900 Fill In cartridges
These instructions show the refilling of the Fill In cartridges with ink and how to attach the Single-Use Chip onto the cartridge. In the pictures and instructions we are using the alternative cartridges suitable for Primera LX 900.
Refilling the Fill In cartridges for Primera LX 900
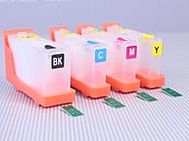
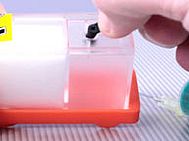
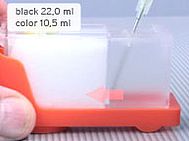
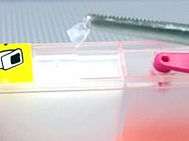
The Kit of Fill In cartridges for Primera LX 900 consists of 4 cartridges with Single-Use Chips for each of them. To fill in ink you need to remove the sealing plug from the filler opening on the upper side of the cartridge. When doing this the cartridge should be inside the orange locking clip. Fill the ink into the ink tank without sponge. Wait a moment until the sponge inside the other ink tank has absorbed the ink. Than you should be able to fill in the recommended amount of ink which is 22 ml for Black and 10,5 ml for each of the colours Cyan, Magenta and Yellow. After filling in the ink reseal the filler opening with the sealing plug. While printing these openings have to be sealed.
Attaching the Single-Use Chips
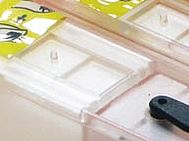
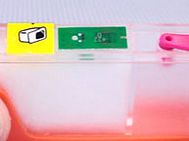
On the upper side of each cartridge is a mounting for the chip. Inside is a plastic pin which signals the positioning of the chip. The cartridges inside the printer Primera LX 900 are located in a mobile printer head. Which is why we need to fixate the chips to prevent their fall out. We are using small, soft, QDot pads. They compensate small bumps perfectly and removing a chip is quite easy. Of course you can also use adhesive tape.
Inserting the cartridges into the printer
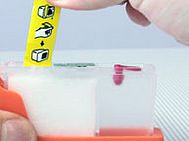
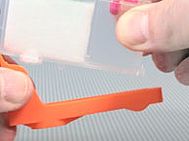
At first you need to remove the adhesive tape from the air vent hole. Remove the orange locking clip which seals the ink outlet on the bottom of the cartridge. Keep the clip savely you need it to refill the cartridges. Now you can insert the filled cartridge into its correct position inside the printer head of Primera LX 900.
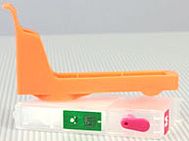
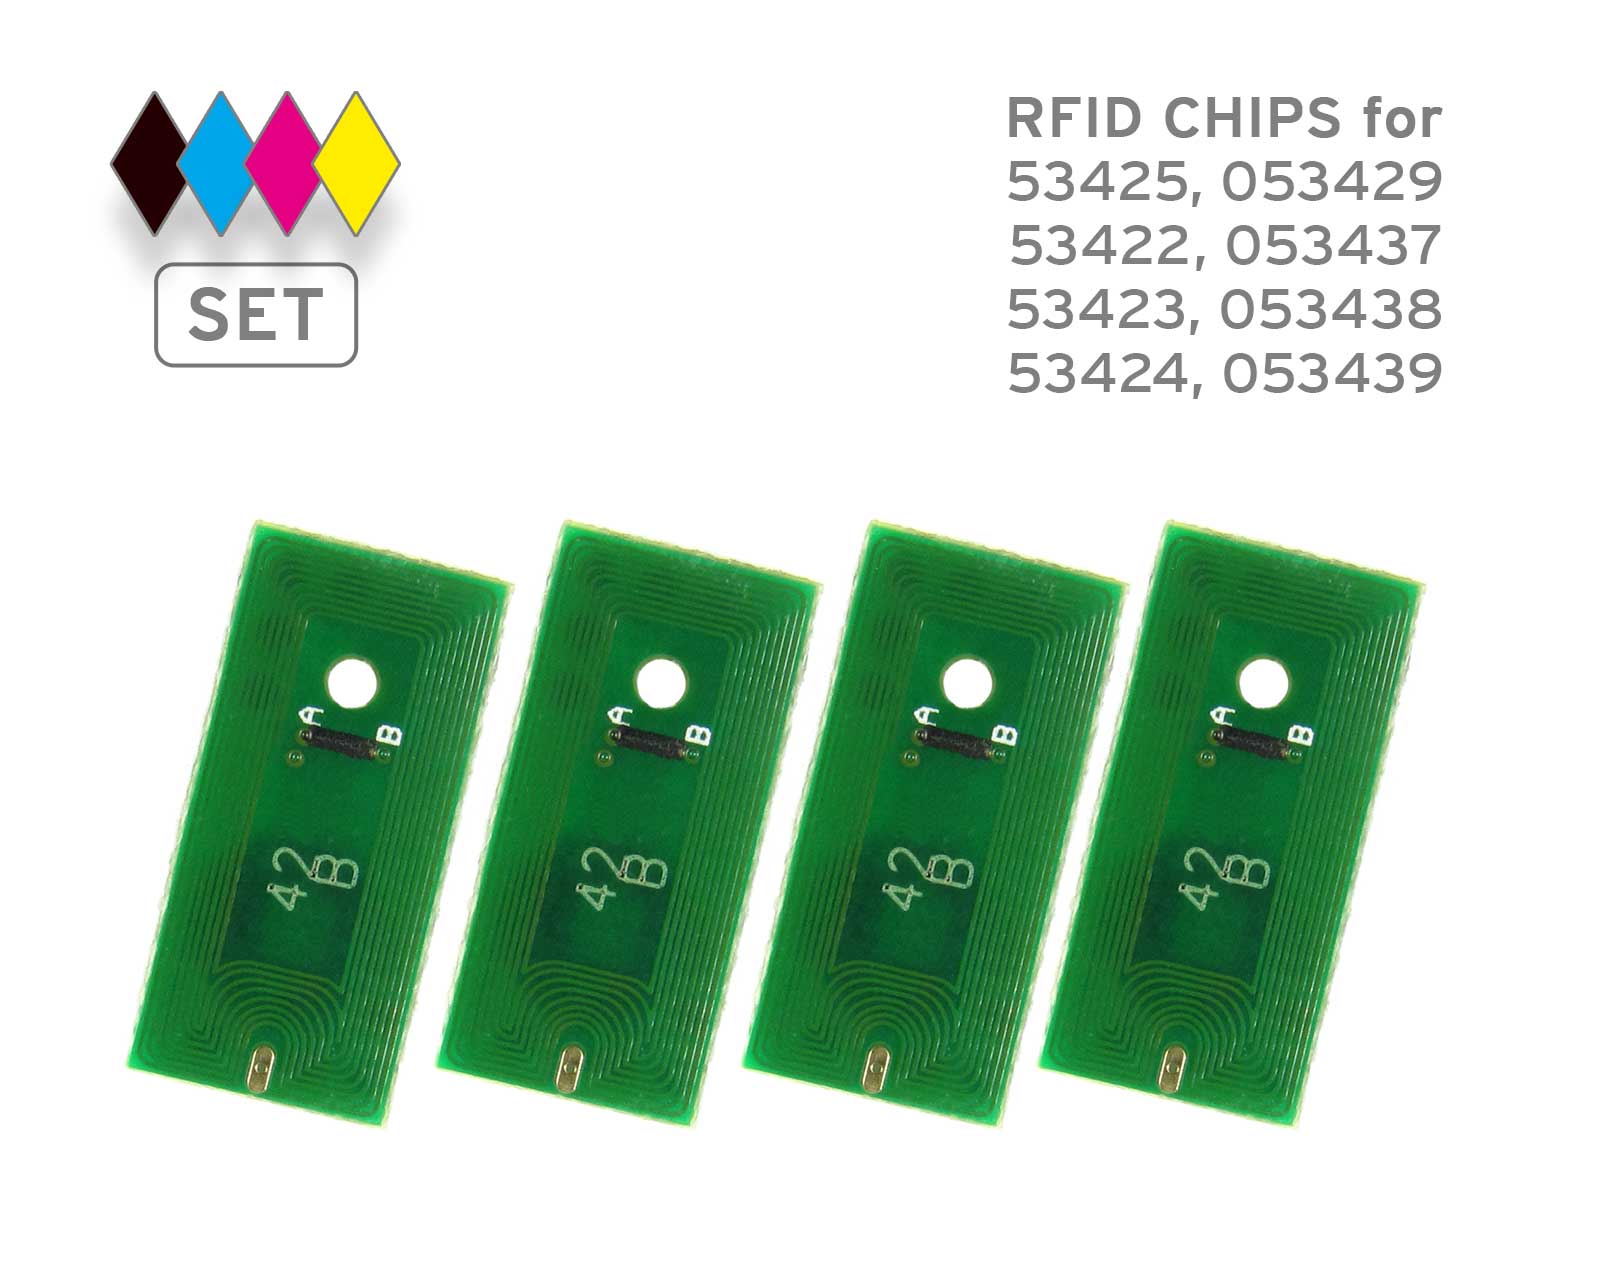 Chip set for Primera LX 900
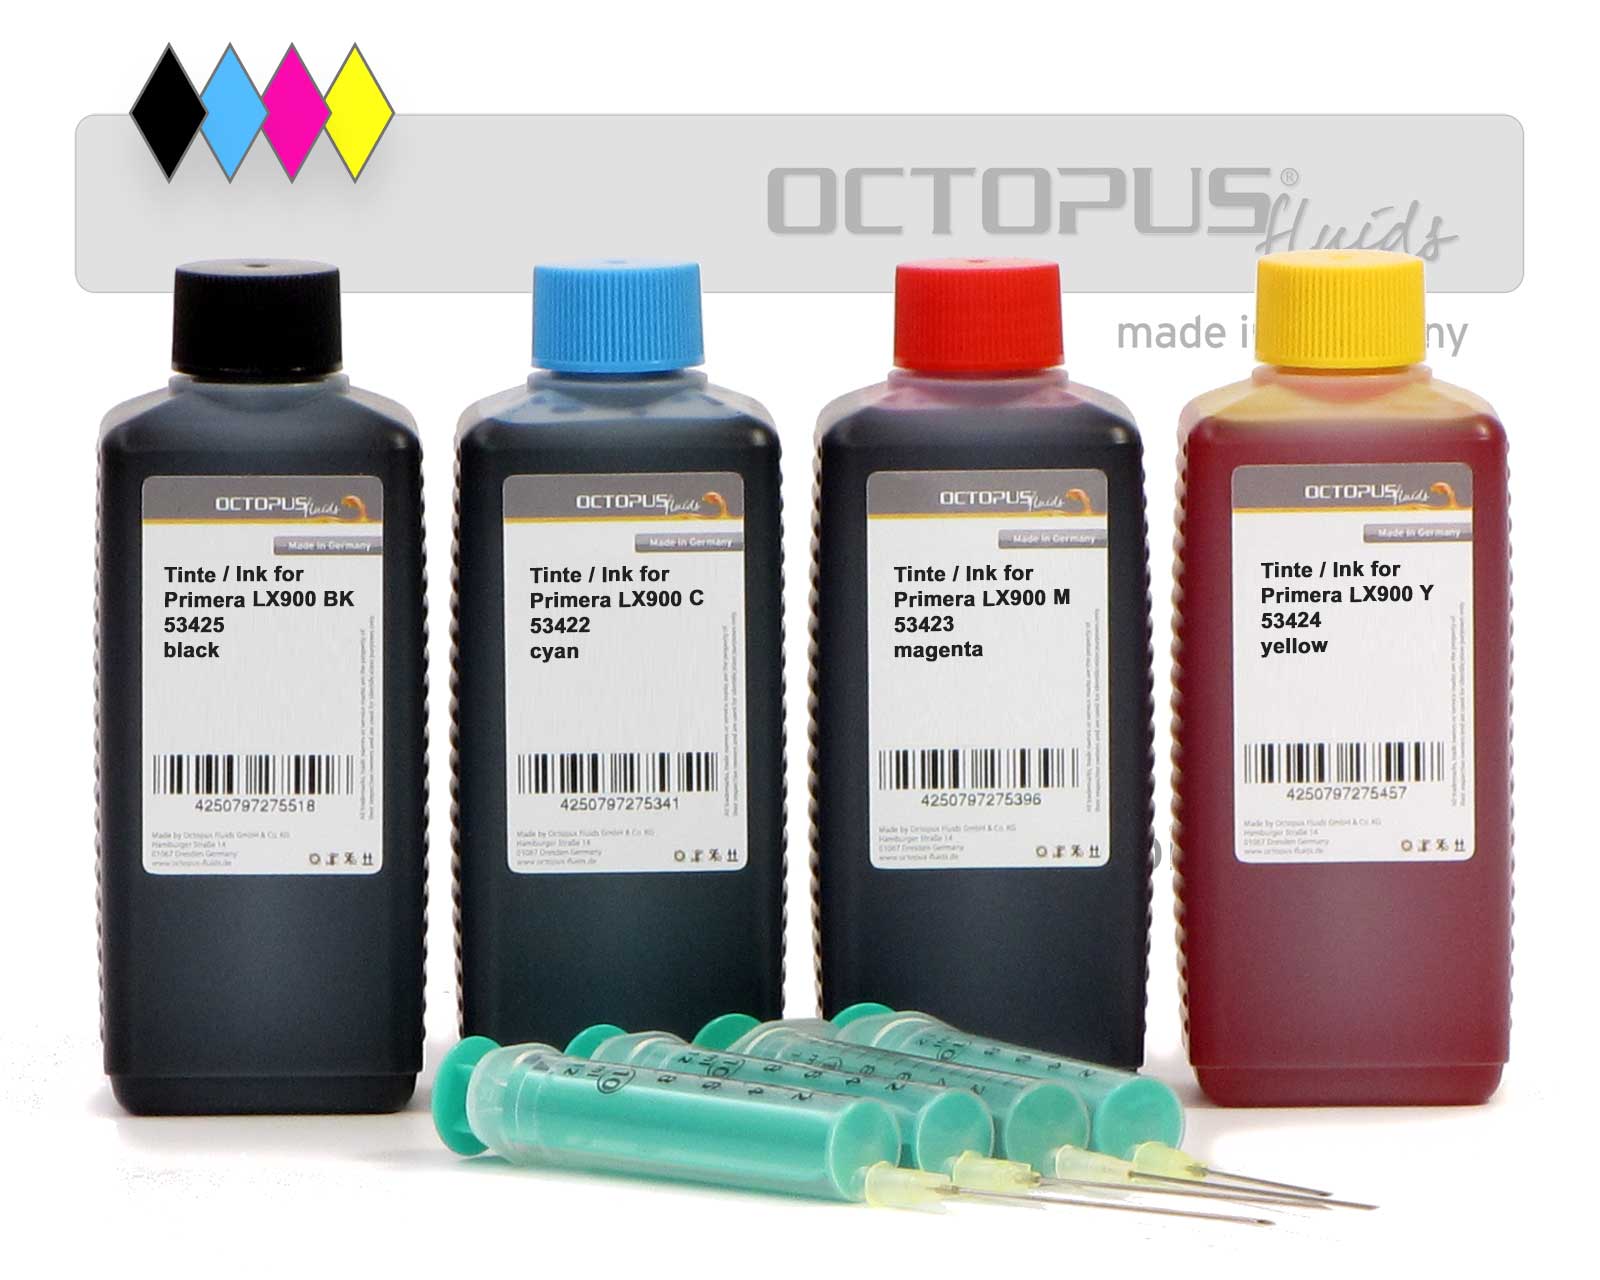 Refill inks for Primera LX900 cartridges
 Octopus Refill Ink for Primera LX900 BK black
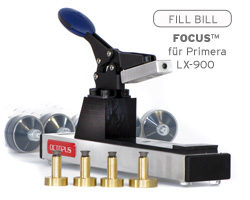 Fill Bill FOCUS™ PLX9 for Primera LX 900, Bravo 4100 cartridges
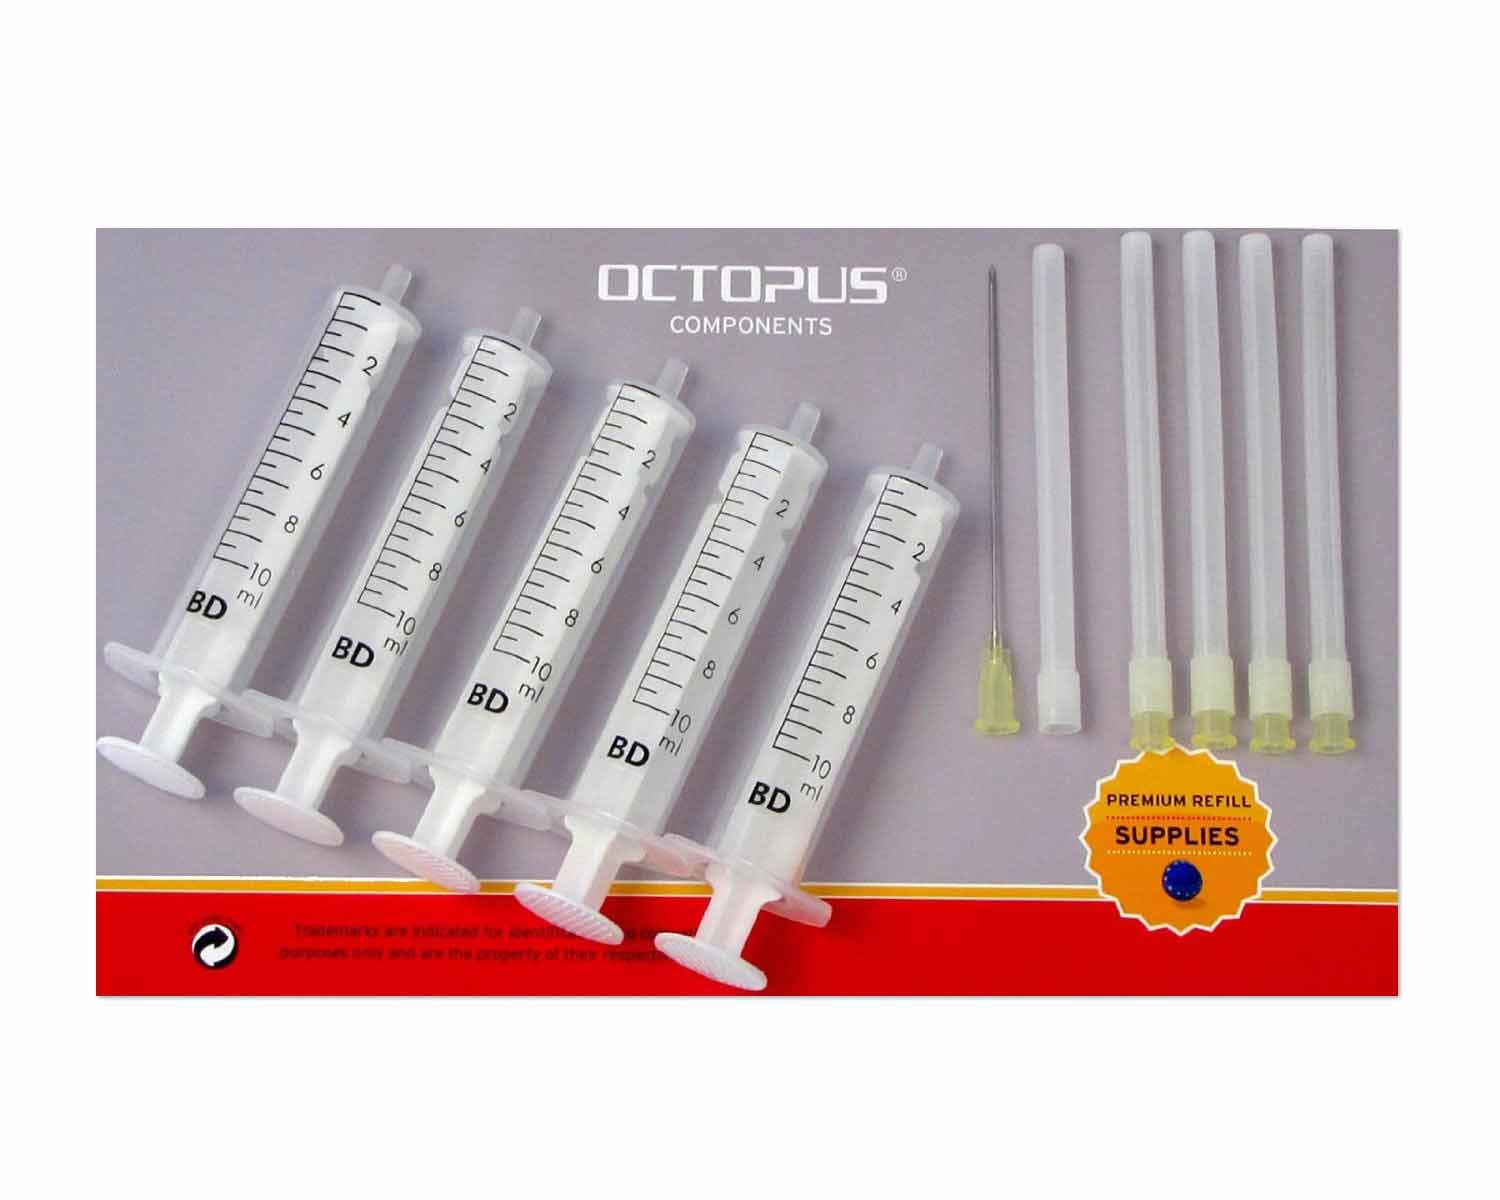 Ink Syringes with Needles (5 pcs.)


