Using the Fill Bill 01
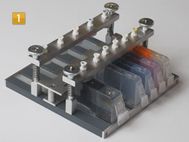
The Fill Bill 01 vacuum refill adaptor makes refilling of single tank cartridges much easier. Its advantage compared to the usual refilling method is that you do not have to drill a hole in the cartridge that has to be sealed with hot glue or adhesive tape.
In other words: "No need for surgery. You can cure the patient without operating. No risks or side effects."
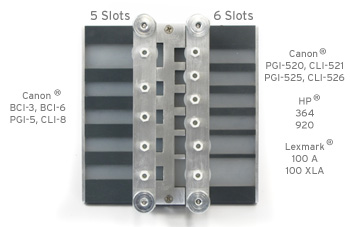
Refill all the most common cartridges with just one tool.
| Canon | HP | Lexmark | ||||||||
|---|---|---|---|---|---|---|---|---|---|---|
| Canon BCI-3, BCI-6 | HP 364 | Lexmark 100 A | ||||||||
| Canon PGI-5, CLI-8 | HP 920 | Lexmark 100 XLA | ||||||||
| Canon PGI-520, CLI-521 | ||||||||||
| Canon PGI-525, CLI-526 |
Design of the Fill Bill 01:
The Fill Bill 01 consists of two parts. The left side comprises 5 slots for Canon BCI-3, BCI-6, PGI-5, CLI-8 cartridges. The right side comprises 6 slots for Canon PGI-520, CLI-521, PGI-525, CLI-526, HP 364, 920 and Lexmark 100 cartridges. Each side has wide and narrow slots for the different cartridge sizes.
The lower slots have silicone inlays designed to seal off the ventilation opening.
The two upper brackets also have silicone seals on the lower side. When a cartridge is placed in the slot, they seal off the ink outlet of the cartridge.
Refilling:
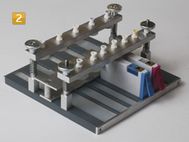
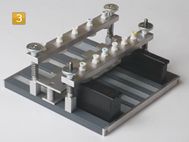
Place the cartridge in the Fill Bill 01, with the ink outlet pointing upwards. Push the upper bracket down on the ink outlet and carefully tighten the knurled screws. The cartridge should now be firmly clamped in and sealed by the silicone seals.
Fill the refill syringe with the amount of ink required, then put the syringe into the luer lock fitting of the bracket.
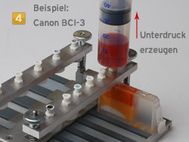
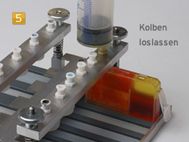
Before the ink is filled into the cartridge, a vacuum is required. Draw approximately 30ml air from the cartridge into the syringe. The resulting vacuum is enough to suck the ink into the cartridge. All you have to do is let go of the plunger.
If any ink is left in the syringe, repeat the process with a little less vacuum.
The ink should not be pressed into the cartridge. Excess pressure or too much ink in the cartridge can cause leakage. We recommend filling the cartridge with the amount of ink recommended by the original equipment manufacturer or a little more. The maximum refill capacity is indicated below.
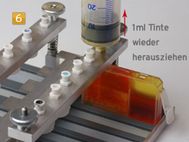
Before removing the syringe, please pull up 1ml of air to create a vacuum. This way, unnecessary ink is sucked into the syringe, avoiding staining when the syringe is removed from the bracket. Now loosen the knurled screws of the bracket and remove the cartridge. Please remove any stains at the ink outlet with a cellulose swab. The cartridge is now refilled and can be reinserted into the printer. Please note that some cartridges have to be reset after refilling.
Maximum refill capacity:
If the cartridge is filled with too much ink, it can leak inside the printer. Therefore, only fill in the amount of ink indicated below. If there is ink left in the cartridge, please reduce the refill amount accordingly. With opaque containers, you have to weigh the cartridge and compare the weight with the stated empty weight to determine if there is any ink left inside. Use our weight list. The difference in weight corresponds to the amount of ink left over.
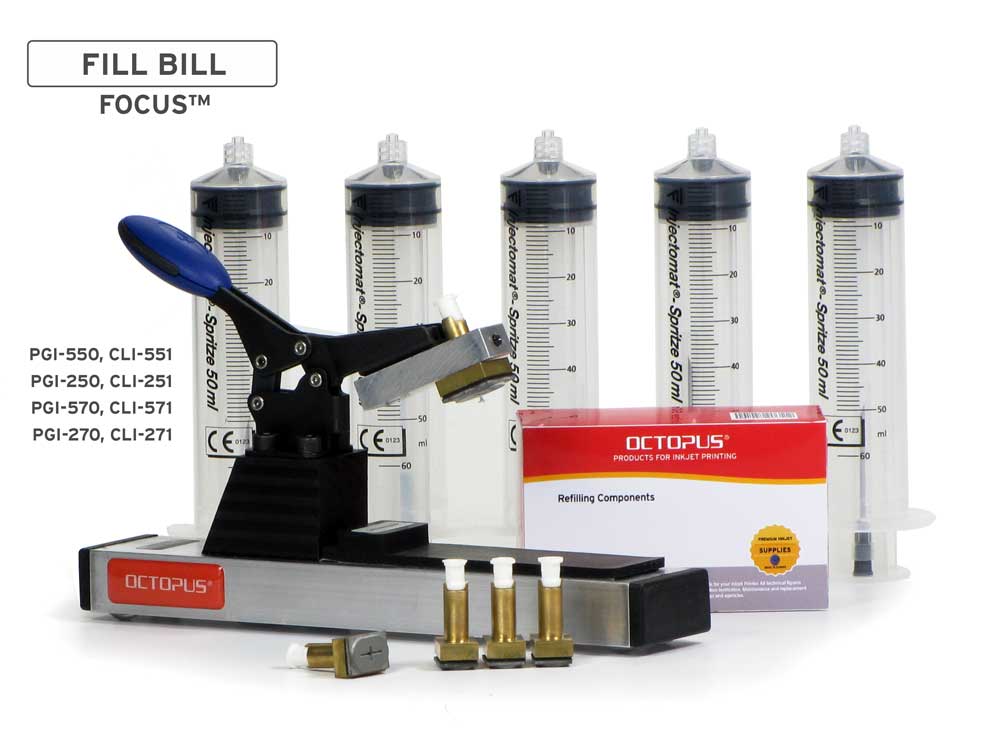 Fill Bill FOCUS CP550 for Canon PGI-550, 570, 580 and CLI-551, 571, 581 cartridges
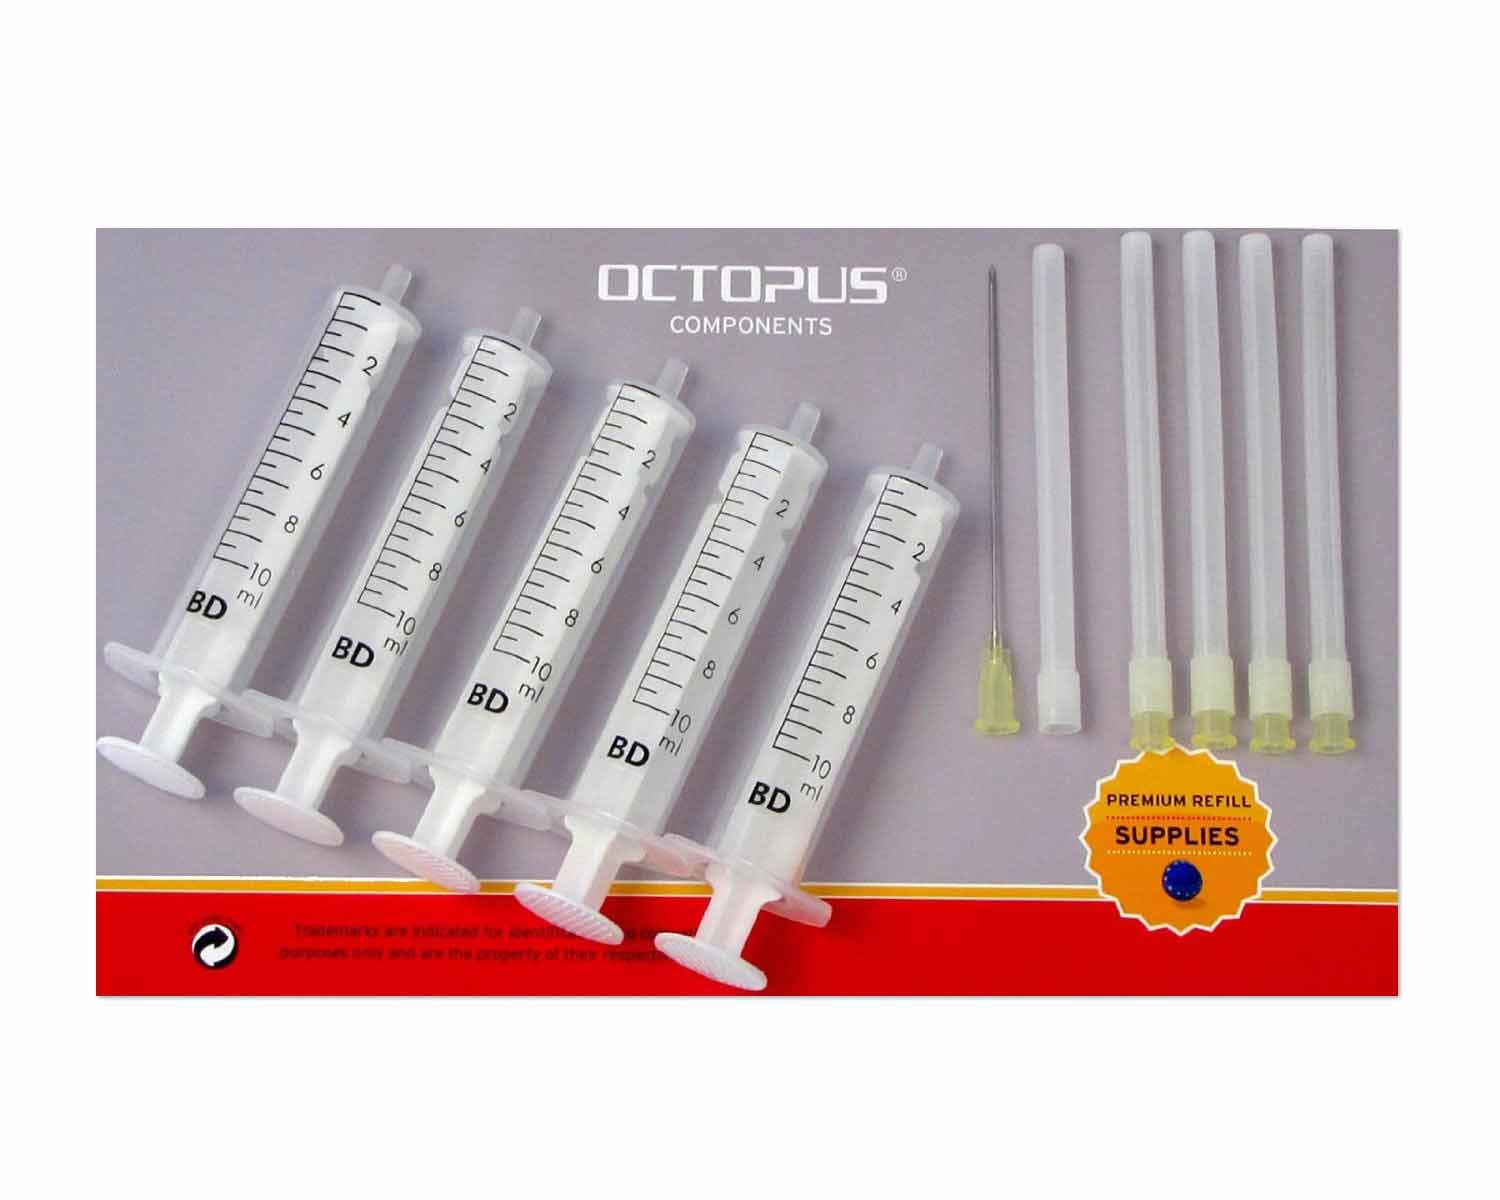 Ink Syringes with Needles (5 pcs.)
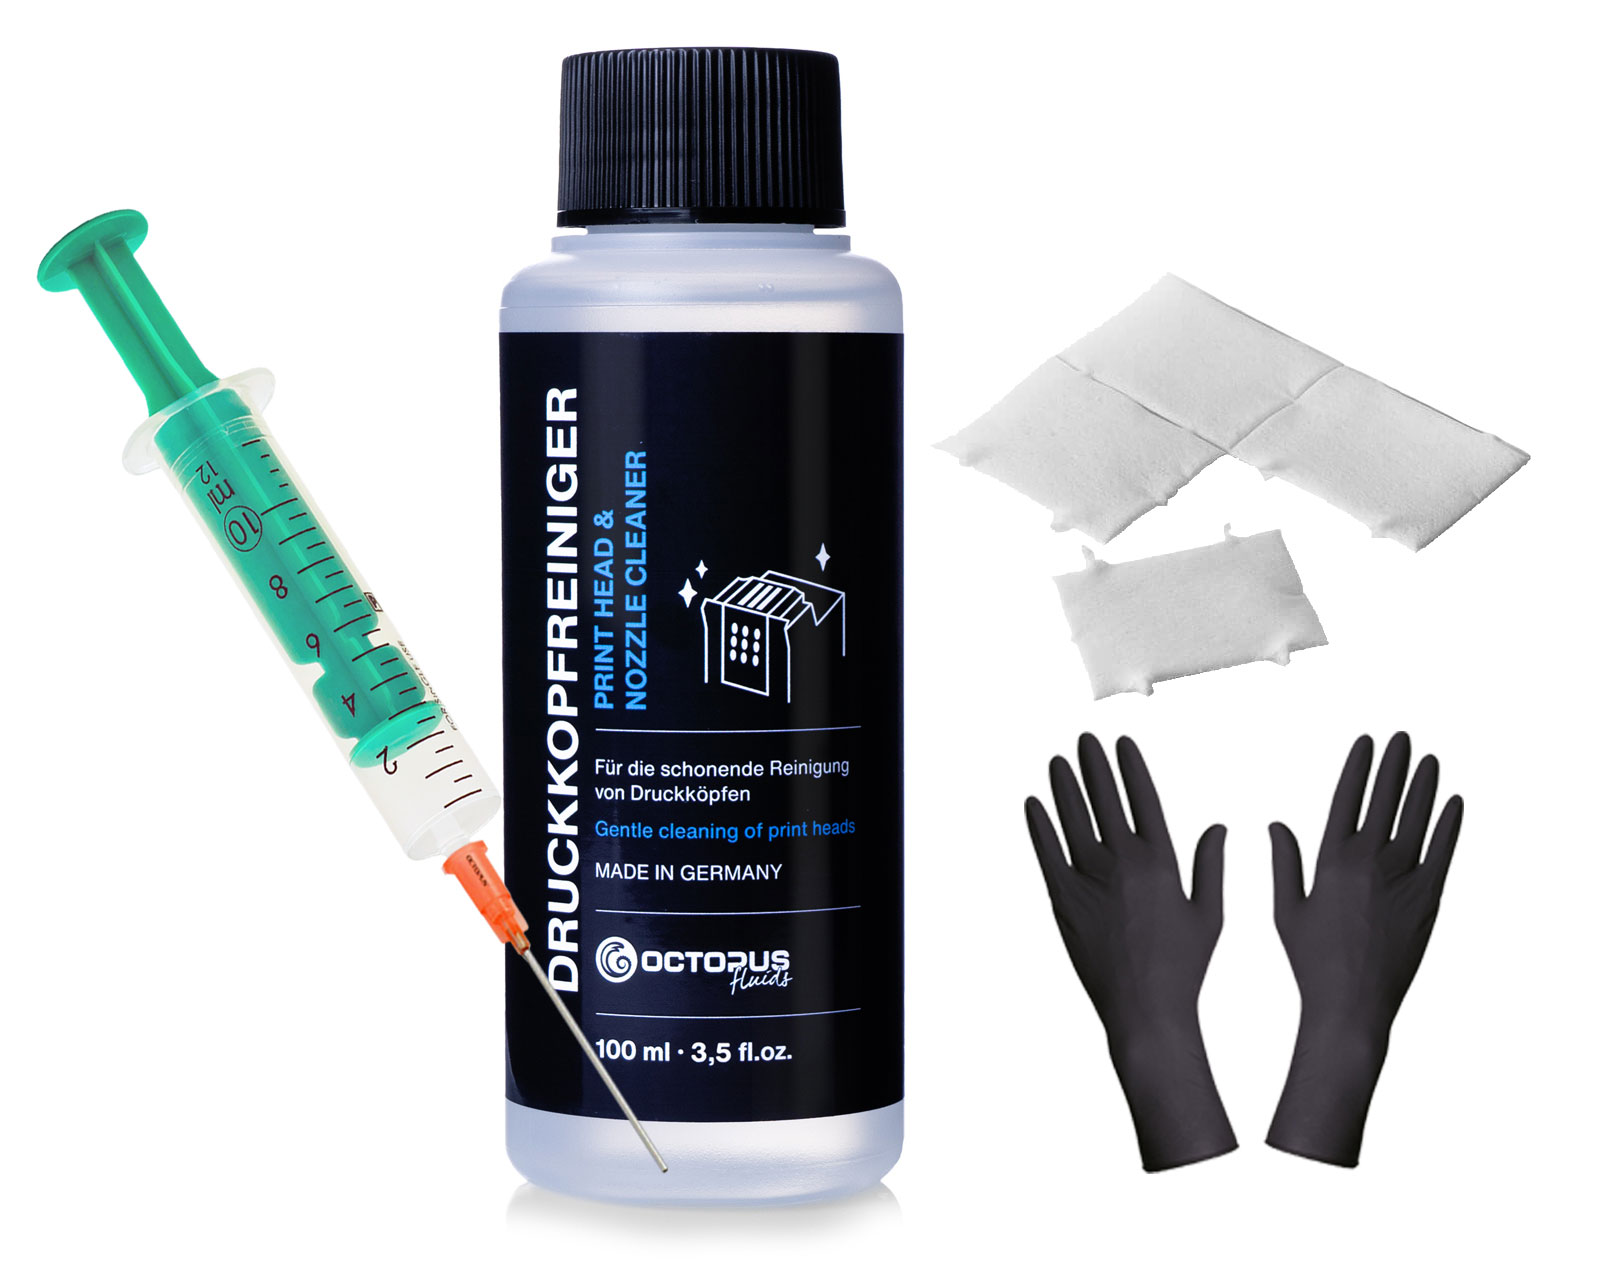 100 ml Kit Nozzle Cleaner, Print Head Cleaner


